Create your first Flutter app - Hello Flutter
1. Article objectives
In this article, I'm going to guide you to create your first Flutter application on Android Studio and run the app with Android Emulator successfully.
First of all, make sure that you have successfully installed the following necessary tools:
2. Creating Flutter project
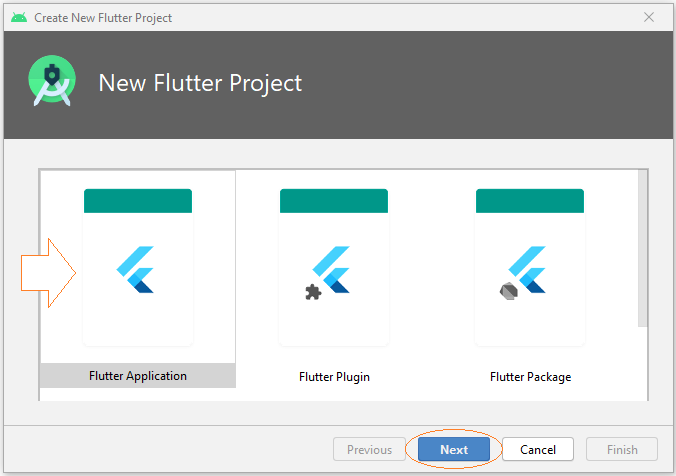
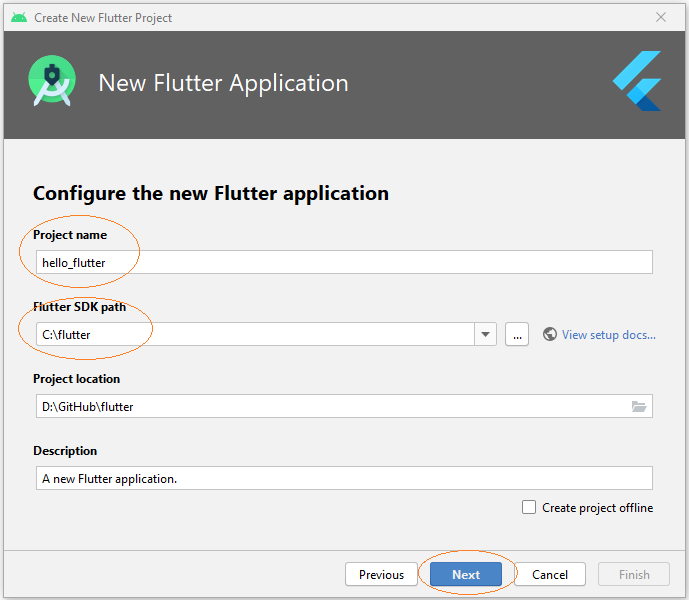
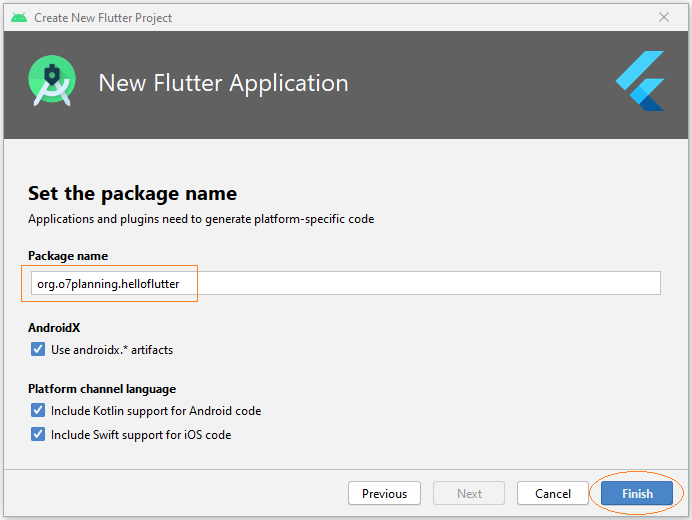
On Android Studio, create a Flutter project.
- File > New > New Flutter Project...
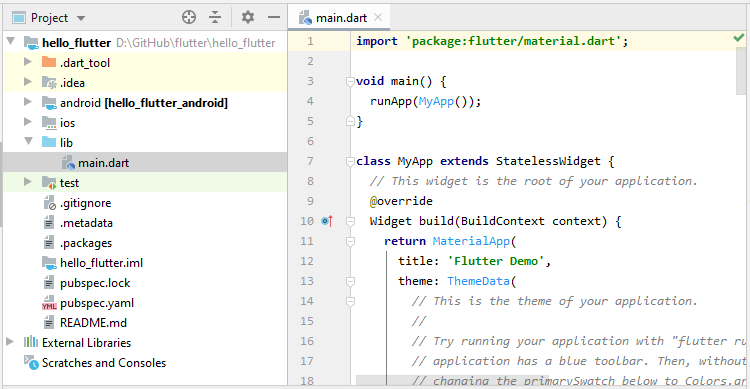
The project has been successfully created. Here is its structure:
3. Project structure explanation
android
The folder automatically generates code for the Android app.
ios
The folder automatically generates code for the iOS app.
lib
The home folder contains the Dart code of the app.
lib/main.dart
The file will be called to start the app.
test
The folder contains Dart codes used to test the app.
test/widget_test.dart
Sample code
.gitignore
Git version control file - This file contains the configuration of the GIT project.
.metadata
The folder is automatically generated by the Flutter tool.
.packages
The file is automatically generated which contains a list of dependencies being used by the project.
.iml
The project file of Android Studio.
pubspec.yaml
The file is used to declare resources related to the project such as images, fonts, etc.
pubspec.lock
This file should be added to GIT Control to ensure that your development team members use the same library versions.
README.md
The file describes the project, which is written according to the Markdown structure.
4. Writing code for application
Delete all the contents of the main.dart file and replace them with new ones.

lib/main.dart
import 'package:flutter/material.dart';

void main() => runApp(MyApp());

class MyApp extends StatelessWidget {
  // This widget is the root of your application.
  @override
  Widget build(BuildContext context) {
    return MaterialApp(
      title: 'Hello World Demo Application',
      theme: ThemeData(
        primarySwatch: Colors.blue,
      ),
      home: MyHomePage(title: 'Home page'),
    );
  }
}
class MyHomePage extends StatelessWidget {
  MyHomePage({Key key, this.title}) : super(key: key);
  final String title;

  @override
  Widget build(BuildContext context) {
    return Scaffold(
      appBar: AppBar(
        title: Text(this.title),
      ),
      body: Center(
          child:
          Text(
            'Hello World',
          )
      ),
    );
  }
}
5. Run the application
The Flutter app needs to be deployed to an Android or iOS device to run. Therefore, during the app development process, you have one of the following options:
- Connect your physical Android device to your computer, and turn on Developer mode.
- Connect your physical iOS device (such as an iPhone) to your computer, and turn on Developer mode.
- Run an Android Emulator.
We are programming the Flutter application on Android Studio, sothe best approach is to run an Android Emulator.
Now on Android Studio, select:
- Tools > AVD Manager
Or click on the "AVD Manager" icon on the toolbar:
Then launch a virtual device on the list:

If you do not see any virtual device on the list, create one by following the instruction below:
Android Emulator is launched and get ready for deploying the Flutter app.
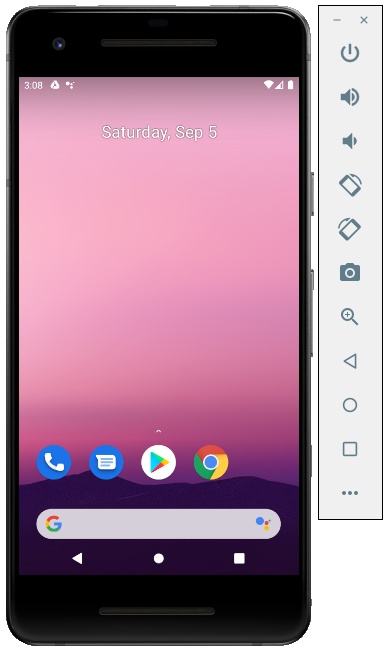
On the Android Studio toolbar, run your Flutter app as what you see in the illustration below:
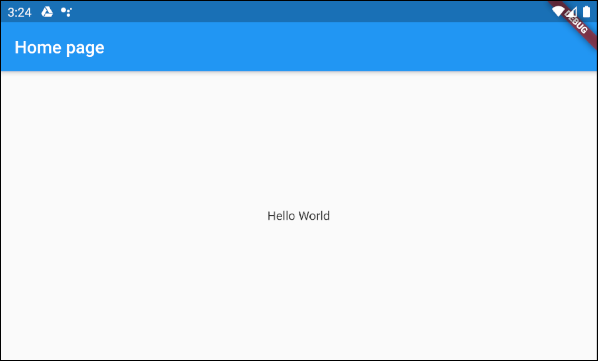
Here is the result you get:
Flutter Programming Tutorials
- Flutter Column Tutorial with Examples
- Flutter Stack Tutorial with Examples
- Flutter IndexedStack Tutorial with Examples
- Flutter Spacer Tutorial with Examples
- Flutter Expanded Tutorial with Examples
- Flutter SizedBox Tutorial with Examples
- Flutter Tween Tutorial with Examples
- Install Flutter SDK on Windows
- Install Flutter Plugin for Android Studio
- Create your first Flutter app - Hello Flutter
- Flutter Scaffold Tutorial with Examples
- Flutter AppBar Tutorial with Examples
- Flutter BottomAppBar Tutorial with Examples
- Flutter TextButton Tutorial with Examples
- Flutter ElevatedButton Tutorial with Examples
- Flutter EdgeInsetsGeometry Tutorial with Examples
- Flutter EdgeInsets Tutorial with Examples
- Flutter CircularProgressIndicator Tutorial with Examples
- Flutter LinearProgressIndicator Tutorial with Examples
- Flutter Center Tutorial with Examples
- Flutter Align Tutorial with Examples
- Flutter Row Tutorial with Examples
- Flutter SplashScreen Tutorial with Examples
- Flutter Alignment Tutorial with Examples
- Flutter Positioned Tutorial with Examples
- Flutter SimpleDialog Tutorial with Examples
- Flutter AlertDialog Tutorial with Examples
- Flutter Navigation and Routing Tutorial with Examples
- Flutter TabBar Tutorial with Examples
- Flutter Banner Tutorial with Examples
- Flutter BottomNavigationBar Tutorial with Examples
- Flutter FancyBottomNavigation Tutorial with Examples
- Flutter Card Tutorial with Examples
- Flutter Border Tutorial with Examples
- Flutter ContinuousRectangleBorder Tutorial with Examples
- Flutter RoundedRectangleBorder Tutorial with Examples
- Flutter CircleBorder Tutorial with Examples
- Flutter StadiumBorder Tutorial with Examples
- Flutter Container Tutorial with Examples
- Flutter RotatedBox Tutorial with Examples
- Flutter CircleAvatar Tutorial with Examples
- Flutter IconButton Tutorial with Examples
- Flutter FlatButton Tutorial with Examples
- Flutter SnackBar Tutorial with Examples
Show More