Configure custom domain and SSL for CloudFront distribution
In the previous lesson we created a CloudFront distribution for a static website hosted on Amazon S3.
And you can access your Website through a CloudFront subdomain like this:
- https://{lower-distribution-id}.cloudfront.net
In this lesson, I will show you how to configure a custom domain name for CloudFront and set up HTTPS for it.
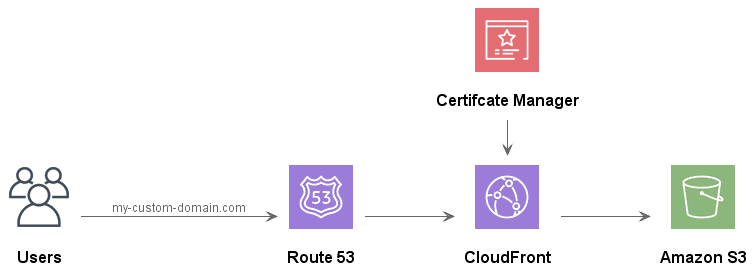
If your domain registration is being managed at a provider other than Amazon, you need to migrate your domain's DNS service to Amazon Route 53:Next, you need to submit a request to ACM (AWS Certificate Manager) to get an SSL certificate for your domain or subdomain.
1. Step 1: Configure an alternate domain name and SSL certificate on CloudFront
Login to CloudFront:
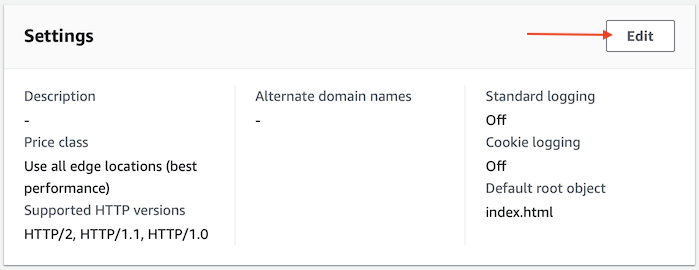
Select a CloudFront distribution you are interested in to edit its settings.
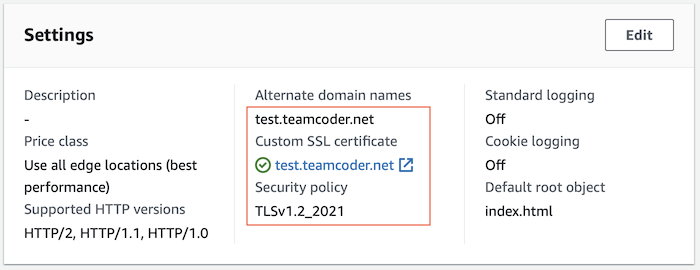
- [Selected Distribution] > General > Settings > Edit
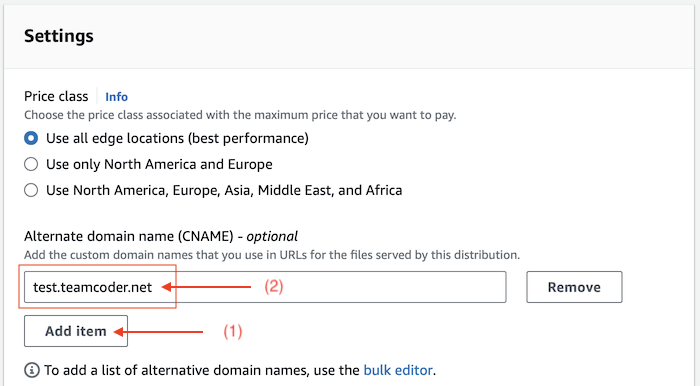
Add a domain name as an alternate domain.
Select an SSL certificate that you requested from Amazon ACM for the above domain name.
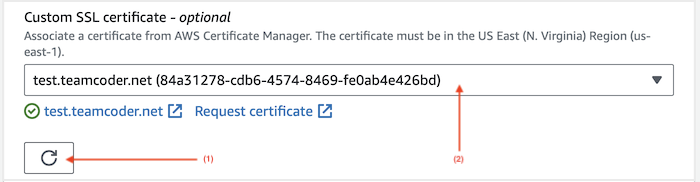
Click the "Save changes" button to save the changes.
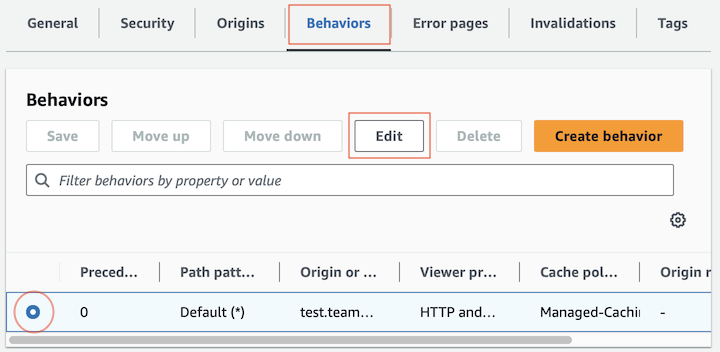
2. Step 2: Configure HTTP to HTTPS redirection
Still on CloudFront, we perform configuration to ensure that user HTTP requests are automatically redirected to HTTPS.
- [Selected Distribution] > Behaviors > [Selected Behavior] > Edit
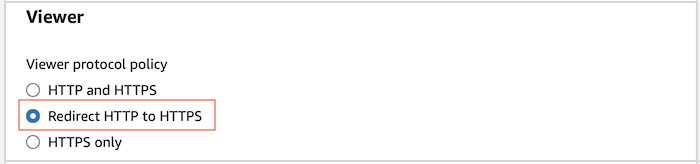
Select:
- Redirect HTTP to HTTPS
3. Step 3: Configure domain name on Route 53
Access Amazon Route 53:
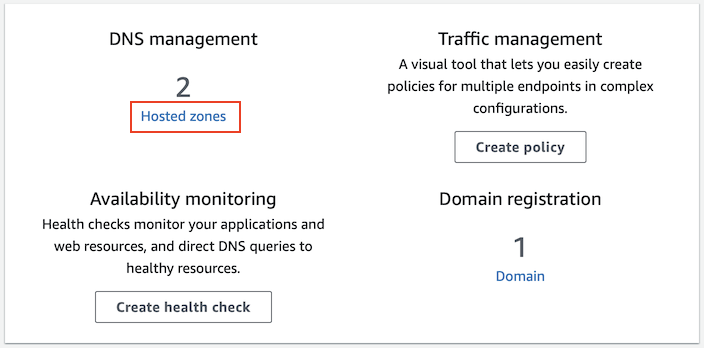
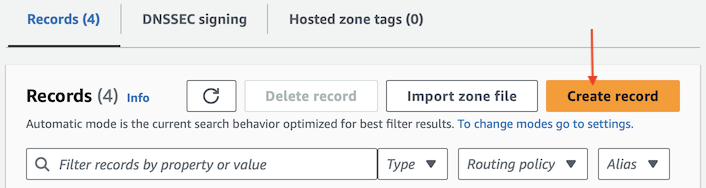
Select "Hosted Zone" corresponding to the domain name you are interested in, and click "Create record":
We will create a subdomain, to point to the CloudFront distribution.
Record name | [Your domain or subdomain] |
Record type | A - Routes traffic to an IPv4 address and some AWS Resources |
Alias | Enabled |
Distribution | [Select a distribution] |
Routing policy | Simple routing |
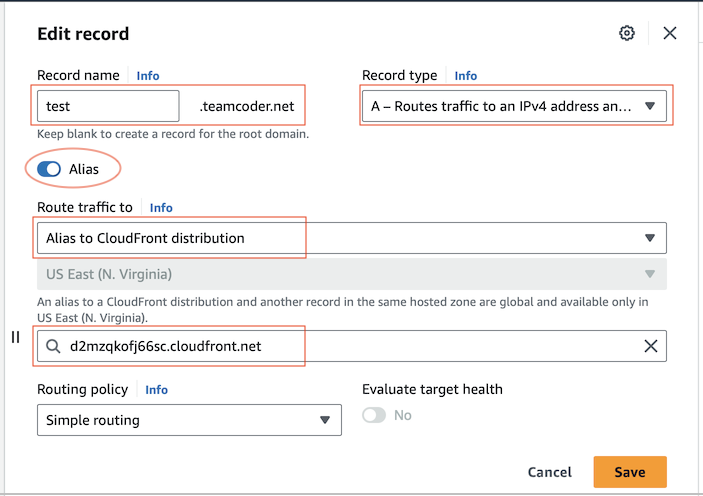
After pressing "Save", wait a while for your changes to take effect.
You can check the status of the record on "dnschecker.org":