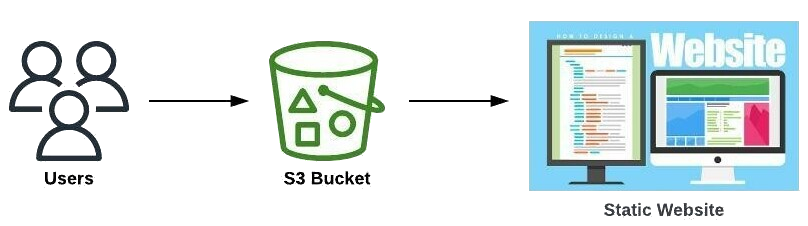
Create Amazon S3 Bucket
1. Create a Bucket
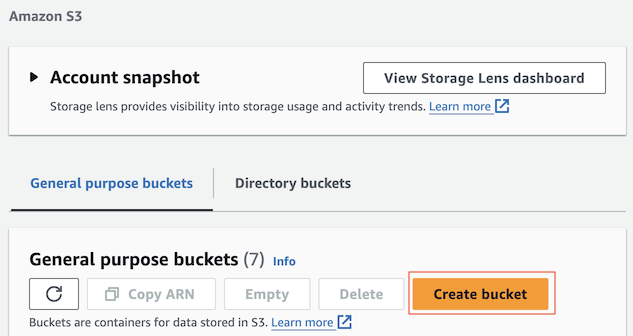
First, login to the Amazon AWS S3 Console.
Next, click the "Create bucket" button.
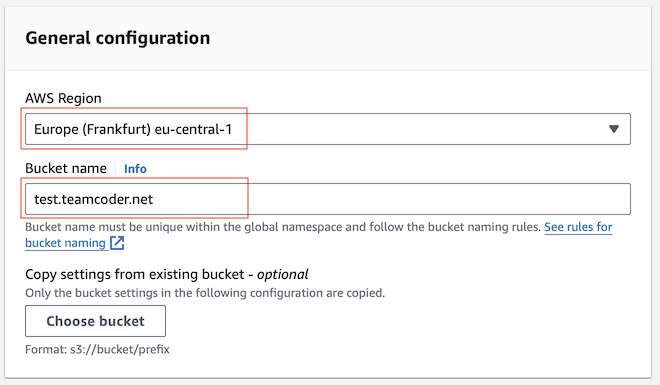
Select "AWS Region" and enter the Bucket name.
AWS Region | The geographic region in which your data will be stored. Each region will have different storage prices. The cheapest regions are in the US, Canada or Europe, and the most expensive are in Africa. However, you should choose a region that is close to where you use it or near where your customers use it. |
Bucket name | The name of the Bucket is unique to all users. So you should name your Bucket based on a domain name you own, for example:
|
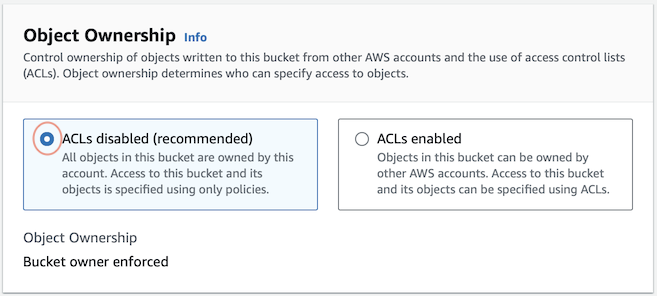
Object Ownership | Description |
ACLs disabled | With this default option, all objects in this Bucket are owned by the account that created it. Access to this Bucket and its objects are specified through policies. You can set up policies for each specific Bucket. |
ACLs enabed | Use this option if you allow this Bucket to be owned by multiple accounts. Access permissions to Bucket and its objects are determined through ACL (Access Control List). |
Accept all other default options and press the "Create bucket" button.
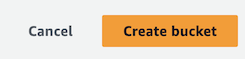
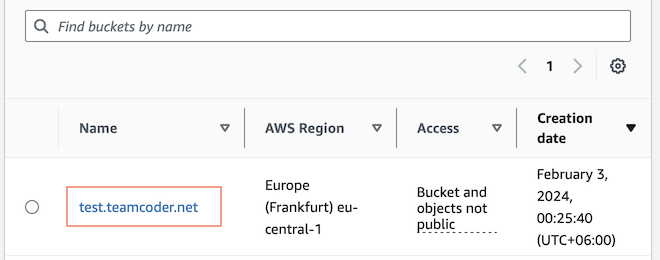
Bucket has been created.
2. Upload files to S3 Bucket
If you are a beginner using S3 Bucket, you can upload a few files or a folder to S3 Bucket to experience its basic features.
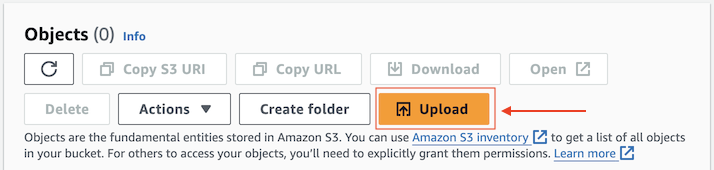
Click on the Bucket you just created in the step above to see the objects it contains.
Click the "Upload" button to upload files to Bucket.
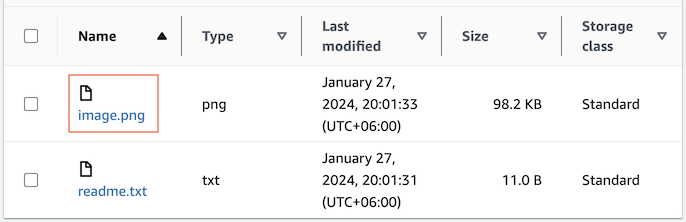
Upload a few files
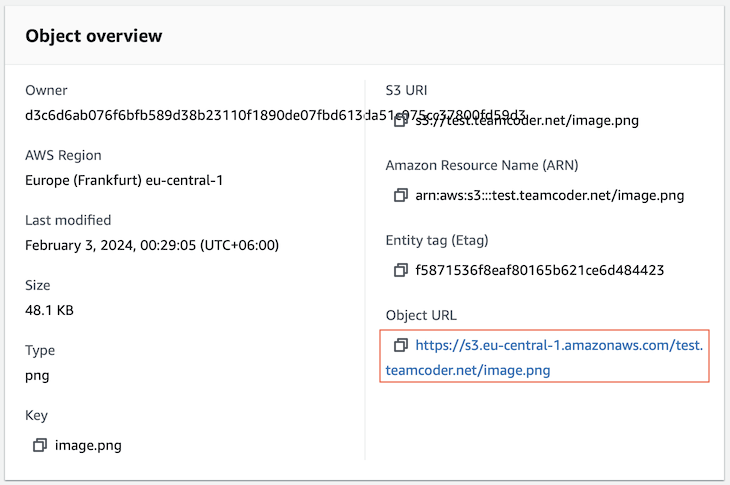
Click on any object you just uploaded, you can view basic information, including the object's URL. Note: You need to configure a policy for this Bucket if you want to download the object via URL or share it publicly.
- S3 Client Tools
3. Public access
After creating a Bucket, you have many options for an S3 client to manage the Bucket with common functions such as uploading and downloading. Those tools will be suggested at the end of this article.
In the simple case where you want the objects to be downloadable via their URL publicly (No credentials required), you need some minor configuration with this Bucket policy.
1 - [Your Bucket] > Permissions > (bucket settings) > Edit
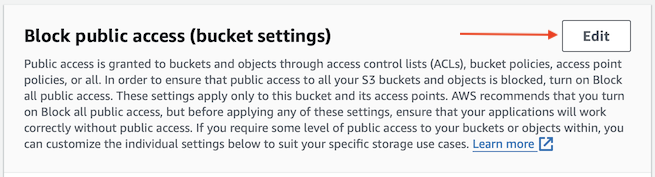
Unblock public access.

Save changes
2 - [Your Bucket] > Permissions > Bucket policy > Edit

To allow users to view any object on a Bucket and list objects on that Bucket, you need to set up a minimum policy like below. Change "your_bucket_name" in the text to your Bucket name, then copy and paste into the editor.
{
  "Version": "2012-10-17",
  "Statement": [
    {
      "Sid": "Stmt-GetObject",
      "Action": [
        "s3:GetObject"
      ],
      "Effect": "Allow",
      "Resource": "arn:aws:s3:::your_bucket_name/*",
      "Principal": "*"
    },
    {
      "Sid": "Stmt-ListBucket",
      "Action": [
        "s3:ListBucket"
      ],
      "Effect": "Allow",
      "Resource": "arn:aws:s3:::your_bucket_name",
      "Principal": "*"
    }
  ]
}
For example:
{
  "Version": "2012-10-17",
  "Statement": [
    {
      "Sid": "Stmt-GetObject",
      "Action": [
        "s3:GetObject"
      ],
      "Effect": "Allow",
      "Resource": "arn:aws:s3:::test.teamcoder.net/*",
      "Principal": "*"
    },
    {
      "Sid": "Stmt-ListBucket",
      "Action": [
        "s3:ListBucket"
      ],
      "Effect": "Allow",
      "Resource": "arn:aws:s3:::test.teamcoder.net",
      "Principal": "*"
    }
  ]
}
Finally, click "Save changes".
See more specialized article about S3 Bucket policy:
Amazon Web Services Tutorials
- Introduction to Amazon Web Services (AWS)
- Introduction to Amazon S3
- Introduction to Amazon Cloudfront and its architecture
- How to reduce Amazon Cloudfront Costs?
- Amazon CloudFront Invalidation
- Introduction to DigitalOcean Spaces
- Create DigitalOcean Spaces Bucket
- Introduction to Amazon ACM
- Java Awssdk S3 S3Client Upload object
- Create AWS accessKeyId/secretAccessKey
- Java Awssdk S3 List objects
- Host a static website on Amazon S3
- Java Awssdk CloudFront Invalidation
- DigitalOcean Spaces Create Access Key
- Java Awssdk Common Credentials Providers
- Java Awssdk ProfileCredentialsProvider
- Java Awssdk Creating and using EnvironmentVariableCredentialsProvider
- Java Awssdk Creating and using SystemPropertyCredentialsProvider
- Java Awssdk S3 Upload object with S3TransferManager
- Java Awssdk S3 S3TransferManager download object
- Java Manipulate DigitalOcean Spaces using S3TransferManager
- Java Create, list and delete S3 Bucket
- Aws Console create IAM User
- Create Amazon S3 Bucket
- Configure custom domain for Amazon S3 static website
- Create a CloudFront distribution for S3 Bucket
- Configure Amazon CloudFront Error Pages
- Amazon S3 Bucket policies
- Amazon AWS Policy Generator - policygen
- Migrate DNS service to Amazon Route 53
- Transfer domain registration to Amazon Route 53
- Request an SSL certificate from Amazon ACM
Show More