Install Mac OS Virtual Machine in VirtualBox
1. Download Mac OS
Mac OS is a computer operating system developed by Apple. This is a operating system with beautiful interface, however, to own a the computer of Apple with this operating system, you need to use a lot of money, normally with the double price than that of common computers using Windows operating system. Fortunately, you can experience the Mac OS right on your computer by installing a Mac OS virtual machine on VirtualBox.
Below is the list of Mac OS versions released in recent years:
Mac OS Version | Name | Release Date |
10.10 | Yosemite | June 2014 |
10.11 | El Capitan | September 30, 2015 |
10.12 | Sierra | June 12, 2016 |
10.13 | High Sierra | June 5, 2017 |
In this post, I will show you how to install the Mac OS on VirtualBox. First of all, please download an installer.
After finishing downloading, there is one file:
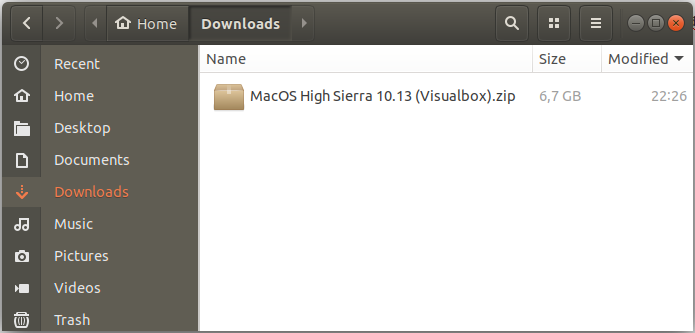
Extract the file that you have just downloaded in a folder.
2. Create Mac OS Virtual Machine
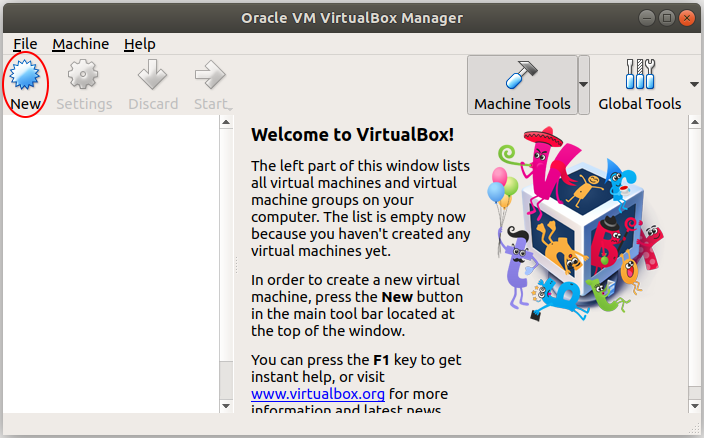
On the VirtualBox, create a new virtual machine.
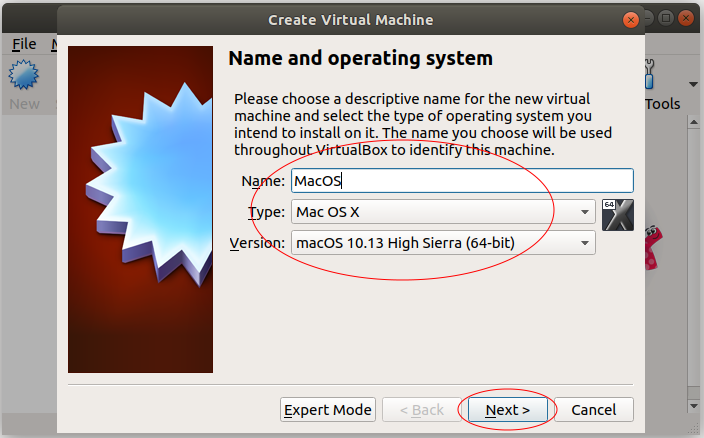
Enter a name for the virtual machine and select a Mac OS version suitable for the Mac OS version that you have downloaded..
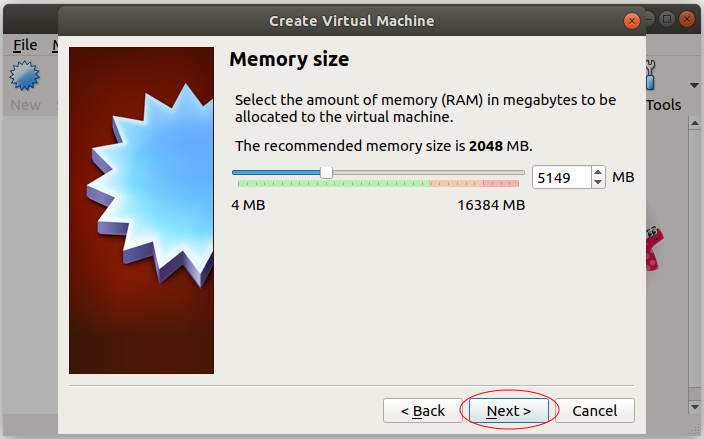
Mac OS operating systems need a large amount of RAM to work, You should provide it with about 4GB RAM.
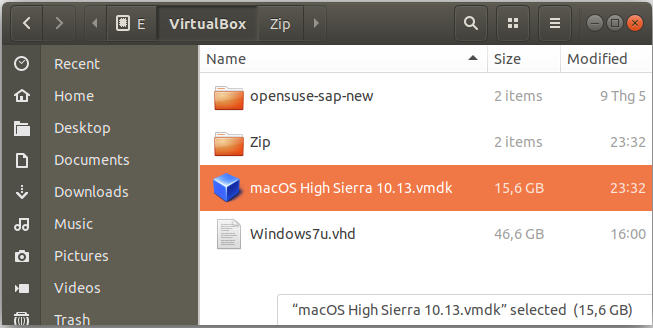
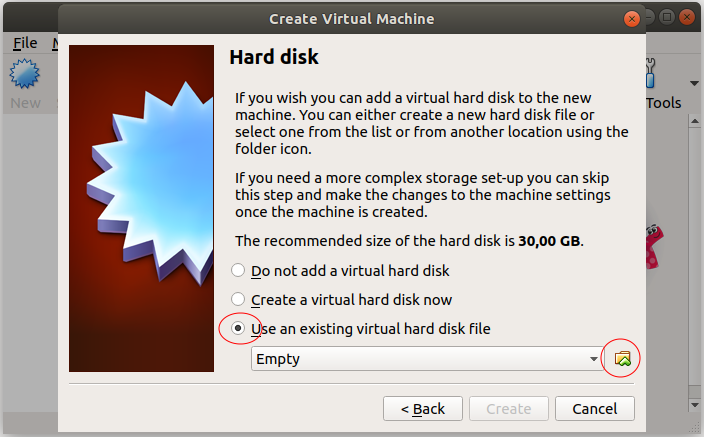
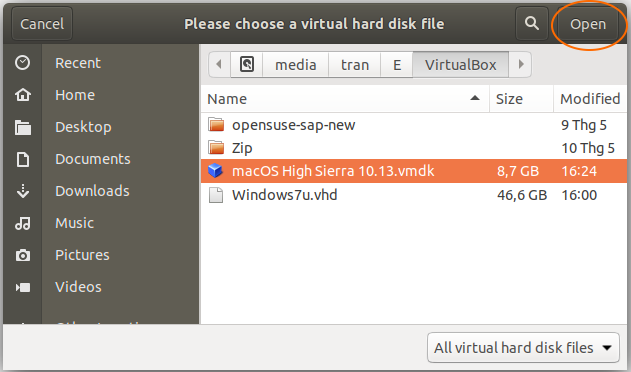
The Mac OS file downloaded by you in the above step is a complete operating system and you can be willing to use without installation. Therefore, on the VirtualBox, you only need to point to this postion of this file.
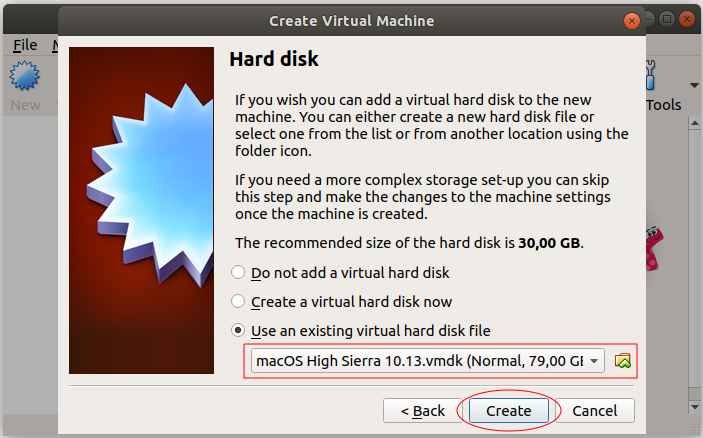
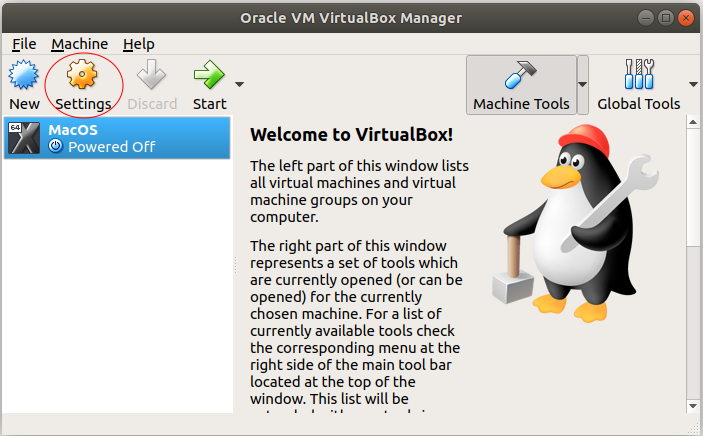
OK, your Mac OS virtual machine has been created.

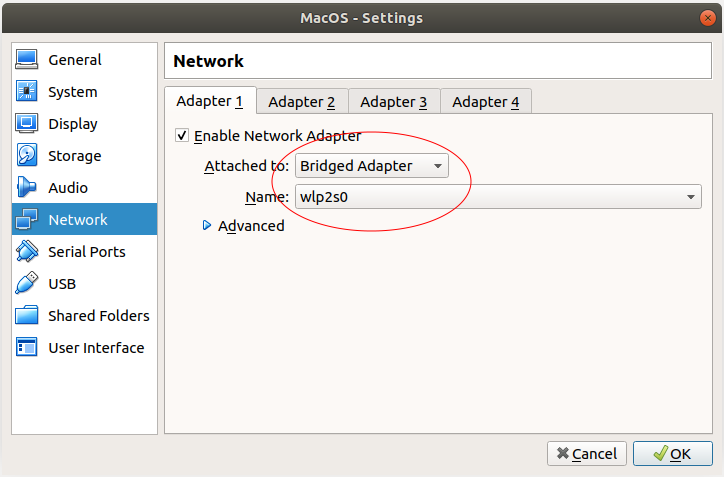
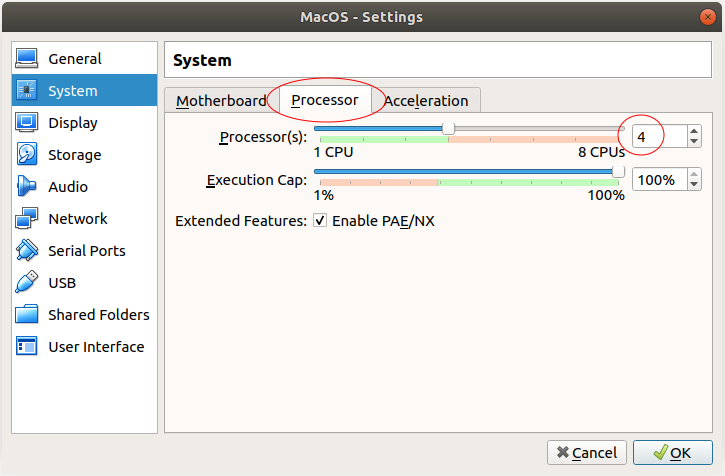
You can carry out other configurations for Mac OS, for example, Network configuration, specifying the quantity of Processors,..
3. Configure VBoxManage
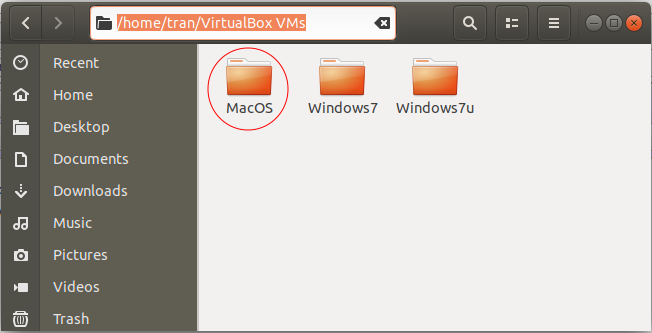
After you create VirtualBox virtual machine, the Meta information of this virtual machine will be found in the folder (Depending on your operating system):
- LINUX (Ubuntu,..):/home/{user}/VirtualBox VMs
- WINDOWS:C:/Users/{user}/VirtualBox VMs
There are some advanced configurations that you can perform via the interface of VirtualBox, and you must carry out it via a command:
VBoxManage modifyvm "Your-VM-Name" --cpuidset 00000001 000106e5 00100800 0098e3fd bfebfbff
VBoxManage setextradata "Your-VM-Name" "VBoxInternal/Devices/efi/0/Config/DmiSystemProduct" "iMac11,3"
VBoxManage setextradata "Your-VM-Name" "VBoxInternal/Devices/efi/0/Config/DmiSystemVersion" "1.0"
VBoxManage setextradata "Your-VM-Name" "VBoxInternal/Devices/efi/0/Config/DmiBoardProduct" "Iloveapple"
VBoxManage setextradata "Your-VM-Name" "VBoxInternal/Devices/smc/0/Config/DeviceKey" "ourhardworkbythesewordsguardedpleasedontsteal(c)AppleComputerInc"
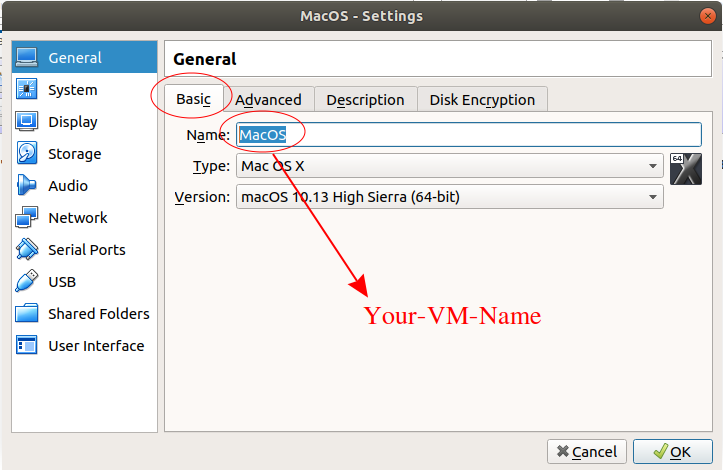
VBoxManage setextradata "Your-VM-Name" "VBoxInternal/Devices/smc/0/Config/GetKeyFromRealSMC" 1Replace "Your-VM-Name" by your virtual machine name. Your virtual machine name can be found in the "Setting > General > Basic" (Like the following illustration).
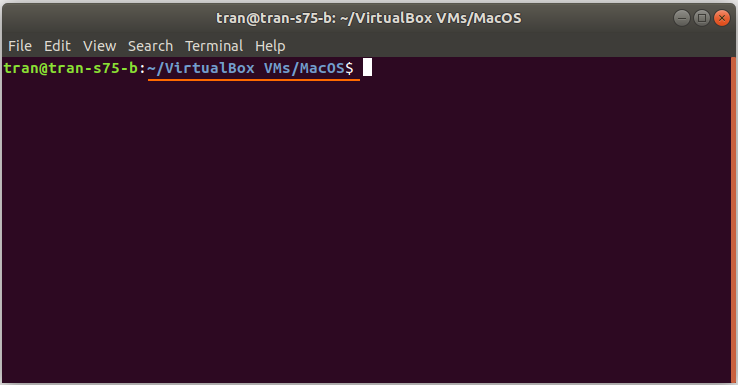
On the Linux (Ubuntu,..), open Terminal windows and CD to go to your Mac OS virtual machine directory. If you use the Windows operating system, open the CMD windows with Administrator privilege and CD to go to the Mac OS virtual machine directory.
Perform the above commands respectively (after having replaced "Your-VM-Name"):
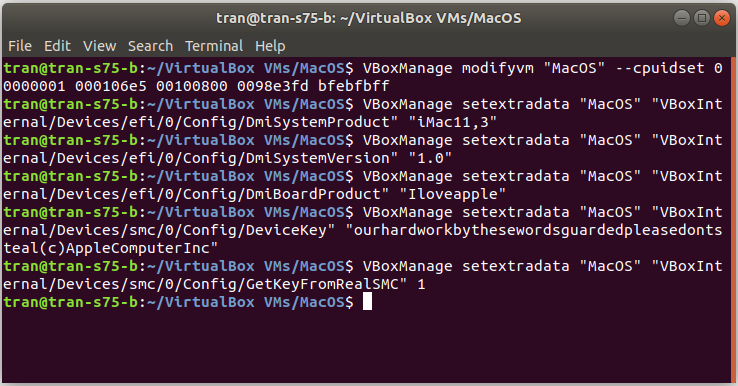
OK, all the commands have been performed successfully.

Mac OS Tutorials
- Install Mac OS X 10.11 El Capitan in VMWare
- Install Mac OS Virtual Machine in VirtualBox
- Upgrade Mac Operating System
- Install Java on Mac OS
- Install VirtualBox on Mac OS
- How to use Windows-like shortcuts in Mac OS Virtual Machine
- Lightshot - Screenshot tool for Mac and Windows
- How do I take a MacOS Retina screenshot and get the image at its actual size?
- Microsoft Remote Desktop for Mac OS
- Transfer files between computers using Cyberduck on Mac OS
- Connect to the Server with Terminal on Mac OS
- How to use the "hosts" file?
- Are There Ways to Improve Gaming Experience on a Macbook?
- Mac Keyboard Shortcut List to Improve Efficiency
- Install FFmpeg on Mac OS
- How to open Terminal on Mac OS
- Setup environment variables on Mac Os
- Create executable files for Terminal scripts on Mac OS
Show More