Run Maven Java Web Application in Tomcat Maven Plugin
1. Introduction
This guide was written based on:
Eclipse 4.6 (NEON)
Tomcat Maven Plugin 2.2
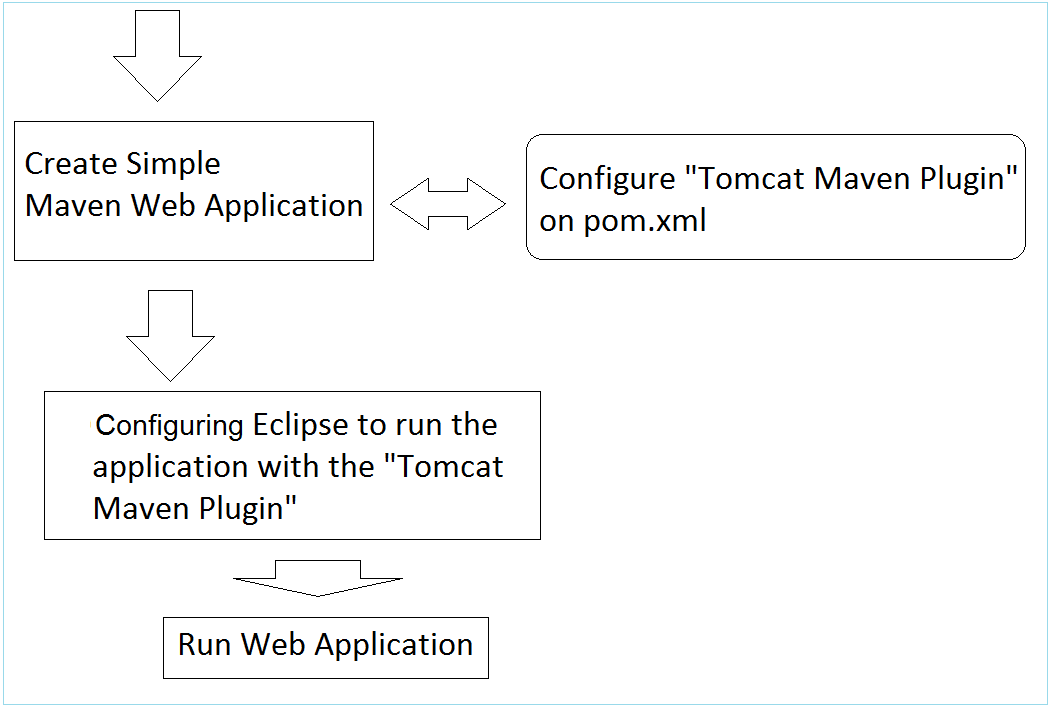
The steps in this tutorial:
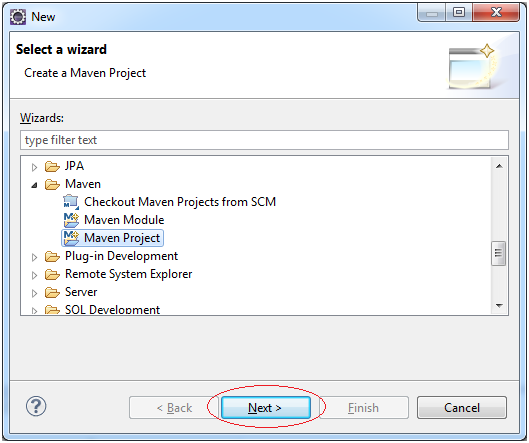
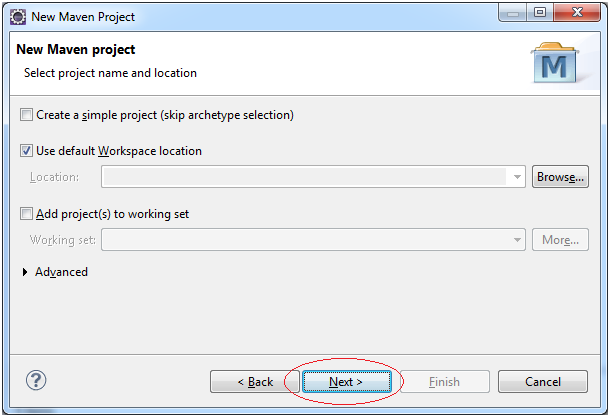
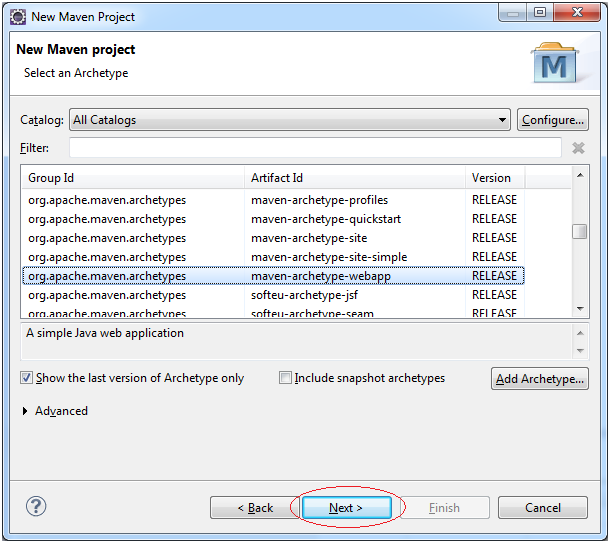
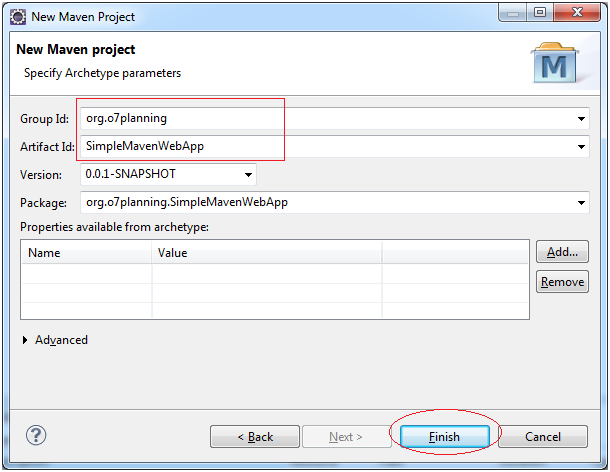
2. Quick create Maven Web Application Project
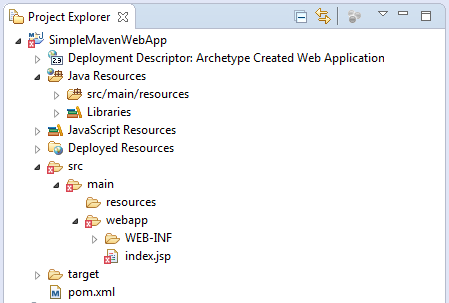
This is image of project is created.
The contents of the file pom.xml was created:
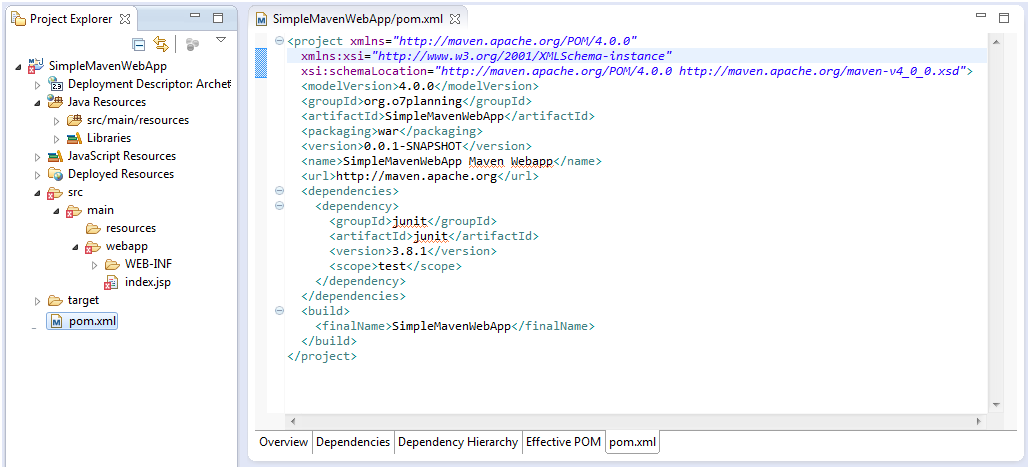
Do not worry about the error message when the Project has been created. The reason is that you do not declare the Servlet library.
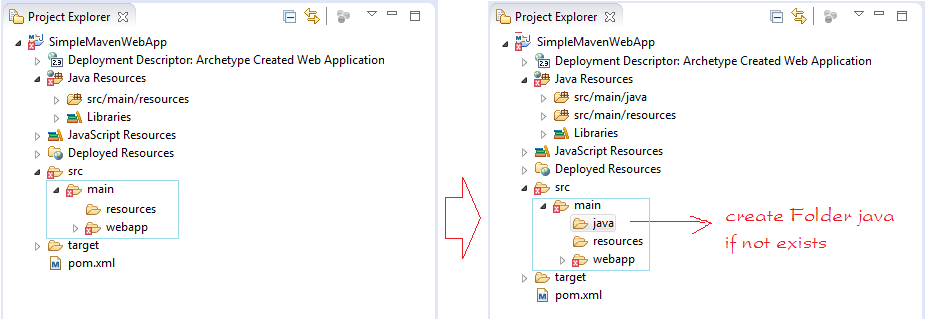
Eclipse 4.4 (Luna) create Maven project structure may be wrong. You need to fix.
Eclipse 4.4 (Luna) create Maven project structure may be wrong. You need to fix.
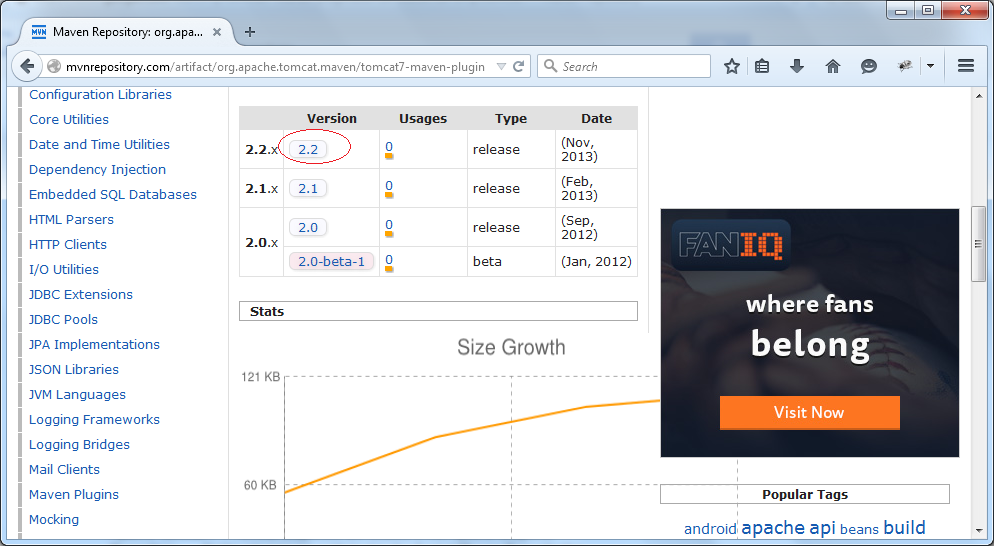
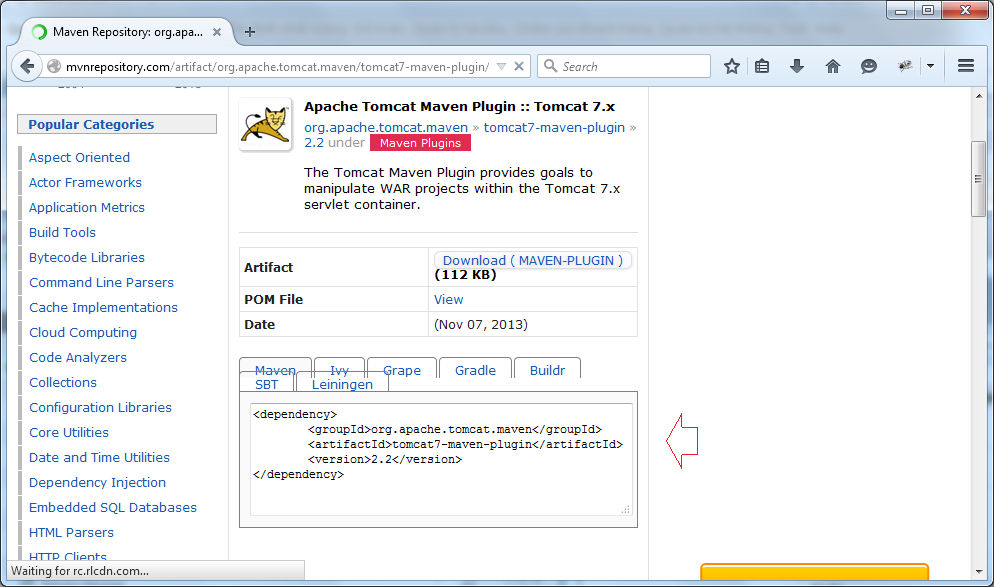
3. Search Tomcat Maven Plugin version to use
Next we will find a version of "Tomcat Maven Plugin" (fit or newest):
4. Configure and run Maven Project
Configure Maven Servlet Library
<!-- Servlet Library -->
<dependency>
   <groupId>javax.servlet</groupId>
   <artifactId>javax.servlet-api</artifactId>
   <version>3.1.0</version>
   <scope>provided</scope>
</dependency>
Copy and paste the following code into pom.xml
<plugins>
    <plugin>
        <groupId>org.apache.tomcat.maven</groupId>
        <artifactId>tomcat7-maven-plugin</artifactId>
        <version>2.2</version>
    </plugin>
</plugins>
pom.xml
<project xmlns="http://maven.apache.org/POM/4.0.0" xmlns:xsi="http://www.w3.org/2001/XMLSchema-instance"
xsi:schemaLocation="http://maven.apache.org/POM/4.0.0 http://maven.apache.org/maven-v4_0_0.xsd">
<modelVersion>4.0.0</modelVersion>
<groupId>org.o7planning</groupId>
<artifactId>SimpleMavenWebApp</artifactId>
<packaging>war</packaging>
<version>0.0.1-SNAPSHOT</version>
<name>SimpleMavenWebApp Maven Webapp</name>
<url>http://maven.apache.org</url>
<dependencies>
<dependency>
<groupId>junit</groupId>
<artifactId>junit</artifactId>
<version>3.8.1</version>
<scope>test</scope>
</dependency>
<!-- Servlet Library -->
<dependency>
<groupId>javax.servlet</groupId>
<artifactId>javax.servlet-api</artifactId>
<version>3.1.0</version>
<scope>provided</scope>
</dependency>
</dependencies>
<build>
<finalName>SimpleMavenWebApp</finalName>
<plugins>
<!-- Config: Maven Tomcat Plugin -->
<!-- http://mvnrepository.com/artifact/org.apache.tomcat.maven/tomcat7-maven-plugin -->
<plugin>
<groupId>org.apache.tomcat.maven</groupId>
<artifactId>tomcat7-maven-plugin</artifactId>
<version>2.2</version>
<!-- Config: contextPath and Port (Default - /SimpleMavenWebApp : 8080) -->
<!--
<configuration>
<path>/</path>
<port>8899</port>
</configuration>
-->
</plugin>
</plugins>
</build>
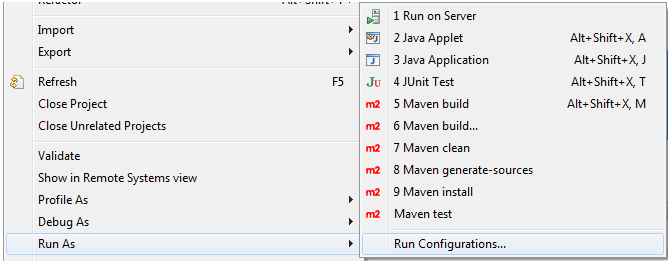
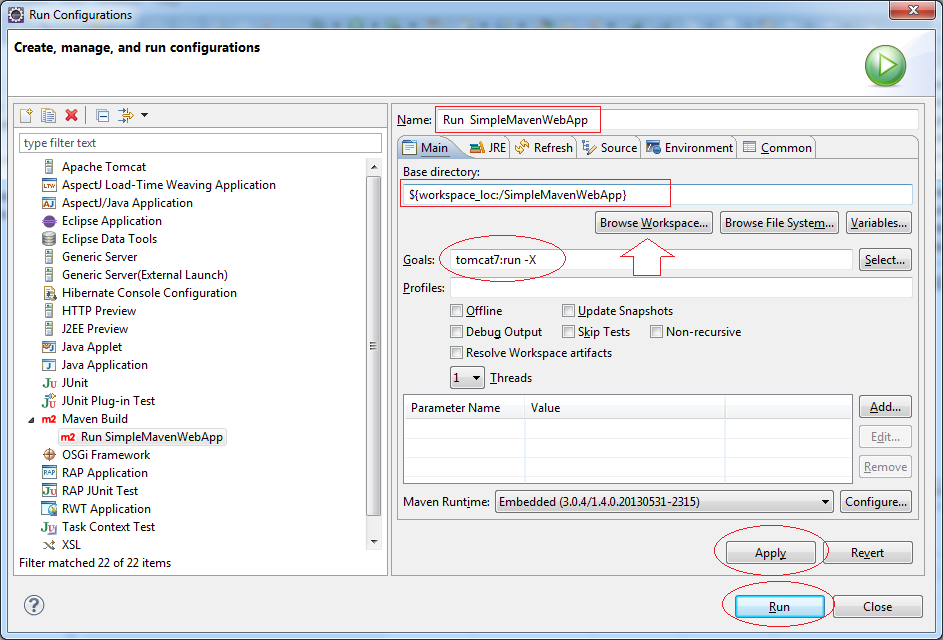
</project>Configure Project to run. Right-click on the Project select "Run As / Run Configurations ...".
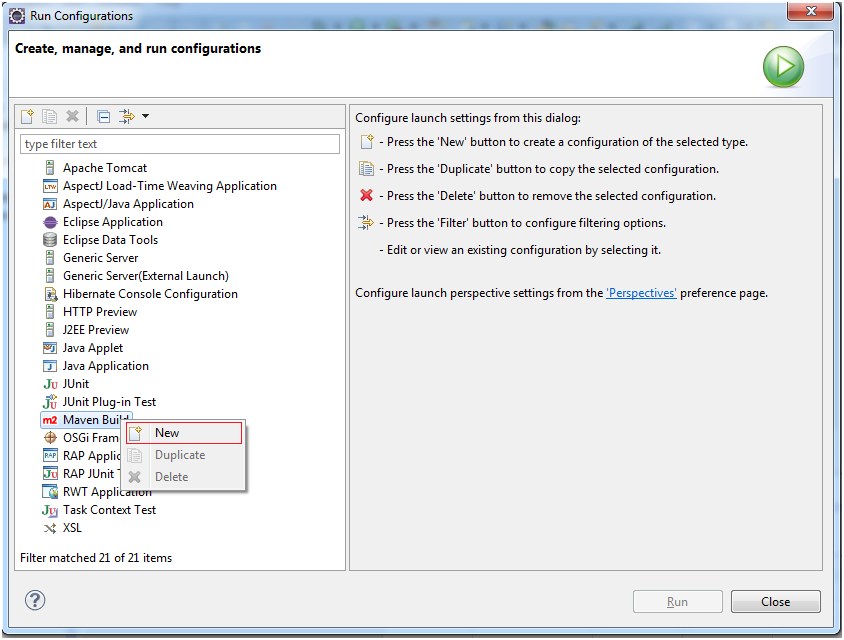
Create a new run configuration
Enter the information as shown below, click Apply and click Run.
- Run SimpleMavenWebApp
- ${workspace_loc:/SimpleMavenWebApp}
- tomcat7:run -X
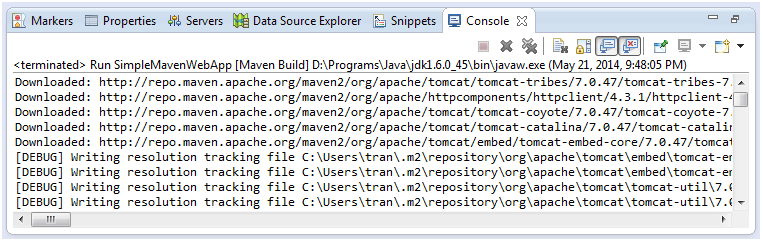
In the first run, Eclipse will download "Tomcat Maven Plugin", so you have to wait until the download is complete
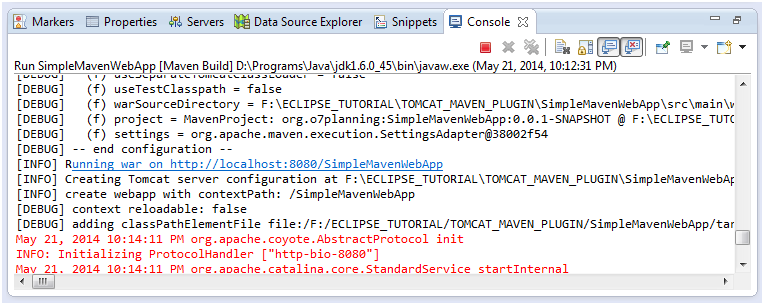
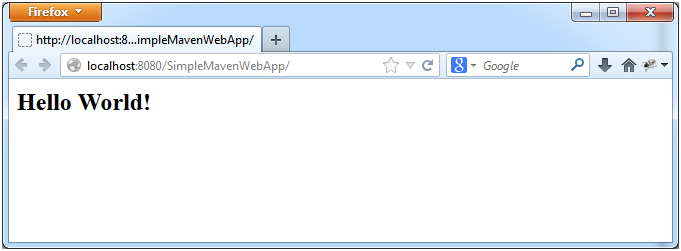
Copy the link below to run on your browser
To rerun the WebApplication you will need to close the currently running application.
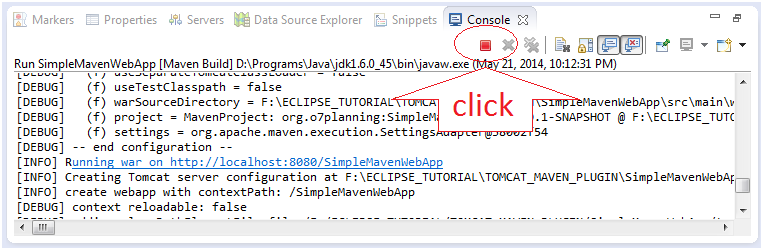
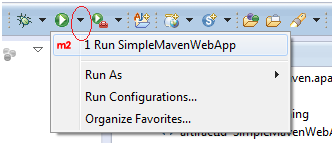
Run the application again
Maven Tutorials
- Install Maven for Eclipse
- Maven Tutorial for Beginners
- Maven Manage Dependencies
- Build a Multiple Module Project with Maven
- Run Maven Java Web Application in Tomcat Maven Plugin
- Run Maven Java Web Application in Jetty Maven Plugin
- Install Tycho for Eclipse
- Create Java OSGi project with Maven and Tycho
- Create an Empty Maven Web App project in Eclipse
- OSGi and AspectJ integration
Show More
Java Servlet/Jsp Tutorials
- Install Tomcat Server for Eclipse
- Install Glassfish Web Server on Windows
- Run Maven Java Web Application in Tomcat Maven Plugin
- Run Maven Java Web Application in Jetty Maven Plugin
- Run background task in Java Servlet Application
- Java Servlet Tutorial for Beginners
- Java Servlet Filter Tutorial with Examples
- Java JSP Tutorial for Beginners
- Java JSP Standard Tag Library (JSTL) Tutorial with Examples
- Install Web Tools Platform for Eclipse
- Create a simple Login application and secure pages with Java Servlet Filter
- Create a Simple Java Web Application Using Servlet, JSP and JDBC
- Uploading and downloading files stored to hard drive with Java Servlet
- Upload and download files from Database using Java Servlet
- Displaying Image from Database with Java Servlet
- Redirect 301 Permanent redirect in Java Servlet
- How to automatically redirect http to https in a Java Web application?
- Use Google reCAPTCHA in Java Web Application
Show More