Package and Deploy Desktop Application SWT/RCP
2. Create Project RCP
First make sure that you know SWT/RCP. If not, you may refer to learn SWT/RCP at:
- SWT:
- RCP
In this document I will create a RCP Project, example to packaging and deploying.
- File/New/Other...
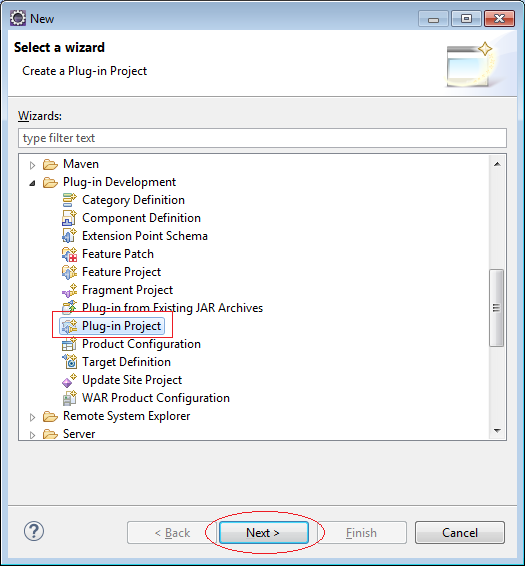
Enter:
- Project name: SimpleRCP

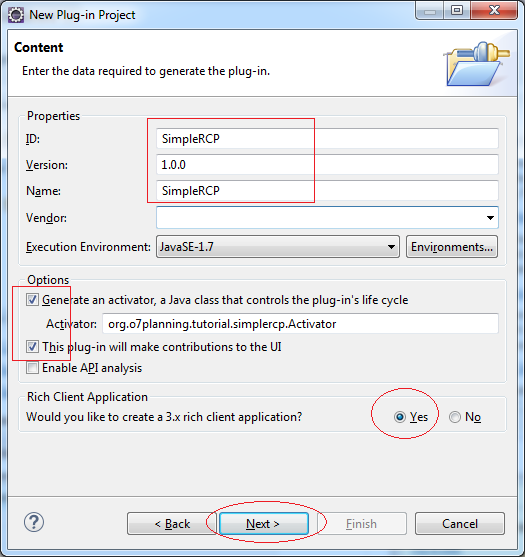
Enter:
- Activator: org.o7planning.tutorial.simplercp.Activator
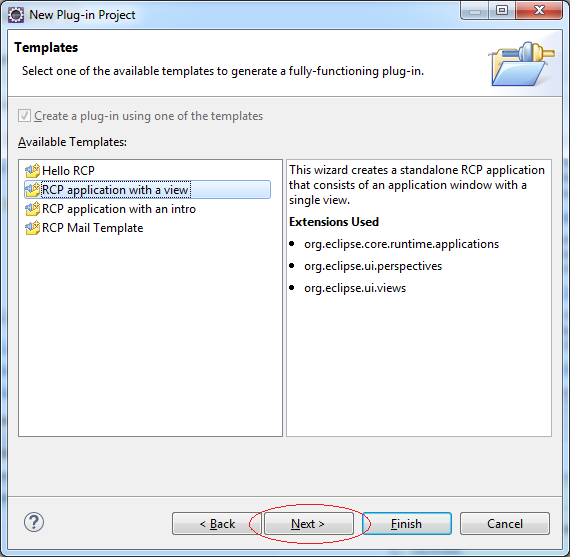
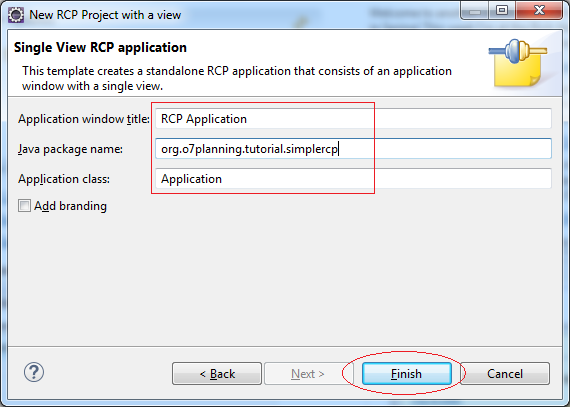
Enter:
- Java package name: org.o7planning.tutorial.simplercp
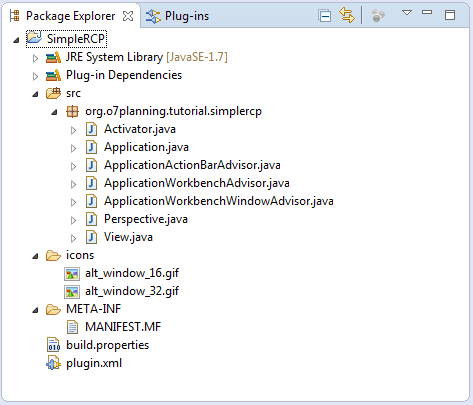
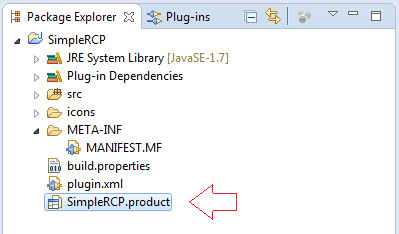
Project was created:
3. Running RCP application on Eclipse
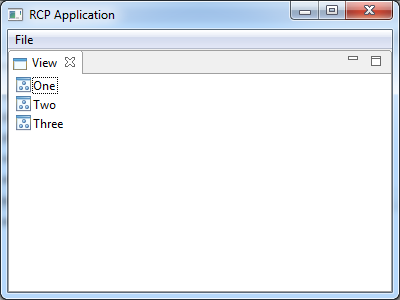
We run RCP Project has created, to ensure that everything is OK !.
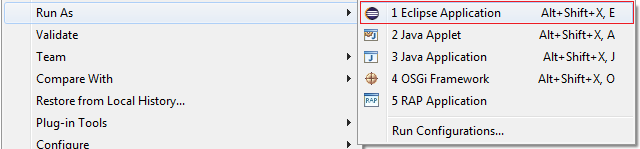
Right-click the project SimpleRCP, select Run As/Eclipse Application.
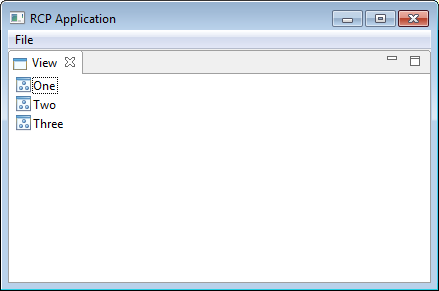
The application runs successfully.
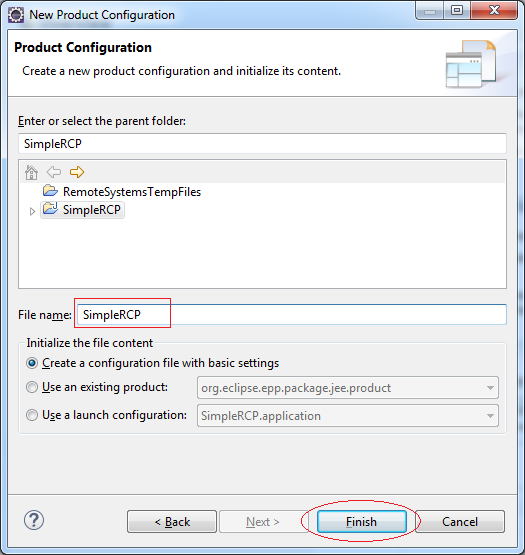
4. Product Configuration
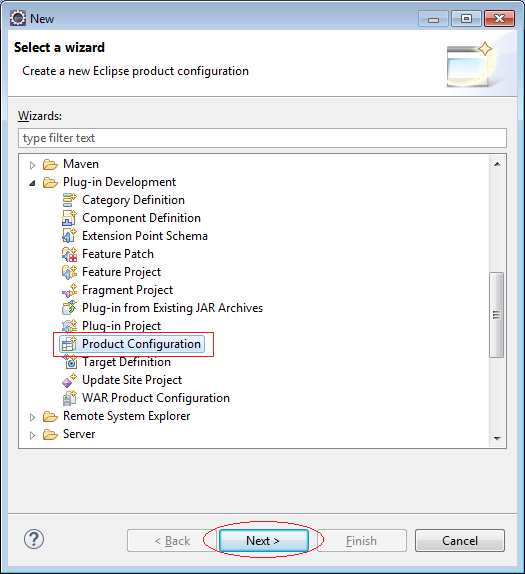
- File/New/Other...
Enter:
- File name: SimpleRCP
Enter:
- ID: mysimlercp
- Version: 1.0.0
- Name: RCP Demo
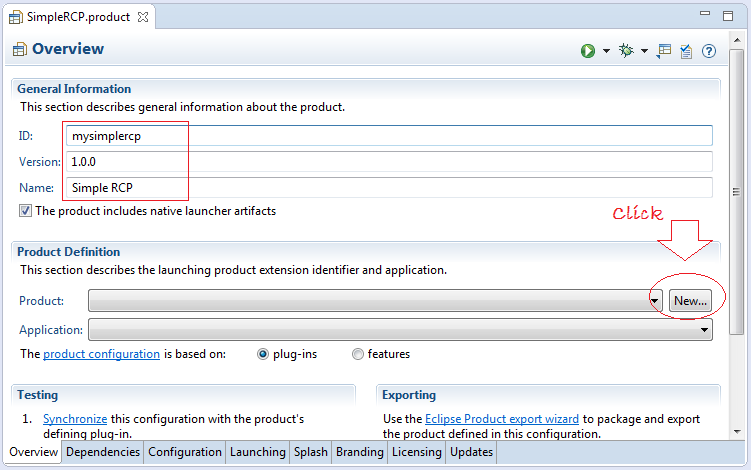
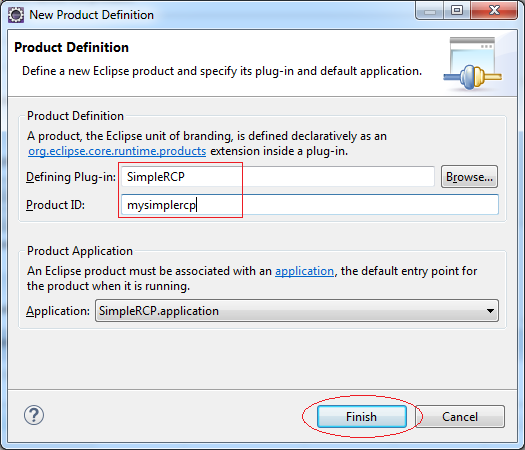
Enter:
- Product ID: rcpdemo
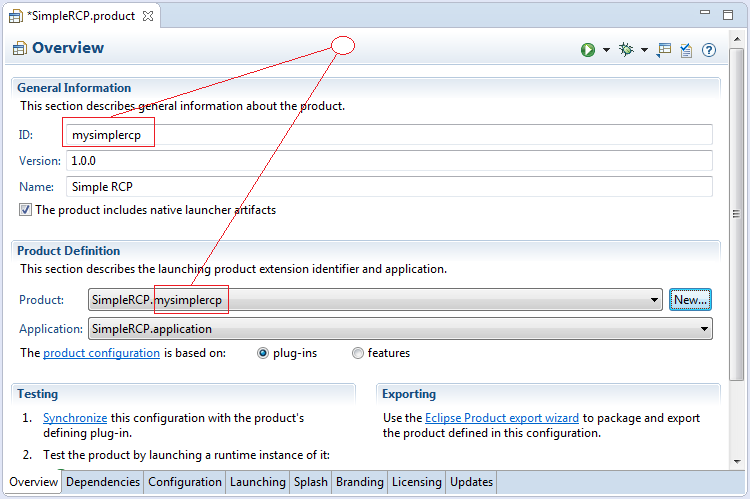

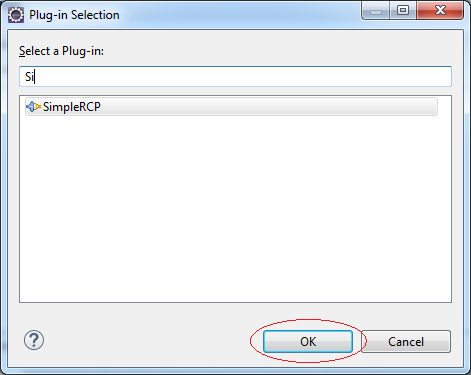
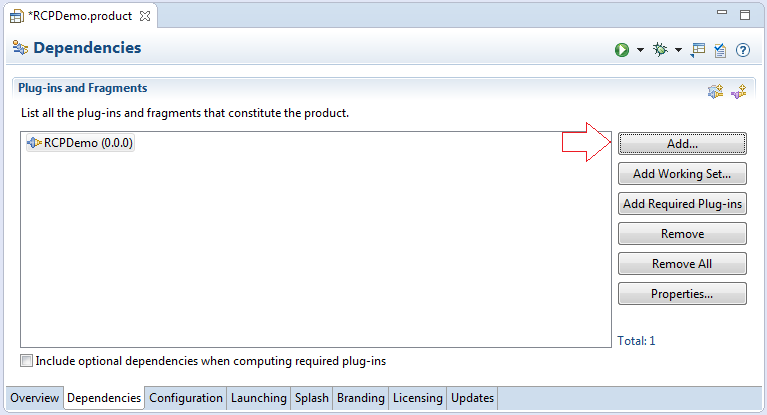
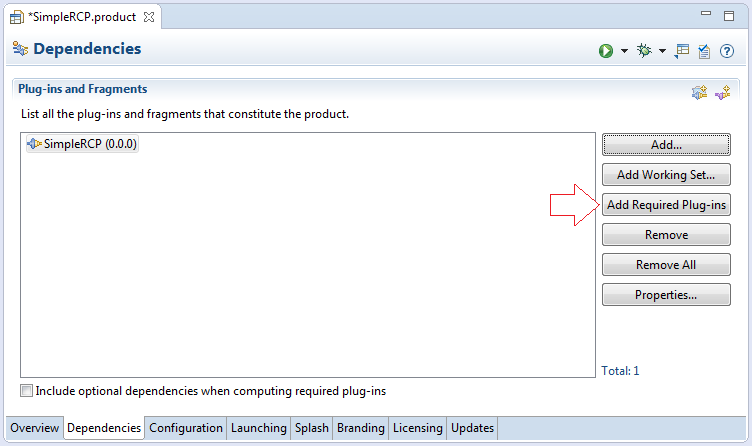
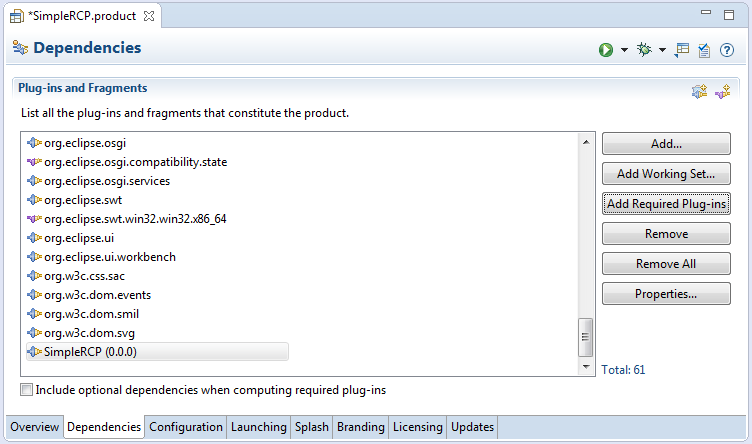
First Add your application to:
After pressing the Add Required Plug-ins, Eclipse automatically calculated and added to the list of all the plugins needed for applications that can run independently:
Switch to the Configuration tab:
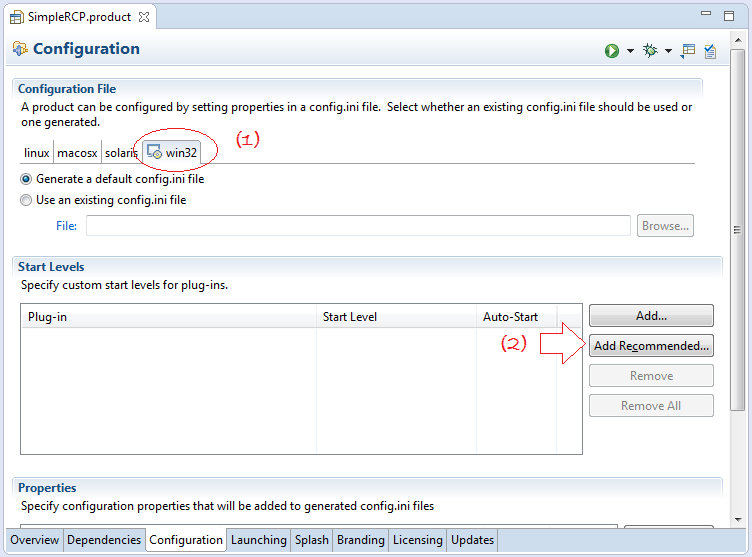
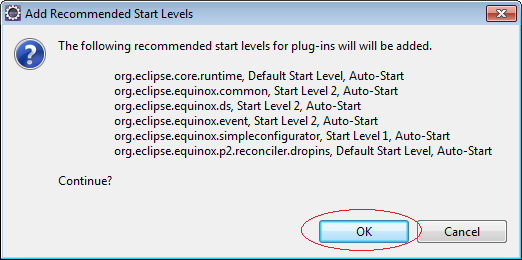
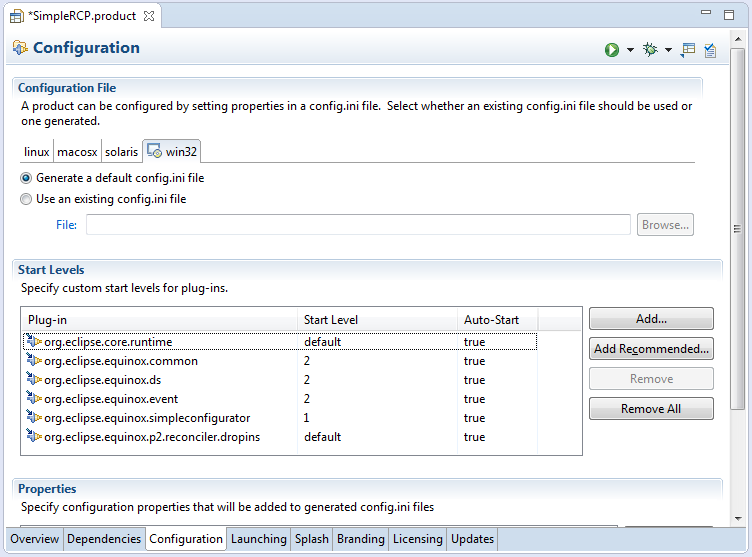
OK, that's all the minimum configuration required:
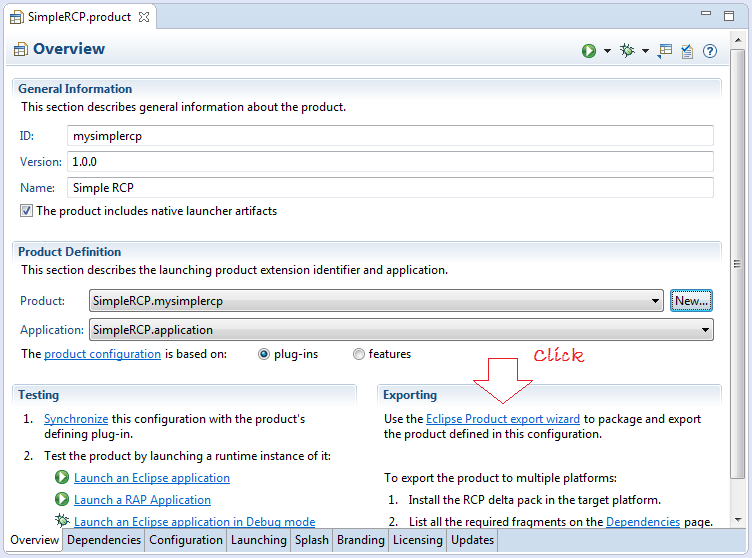
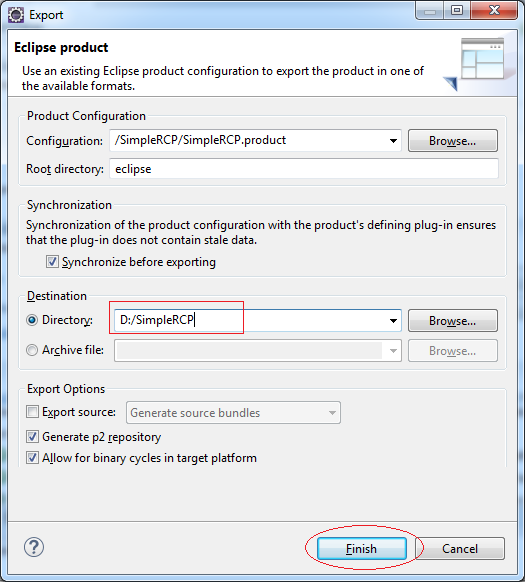
5. Export to Product
Enter:
- Root directory: eclipse
- Directory: D:/SimpleRCP
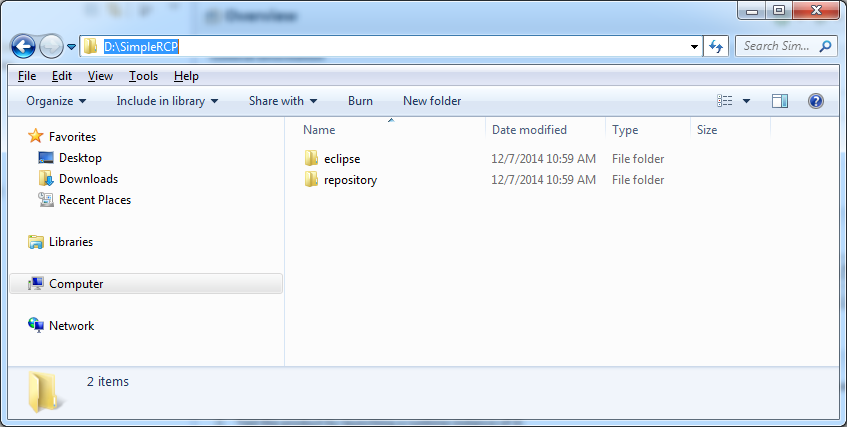
Tools have created an application, including 2 folder as shown below:
Note: It is not packaged into a single exe file.
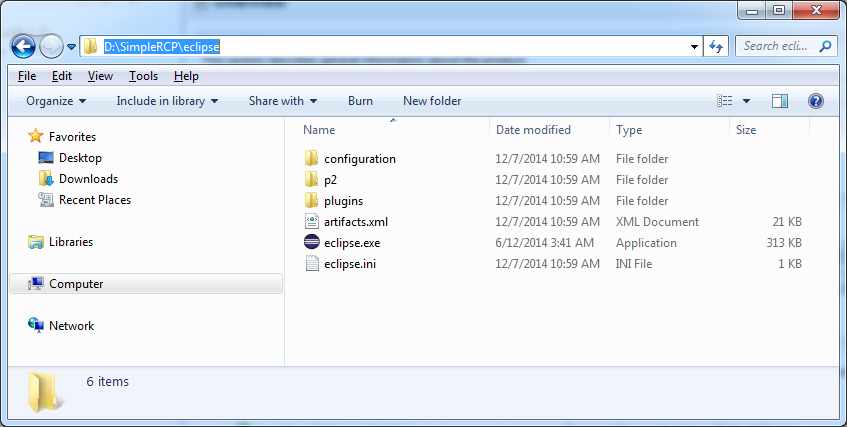
6. Running application on OS
Click eclipse.exe to run the application.
If you receive an error message "Failed to load the JNI shared libray", which means that the application can not find a place of the JRE or JDK or not valid JRE/JDK version.
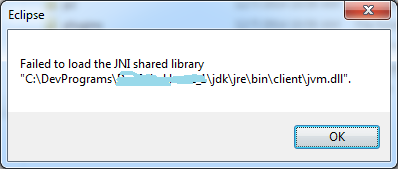
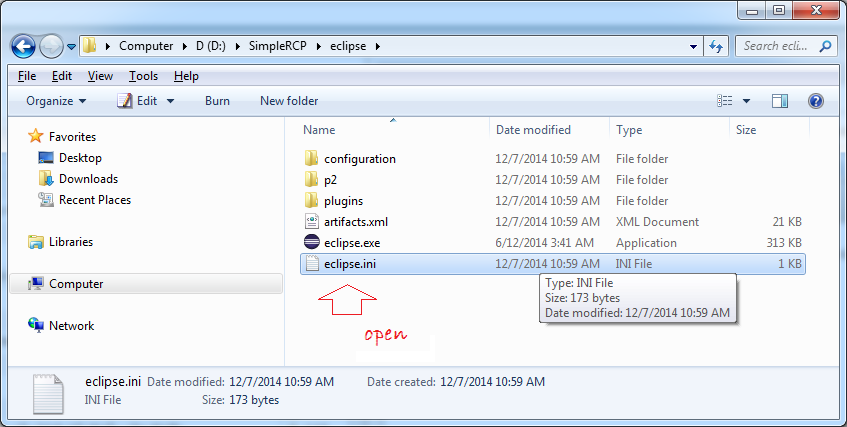
In that case you have to declare the JAVA_HOME environment variable on the OS. Or open eclipse.ini to directly configure the Java virtual machine.
Add:
-vm
D:\DevPrograms\Java\jdk1.7.0_45\bin\javaw.exe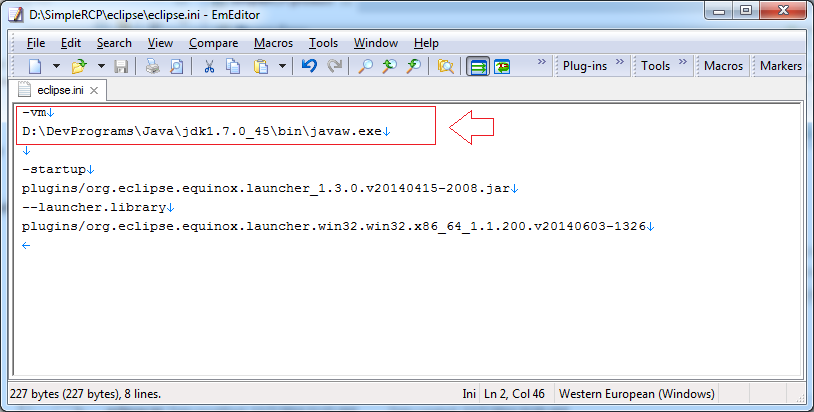
OK now you can run your application.
Eclipse RCP
- Which Platform Should You Choose for Developing Java Desktop Applications?
- Programming Java Desktop Application Using SWT
- Eclipse RCP 4 Tutorial for Beginners - e4 Workbench Application
- Package and Deploy Desktop Application SWT/RCP
- Eclipse RCP 3 Tutorial for Beginners - Workbench Application
- Install e4 Tools Developer Resources for Eclipse
- Simple Eclipse RCP 3 Application - View and Editor integration
Show More
Eclipse Technology
- How to get the open source Java libraries as OSGi(s)
- Install Tycho for Eclipse
- Java OSGi Tutorial for Beginners
- Create Java OSGi project with Maven and Tycho
- Install WindowBuilder for Eclipse
- Which Platform Should You Choose for Developing Java Desktop Applications?
- Programming Java Desktop Application Using SWT
- Eclipse JFace Tutorial with Examples
- Install e4 Tools Developer Resources for Eclipse
- Package and Deploy Desktop Application SWT/RCP
- Install Eclipse RAP Target Platform
- Install EMF for Eclipse
- Install RAP e4 Tooling for Eclipse
- Create Eclipse RAP Widget from ClientScripting-based widget
- Install GEF for Eclipse
- Eclipse RAP Tutorial for Beginners - Workbench Application (OLD)
- Eclipse RCP 3 Tutorial for Beginners - Workbench Application
- Simple Eclipse RCP 3 Application - View and Editor integration
- Eclipse RCP 4 Tutorial for Beginners - e4 Workbench Application
- Install RAP Tools for Eclipse
- Eclipse RAP Tutorial for Beginners - Basic Application
- Eclipse RAP Tutorial for Beginners - e4 Workbench Application
- Package and deploy Eclipse RAP application
Show More