Install Ubuntu Desktop in VmWare
1. Download Ubuntu
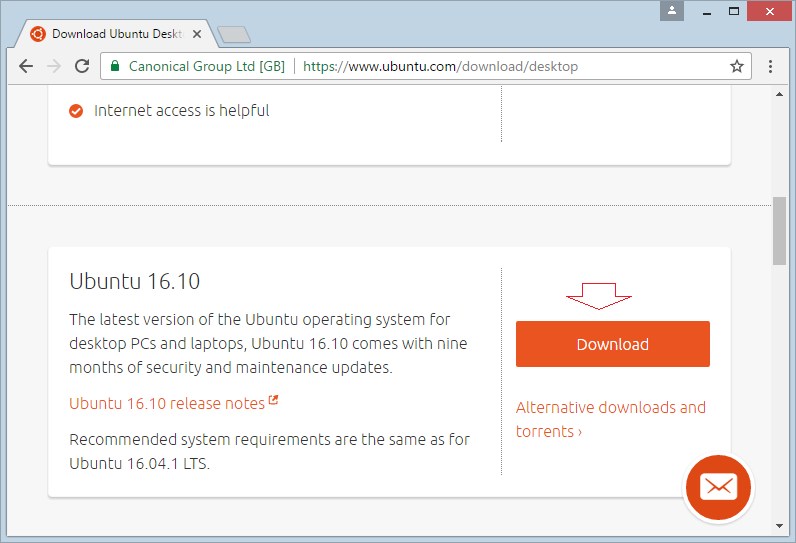
The updated version of Ubuntu Desktop (January 2017) is 16.10, we will install this version:
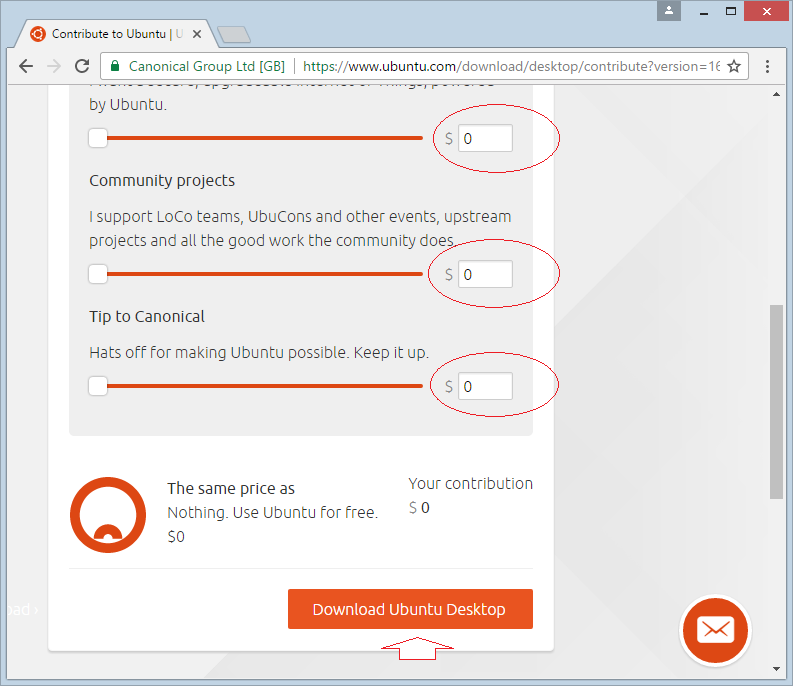
In order to download Ubuntu Desktop, you can access address below:
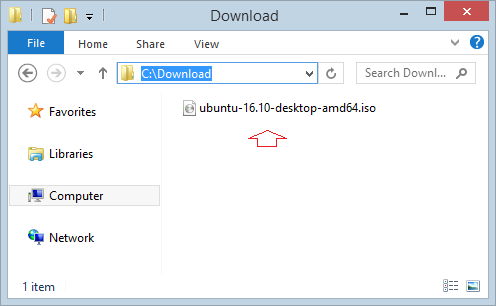
The result of download is:
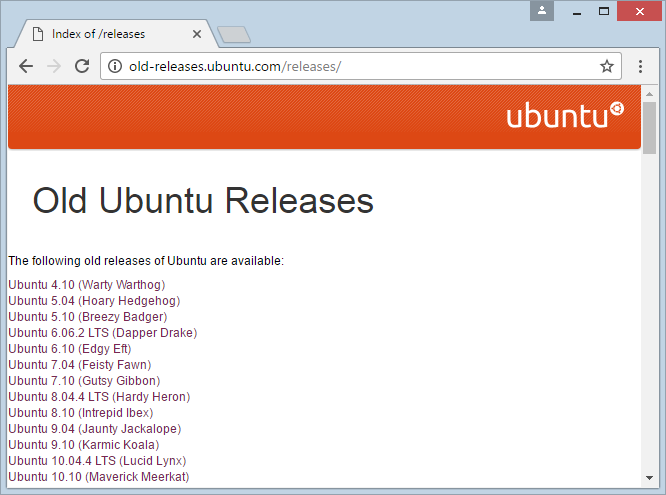
You can find earlier versions of Ubuntu here:
2. Installing Ubuntu on VmWare
Open VmWare and create a new virtual machine:
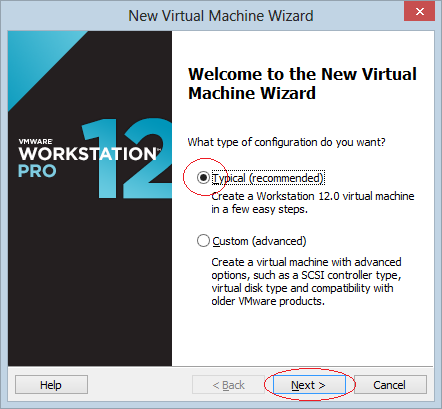
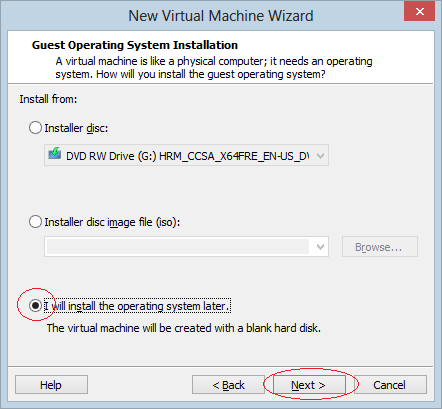
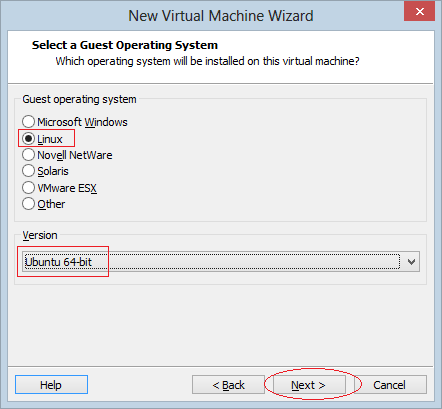
Now you are creating a new virtual machine, install the operating system for the virtual machine will perform later.
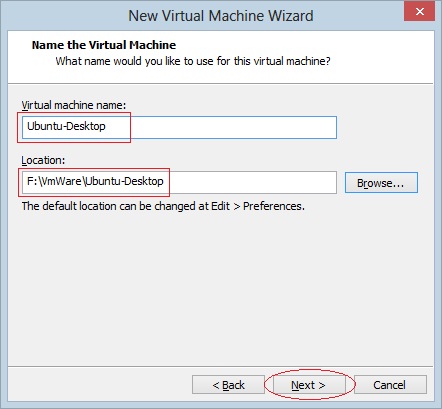
Name the virtual machine will be installed, and location to install:
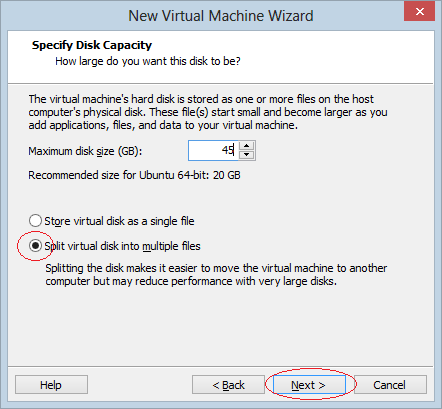
Selecting the hard drive space for the virtual machine, here I set is 45GB.

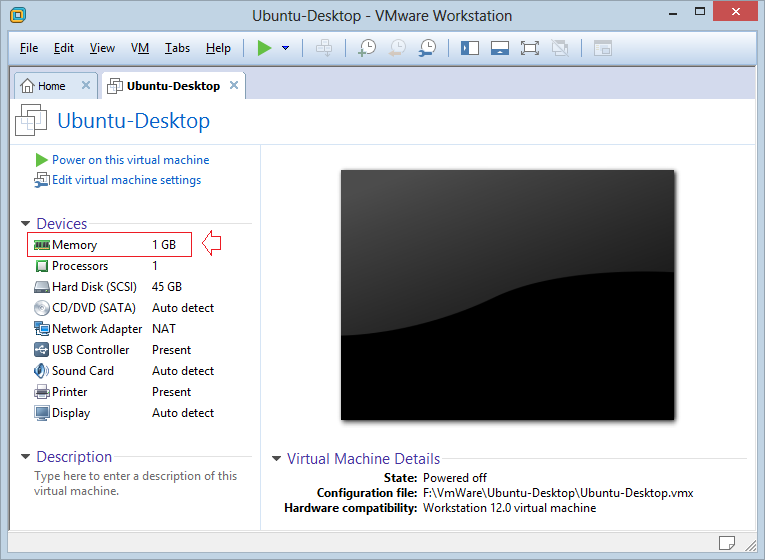
Now the virtual machine is created, you can change parameter for it:

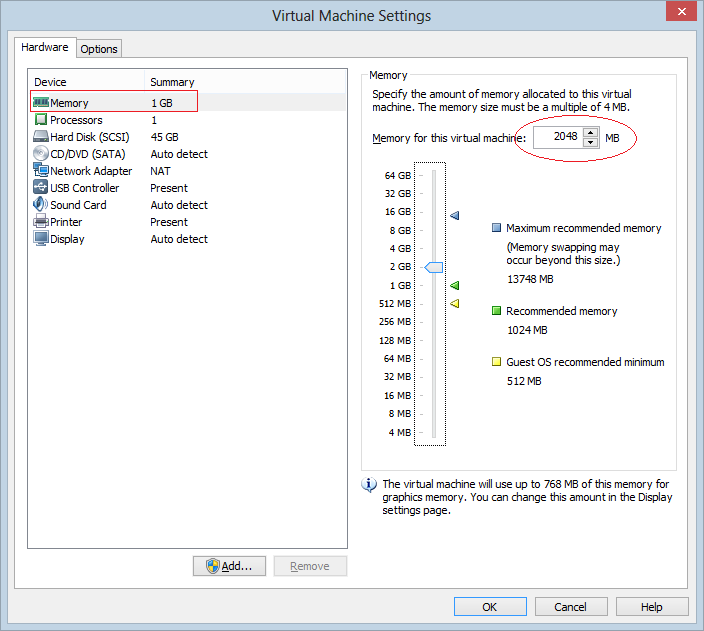
Thay đổi RAM:
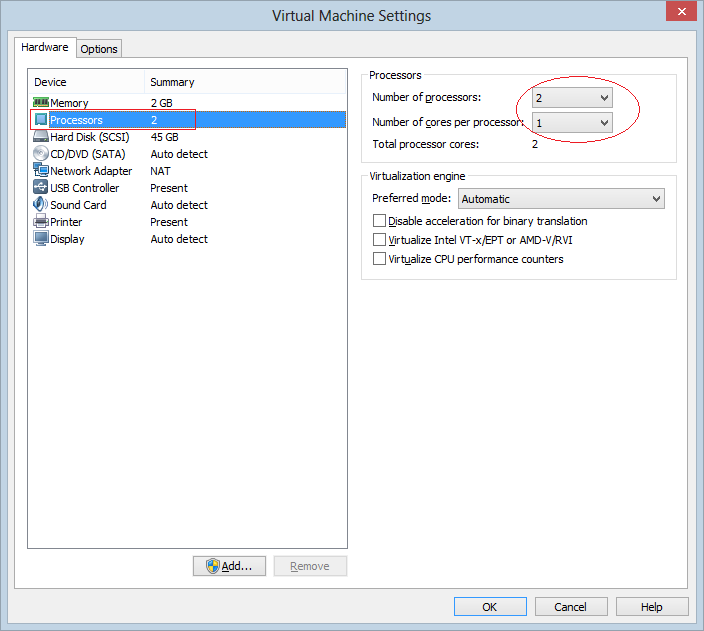
Change the number of processor:
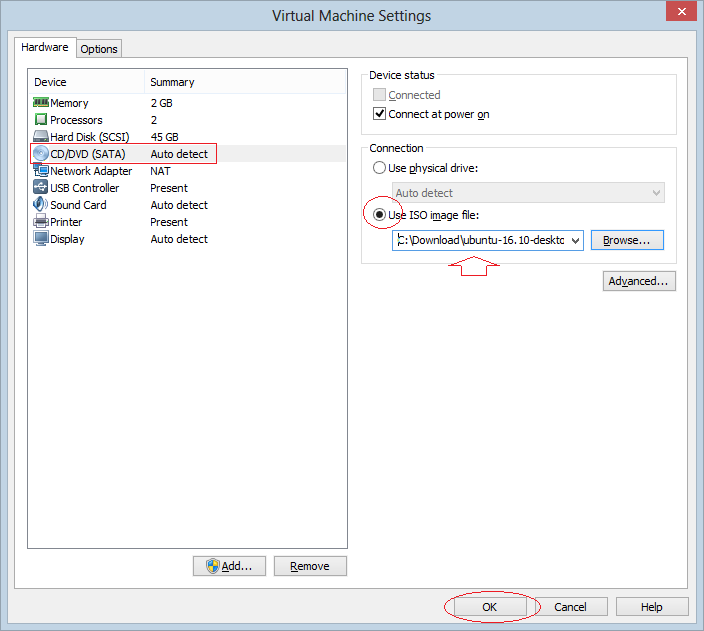
Selecting the file location of Ubuntu Desktop installment that you have already downloaded above so that you can start installing the OS for the virtual machine.
Installing OS:
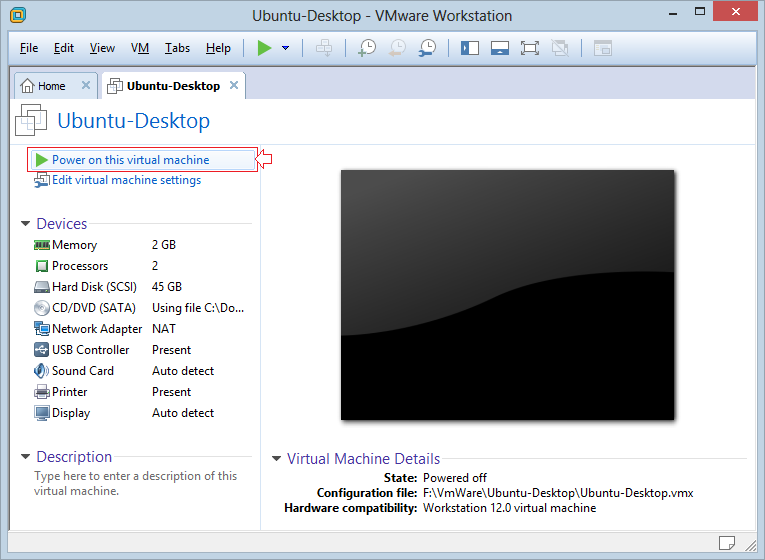
Clicking "Power on this Virtual Machine" to start installing the OS (If the OS has already installed, the button will boot the virtual machine's OS).
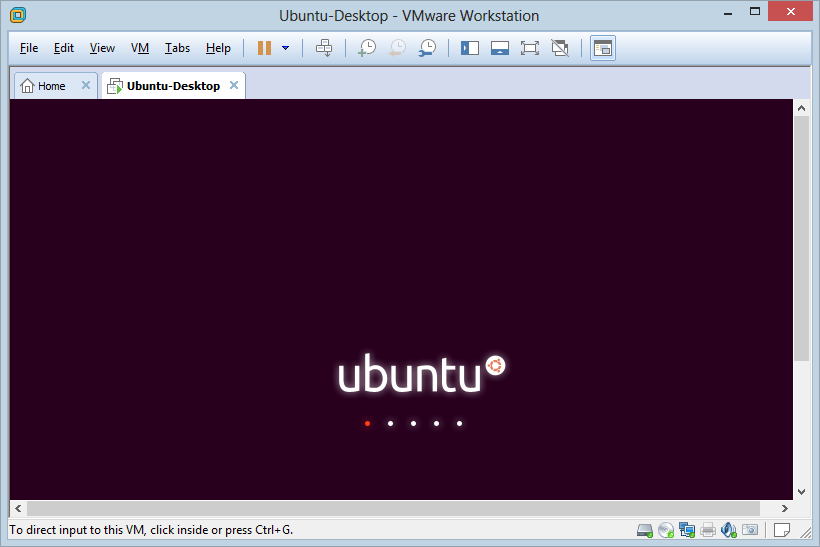
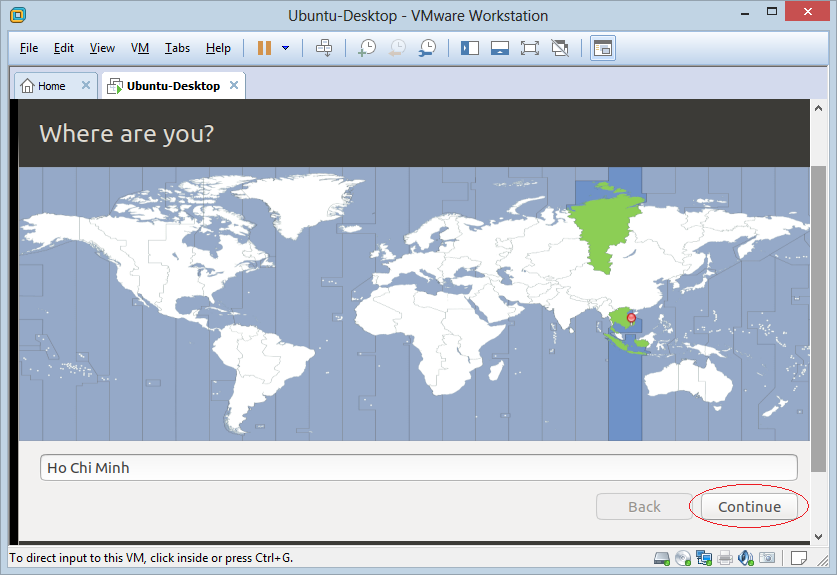
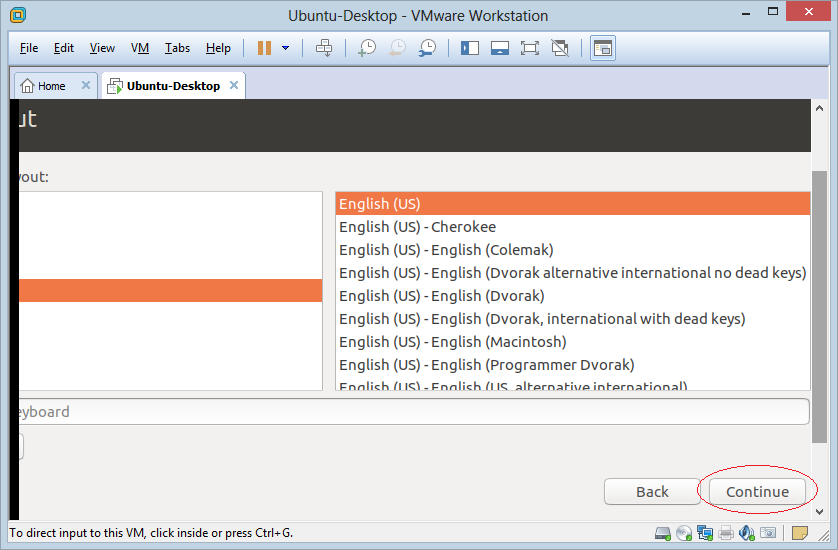
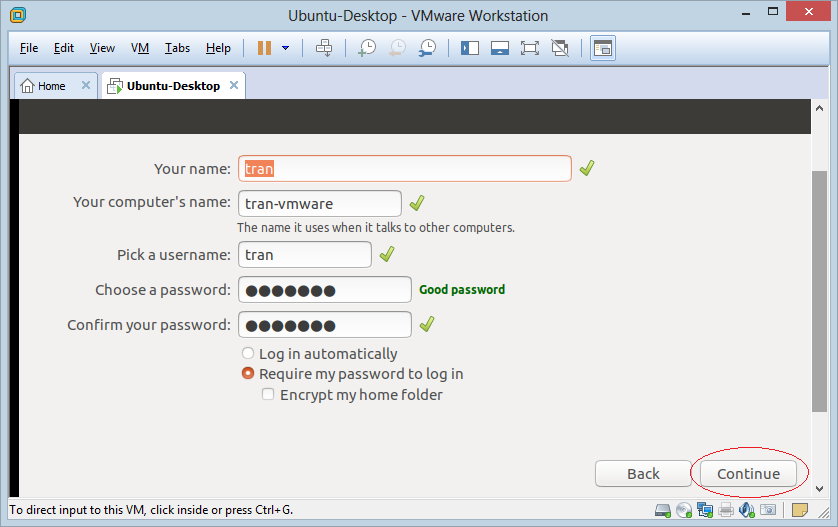
Ubuntu Desktop bắt đầu được cài đặt:
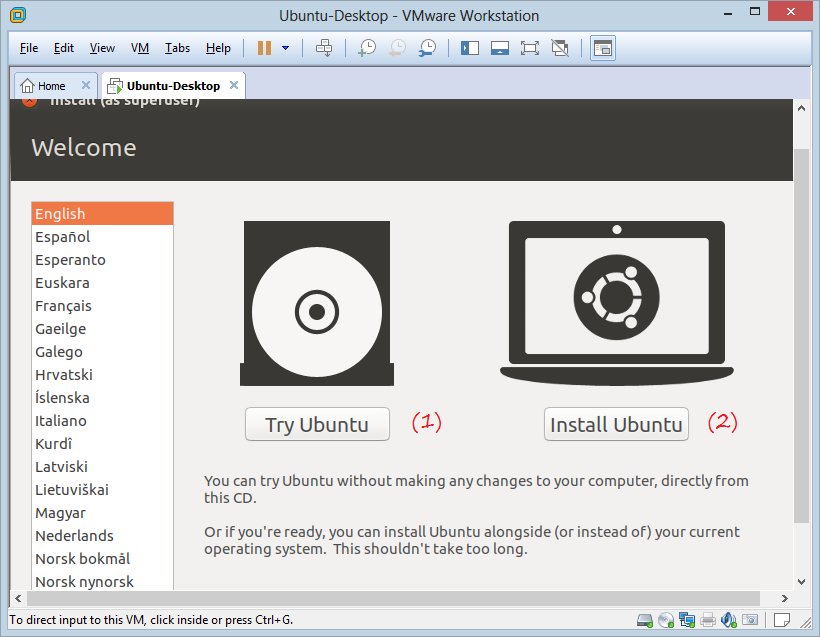
Next there are 2 options for you:
- Try to use Ubuntu, you can use Ubuntu immediately without installing it.
- Install Ubuntu
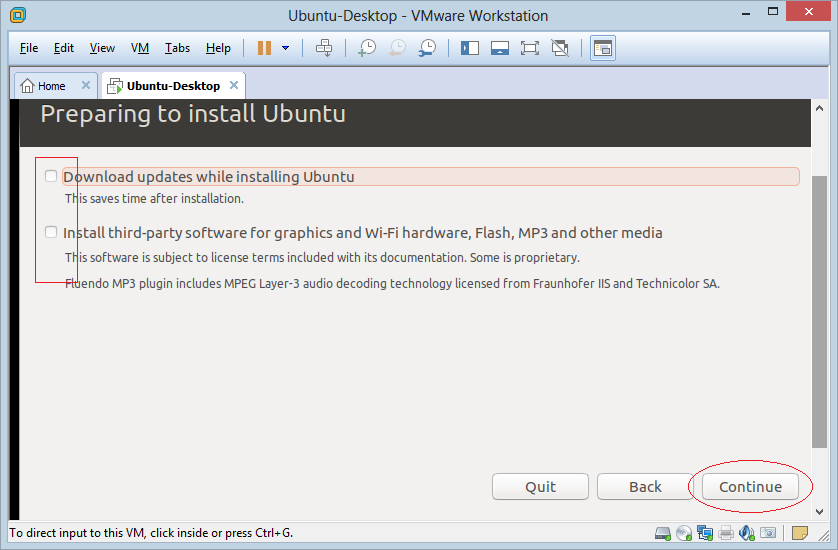
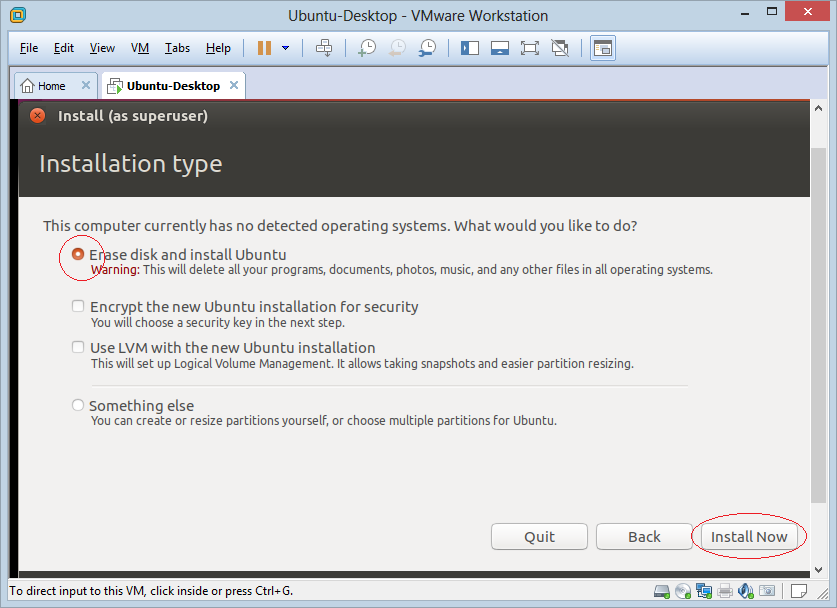
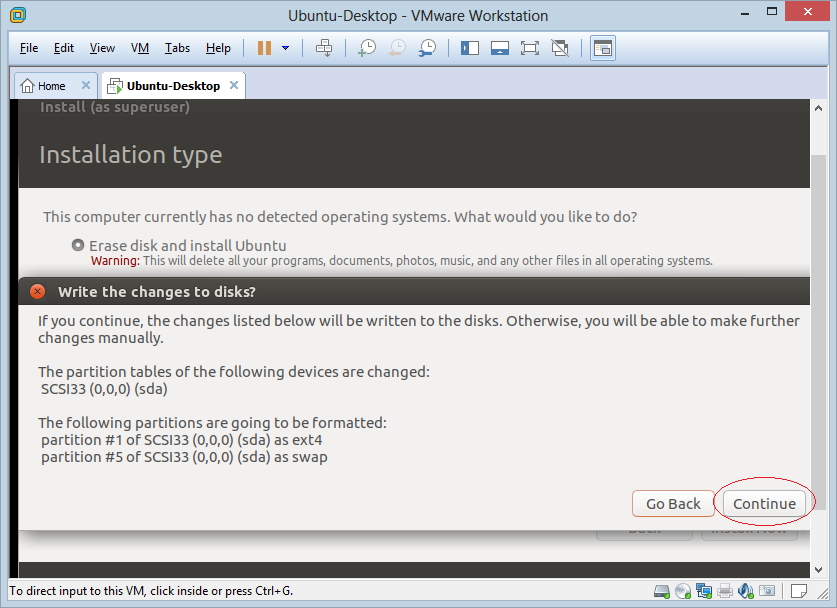
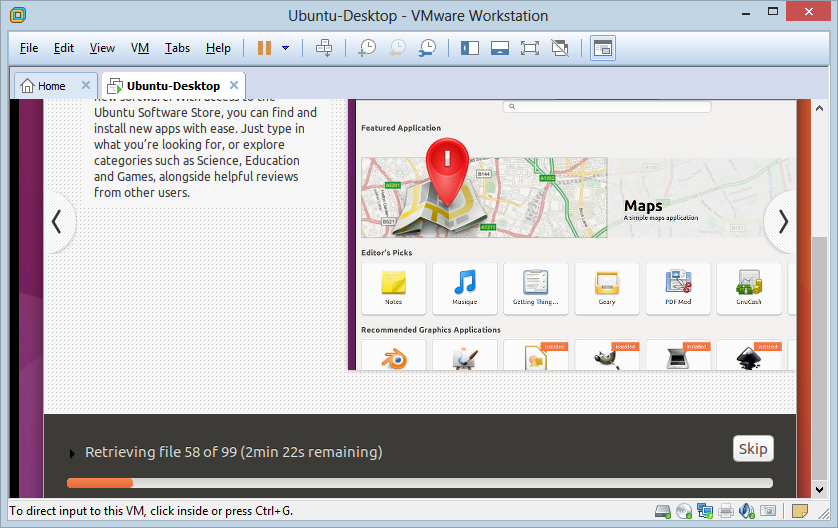
The Ubuntu OS is being install
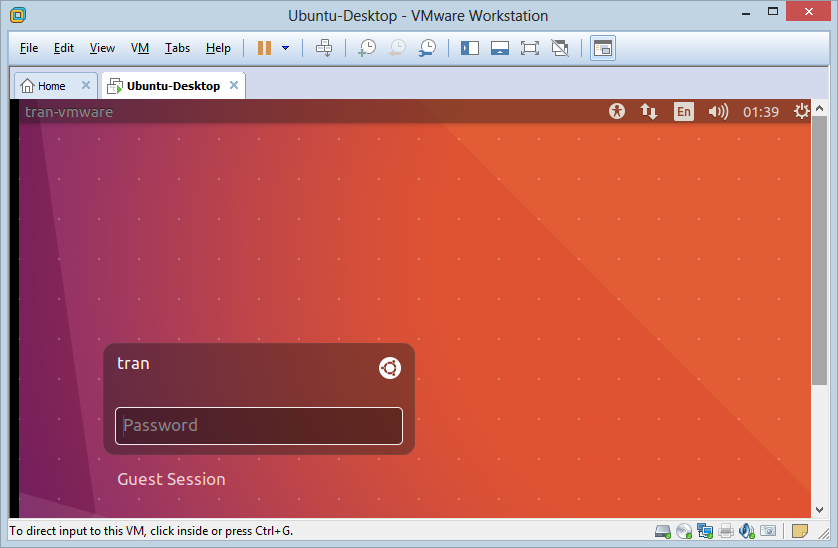
After being successfully installed, you need to restart the OS.

Note: If you get the following error when start Ubuntu, you can see how to fix it in the appendix at the end of the post:Piix4_SMBus: 000:00:07.3: Host SMBus controller bus not enabled

3. Appendix: Fix Error
After you finish installing the Ubuntu OS for the virtual machine and restart it, you can get the following error:
Piix4_SMBus: 000:00:07.3: Host SMBus controller bus not enabled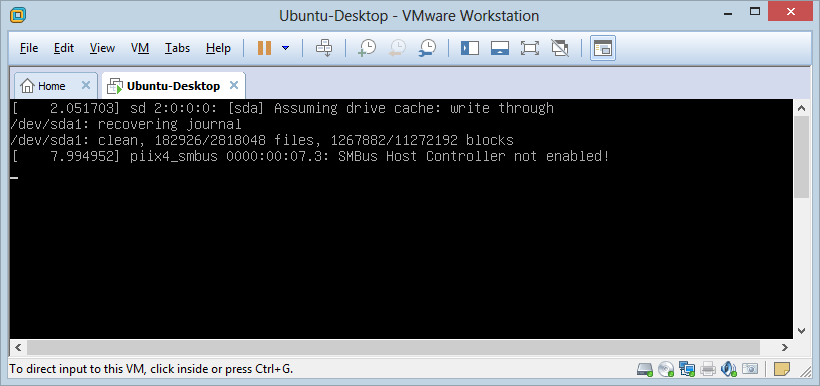
This error is being caused because VMware doesn’t actually provide that level interface for CPU access, but Ubuntu try to load the kernel module anyway.
Turn off the virtual machine and open the folder that contains the virtual machine you have installed. Find the file "Ubuntu-Desktop.vmx" and open it by notepad to fix it.
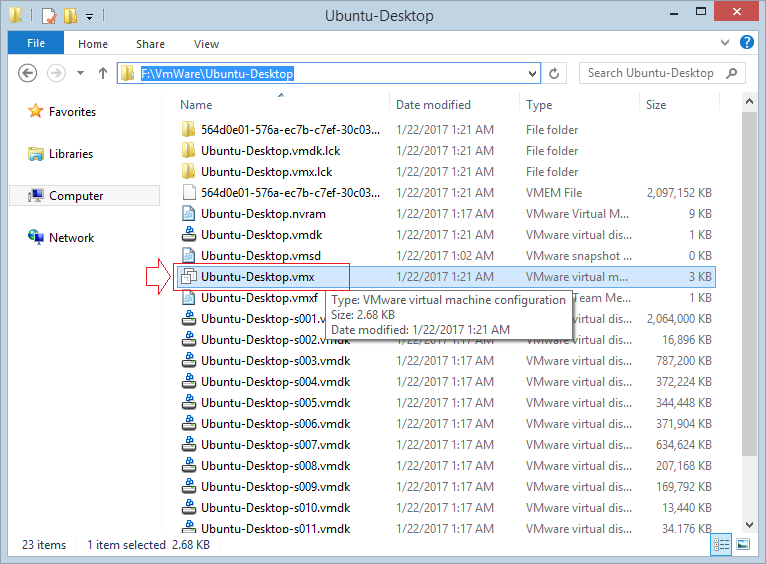
Add to the end of file:
cpuid.1.eax = "0000:0000:0000:0001:0000:0110:1010:0101"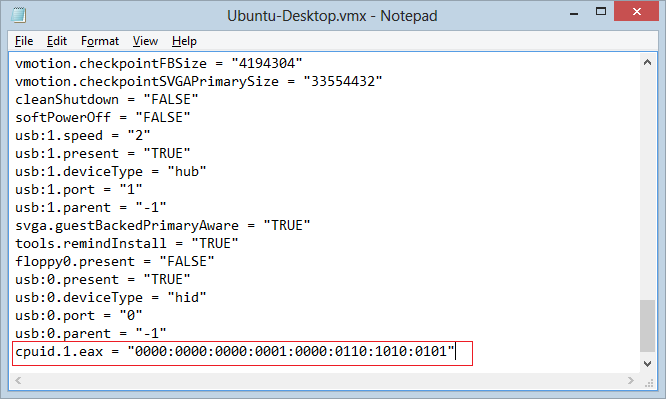
Ubuntu Tutorials
- Install GParted hard drive partition software on Ubuntu
- Install Ubuntu Desktop in VmWare
- Install Ubuntu Desktop on VirtualBox
- Create a Launcher (Shortcut) for a program in Ubuntu
- Install Ubuntu Server in VmWare
- Install GUI and VNC for Ubuntu Server
- Install OpenSSH Server on Ubuntu
- The softwares create note windows on Desktop for Ubuntu
- Install TeamViewer on Ubuntu
- Peek: Animated GIF Screen Recorder Software for Ubuntu
- Install GUI and Remote Desktop for Ubuntu Server
- Transfer files between computers using Cyberduck on Mac OS
- How to use the "hosts" file?
- Install Firefox Browser on Ubuntu
- Redirect port 80, 443 on Ubuntu using iptables
- Use WinSCP to transfer files between Computers
- Use Top Command - Task Manager for Ubuntu
- Check Internet Speed with speedtest-cli on Ubuntu
- Install Winrar on Ubuntu
- Install xChm Viewer to read the CHM file on Ubuntu
- Install FFmpeg on Ubuntu
- Setup environment variables on Ubuntu
Show More