Create DigitalOcean Spaces Bucket
1. Create a Spaces Bucket
First, login to DigitalOcean:
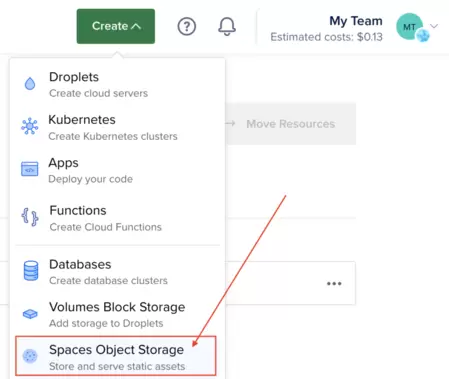
After successfully logging in, click the "Create" button in the upper right corner and select "Spaces Object Storage":
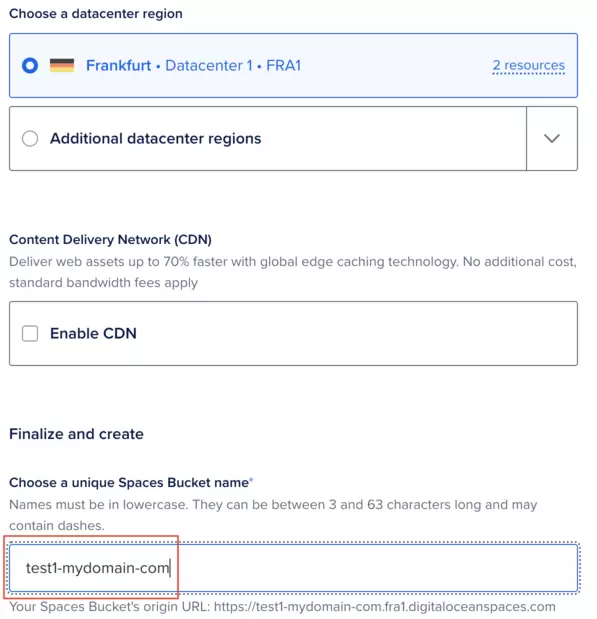
Select a data center and name your Spaces Bucket. Note, the name of the Spaces Bucket is unique to all users, so you should give it a name that is related to one of your domains, for example:
- static-mydomain-com
- s1-mydomain-com
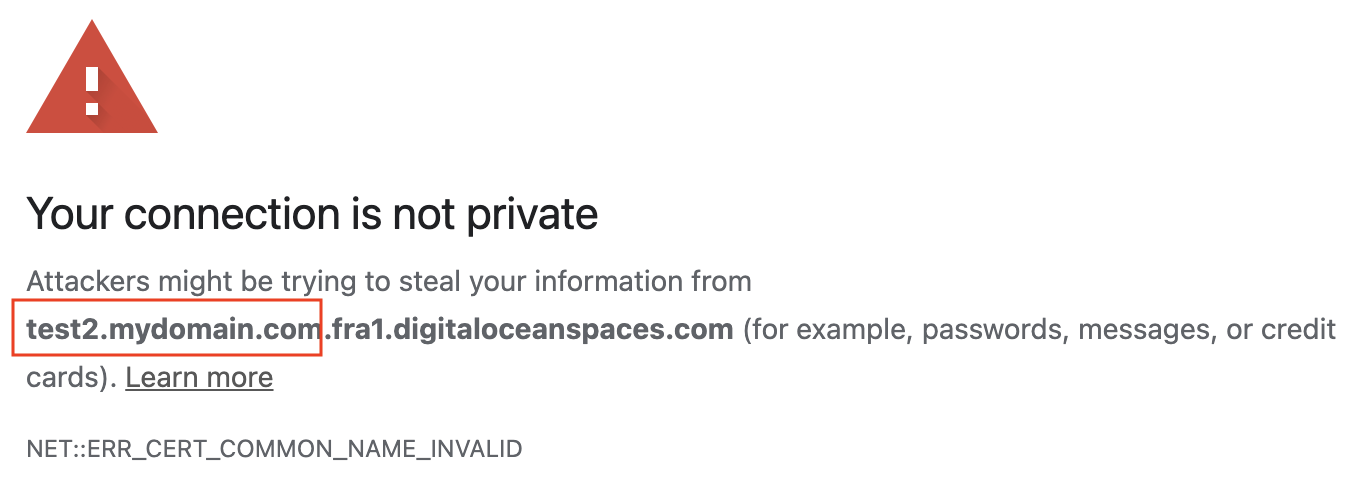
The name of the Spaces Bucket should not contain a dot because it causes SSL error messages when you try to access the file directly in the browser. The reason is that "digitaloceanspaces.com" only supports SSL for 1st and 2nd level subdomains.
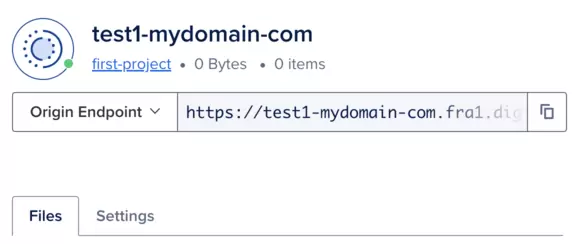
Very quickly and easily, a Spaces Bucket was created.
2. Upload file to Spaces Bucket
After successfully creating a Spaces Bucket, you can upload your files directly or through tools like S3CMD or Awssdk S3 Rest API.
For example, here I have uploaded a few files directly.
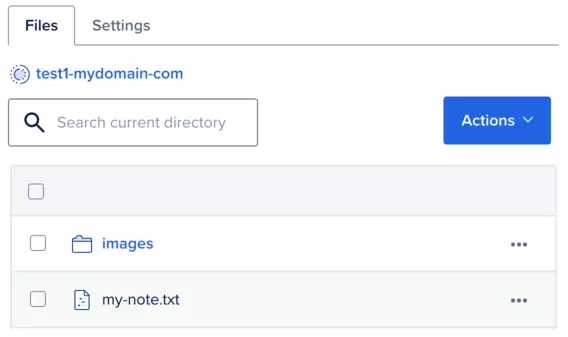
By default files are placed in "private" mode.
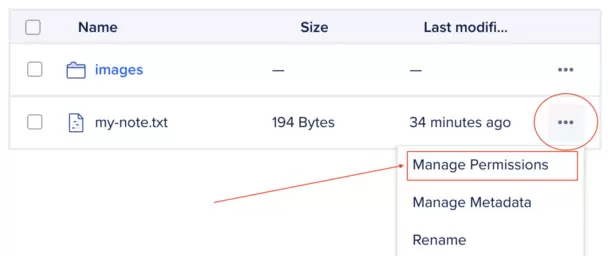
To be able to access certain files directly in your browser, you need to switch it to "public" mode.
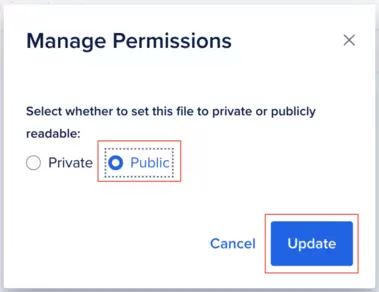
And now you can access that file directly in the browser:
- https://my-bucket-name.fra1.digitaloceanspaces.com/path/to/file
Amazon Web Services Tutorials
- Introduction to Amazon Web Services (AWS)
- Introduction to Amazon S3
- Introduction to Amazon Cloudfront and its architecture
- How to reduce Amazon Cloudfront Costs?
- Amazon CloudFront Invalidation
- Introduction to DigitalOcean Spaces
- Create DigitalOcean Spaces Bucket
- Introduction to Amazon ACM
- Java Awssdk S3 S3Client Upload object
- Create AWS accessKeyId/secretAccessKey
- Java Awssdk S3 List objects
- Host a static website on Amazon S3
- Java Awssdk CloudFront Invalidation
- DigitalOcean Spaces Create Access Key
- Java Awssdk Common Credentials Providers
- Java Awssdk ProfileCredentialsProvider
- Java Awssdk Creating and using EnvironmentVariableCredentialsProvider
- Java Awssdk Creating and using SystemPropertyCredentialsProvider
- Java Awssdk S3 Upload object with S3TransferManager
- Java Awssdk S3 S3TransferManager download object
- Java Manipulate DigitalOcean Spaces using S3TransferManager
- Java Create, list and delete S3 Bucket
- Aws Console create IAM User
- Create Amazon S3 Bucket
- Configure custom domain for Amazon S3 static website
- Create a CloudFront distribution for S3 Bucket
- Configure Amazon CloudFront Error Pages
- Amazon S3 Bucket policies
- Amazon AWS Policy Generator - policygen
- Migrate DNS service to Amazon Route 53
- Transfer domain registration to Amazon Route 53
- Request an SSL certificate from Amazon ACM
Show More