Programming for Team using XCode and SVN
1. Overview of XCode and SVN
While developing a large application requires multiple members, which requires a tool to help manage and share source code. Two popular tools support this are SVN (Subversion) and GIT.
In this lesson I will show you how to use the XCode IDE to interact with the SVN. The image below illustrates the interaction between the XCode and the SVN.
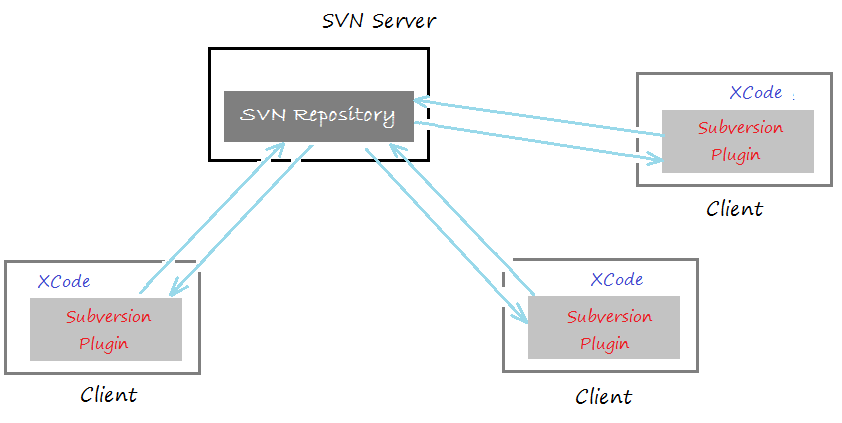
SVN Repository means a repository, used as a place to store data, and shared among all team members. To have an SVN Repository you need to install SVN Server software on a computer, or you can use a SVN Repository provided free of charge (for example XP-Dev).
See more:
The team members use the XCode on their computers and download data from the SVN Repository to a local directory, which is also called the local repository. The changes on the Local Repository can be updated on the SVN Repository and vice versa.
2. Declare SVN Repository on XCode
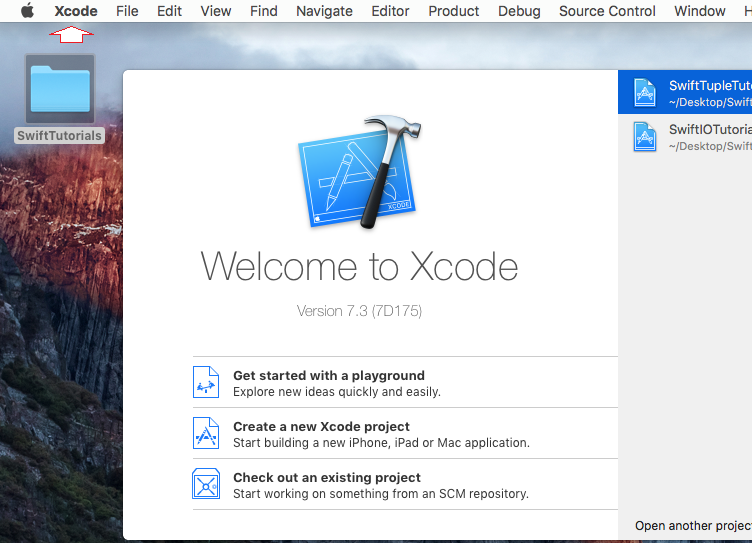
On Mac OS, openXCode program, you will see XCode menu on Desktop screen in the upper-left corner.

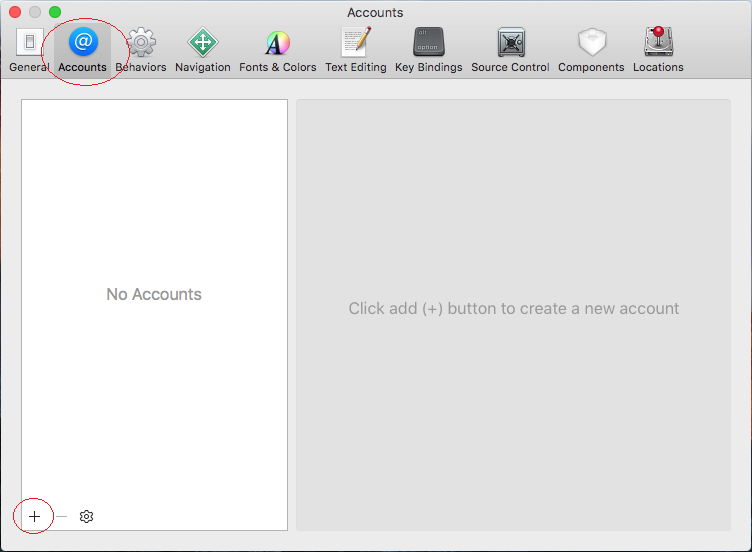
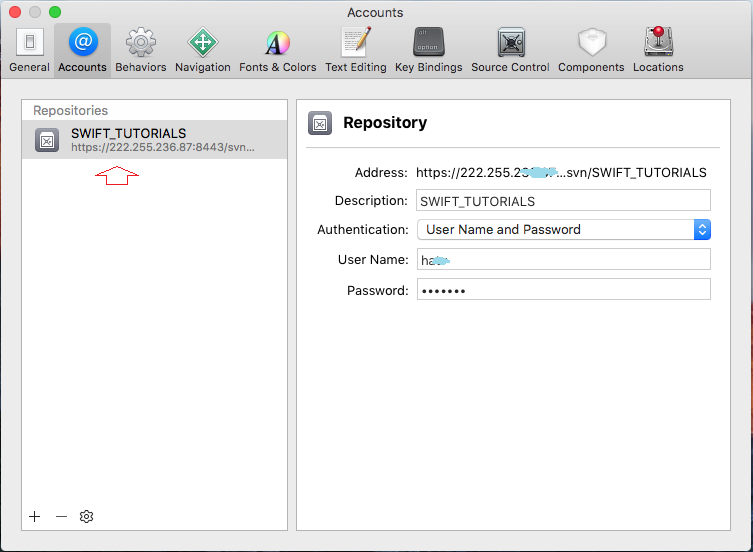
Choose "Accounts" tab and and press (+) icon to add an account.
There are 3 kinds of account, however, in this case, we will create a Repository.
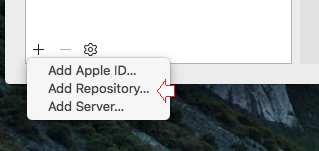
Enter SVN Repository, and your username/password.

OK, You have created a SVN Repository on the XCode successfully.
3. Import a Project on SVN Repository
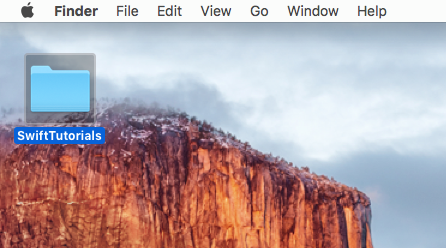
First of all, a team member needs to put Projects on the SVN Repository. To illustrate, I have some projects located in the SwiftTutorials folder on the Desktop. I will import these projects into the Repository.
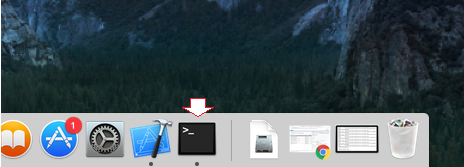
On the Mac OS, openTerminal program.
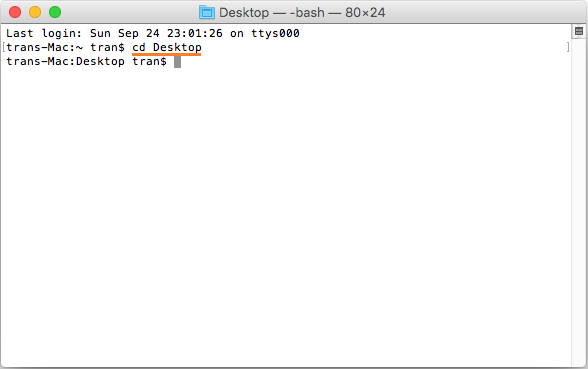
CD to the Desktop folder.
Perform an order to import the SwiftTutorial folder into the SVN Repository.
svn import -m "Some Note.."  Your_Directory_Path   Svn_Repository_Url

# Example:

svn import -m "Some Note.."   SwiftTutorials/   https://localhost/svn/SWIFT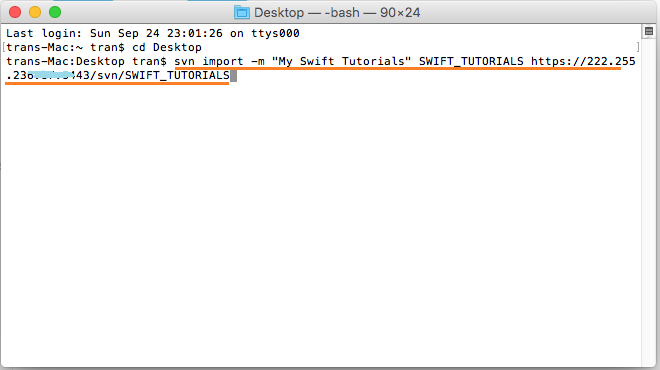
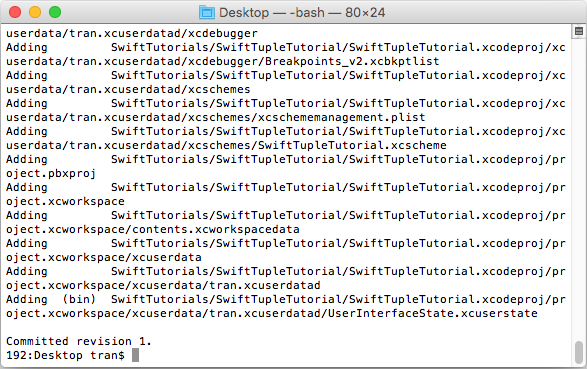
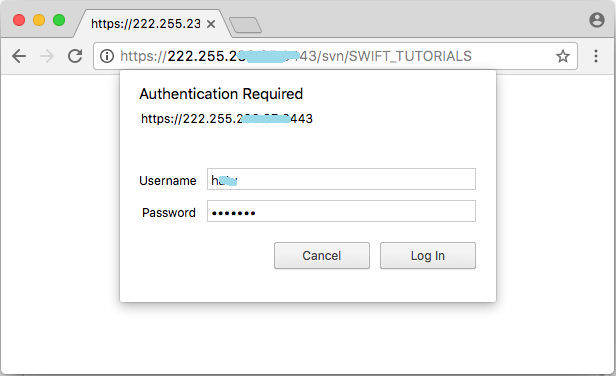
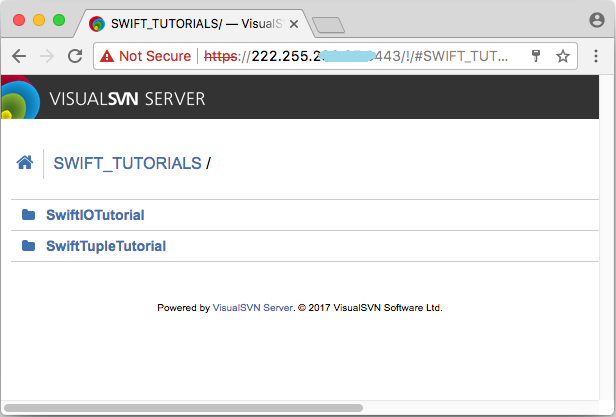
OK, at this time, projects have been imported into SVN Repository. You can see them by using the browser and visit URL Repository.
4. Checkout
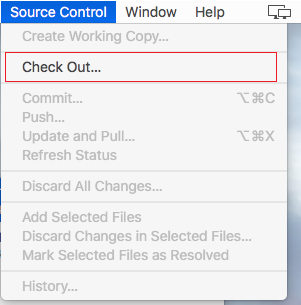
After projects have been on SVN Repository, and other members can download using the Checkout function of the XCode.
Projects obtained through the Checkout function will be managed by SVN at the Local Repository. This means that all team members have to Checkout, including the person having imported the project to the SVN Repository.
If you are the person having imported the projects to theSVN Repository through the import function, delete your original projects and get the projects back using the Checkout function.
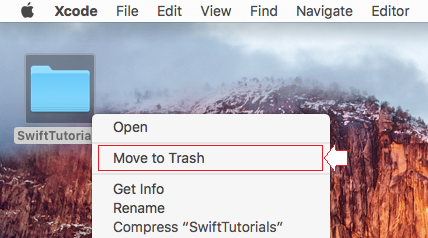
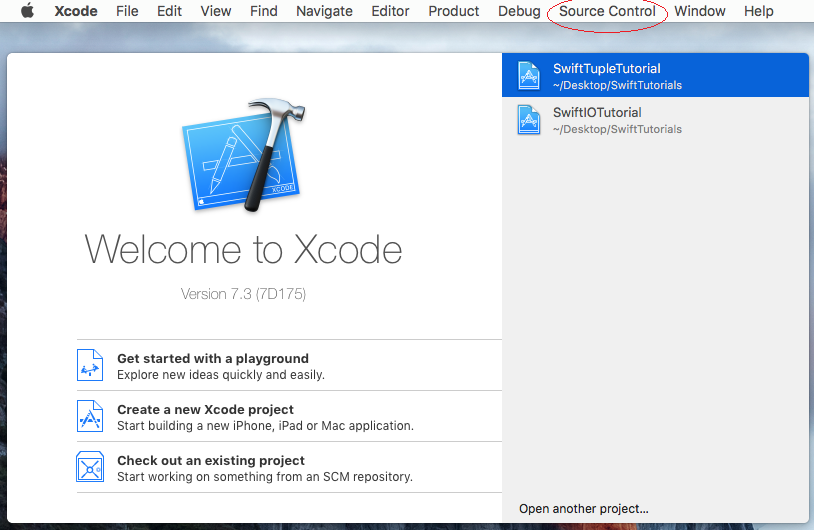
Open the XCode, and you can see "Source Control" menu:
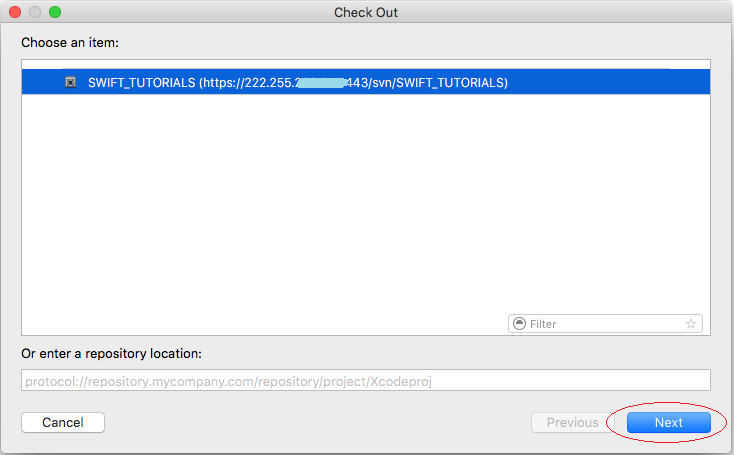
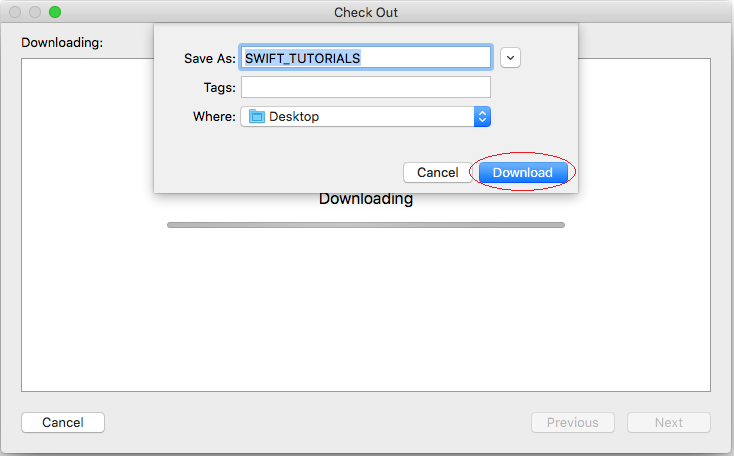
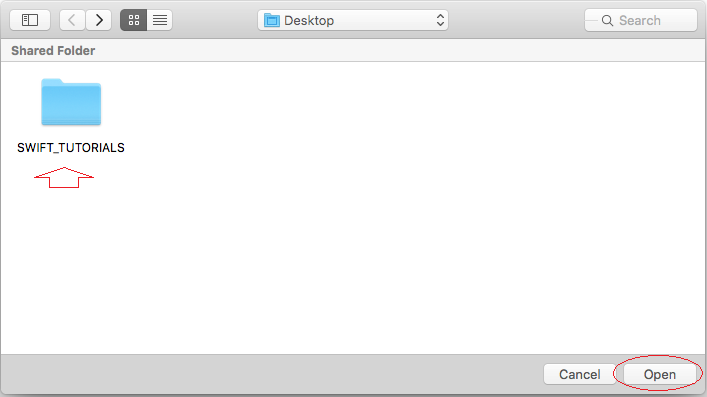
Name the directory of projects which will be downloaded to, and folder location (Here I put the folder at Desktop).
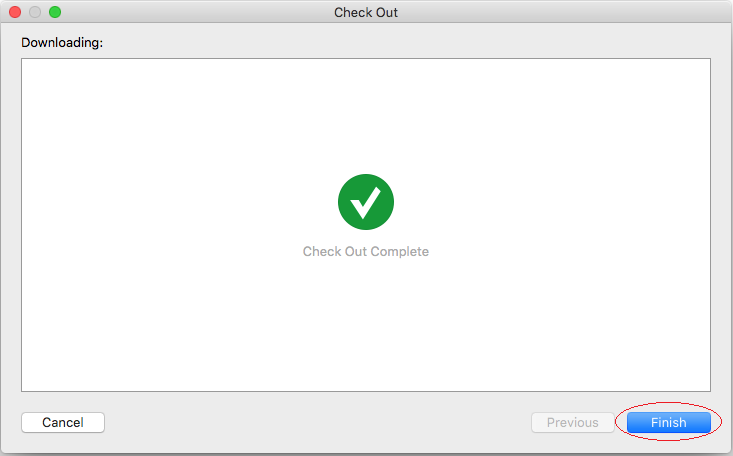
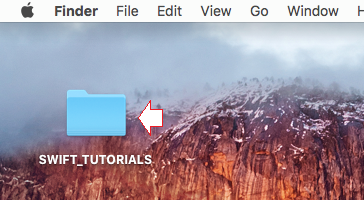
After Checkout is successful, you will have a folder containing the projects newly obtained from the SVN Repository, which is Local Repository.
Open the projects that you have just checkouted with XCode.
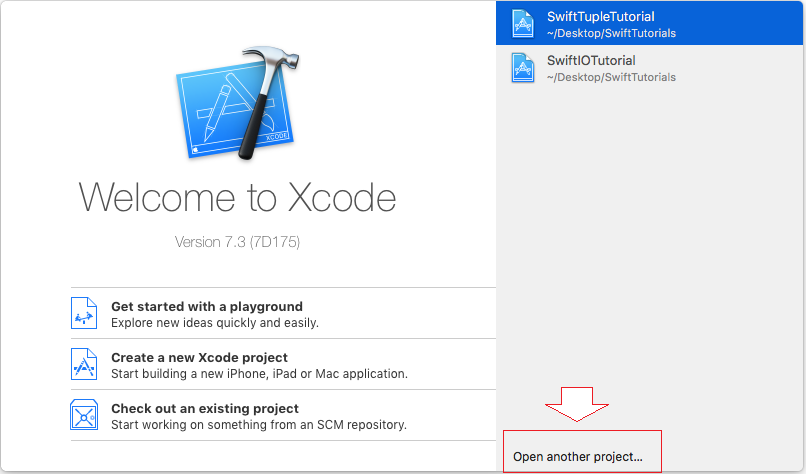
Open a project on the XCode:

5. Commit
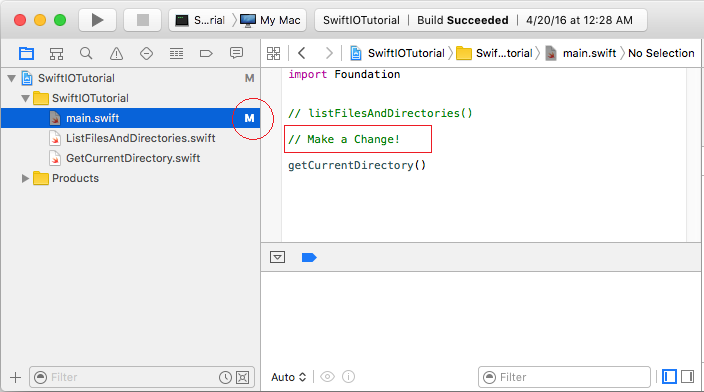
Create a change on a file and save, you can see M (Modified) icon. This icon says that this file is changed its contents.
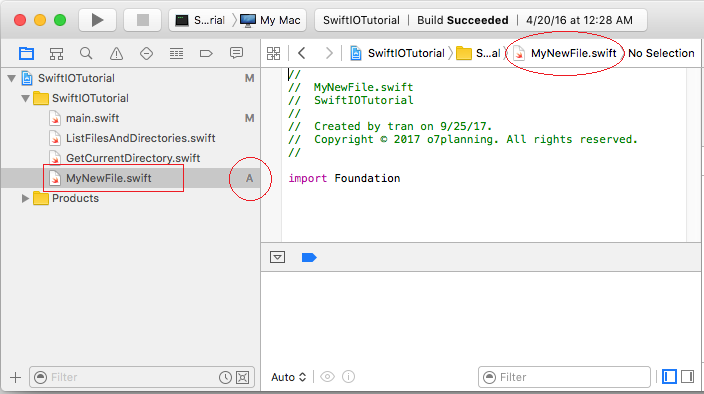
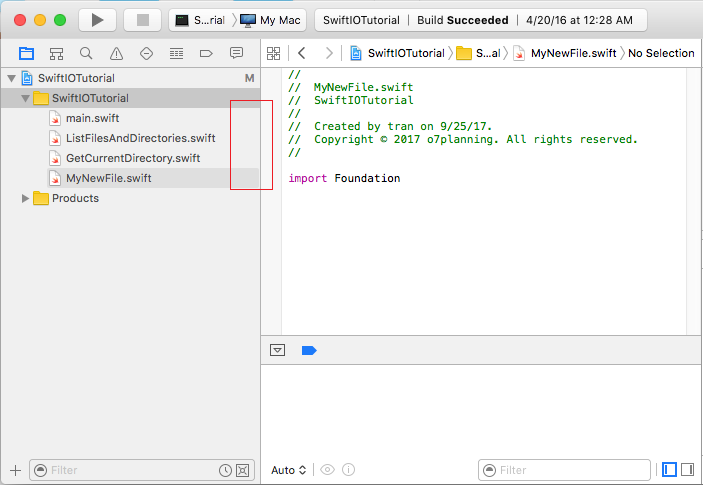
Add a new file, and you can see A (Added) icon. This icon says that the a new file is added.
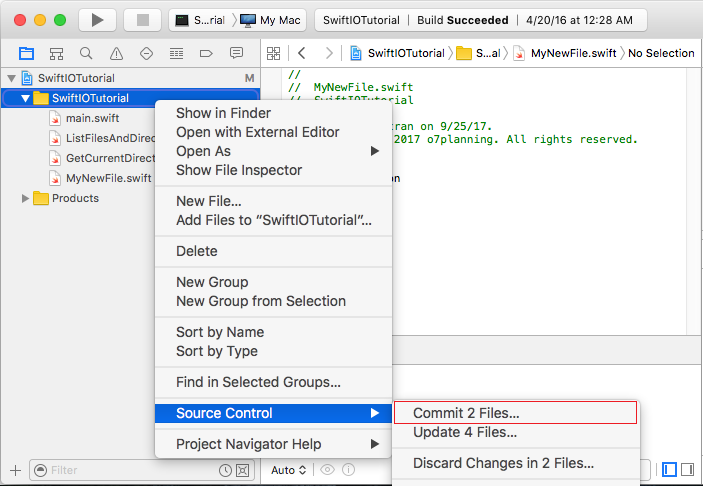
Now, I will upload new files and the changed files to the SVN Repository using the Commit function. Other team members can update these changes using the Update function.
Right-click on the (changed)project and select:
- Source Control/Commit ....
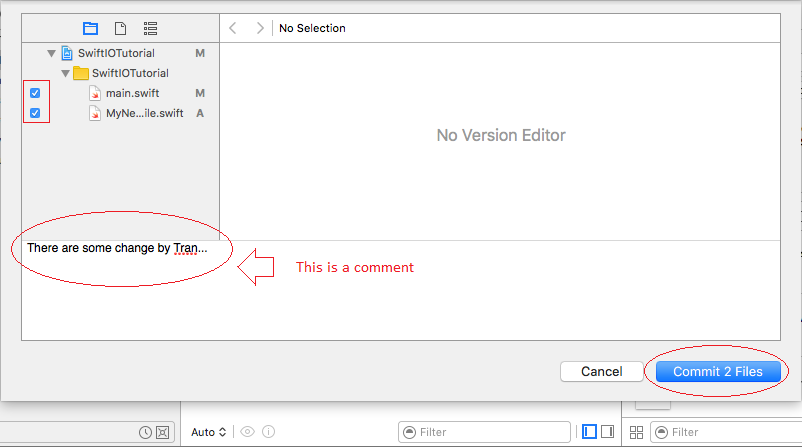
Commit is successful!
6. Update
When a team member Commits changes to the SVN Repository, other members can use the Update function to update new data to their computers (Local Repository).
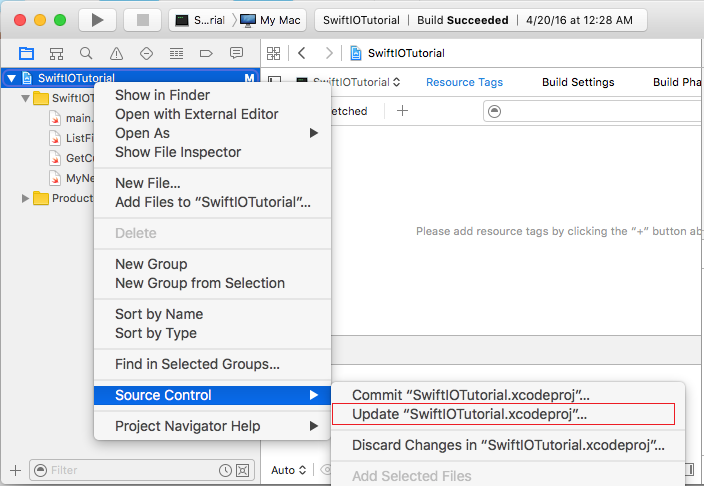
Right-click on the project and select:
- Source Control/Update ...
7. Discard Changes
If you have changed anything on the Local Repository, for example, amending file, adding a new file, deleting a file, and you want to turn it into the status before changed, you can use the Discard Changes function.
The Discard Changes function will restore the deleted files, and remove the changes on the modified files. The files newly created will not be affected by this function. You can apply the Discard Changes function to the entire project or to specific files.
The Discard Changes function will restore the deleted files, and remove the changes on the modified files. The files newly created will not be affected by this function. You can apply the Discard Changes function to the entire project or to specific files.
Right-click on the Project (Or folders, or some files) and select:
- Source Control/Discard Changes ...

Swift Programming Tutorials
- Install Mac OS X 10.11 El Capitan in VMWare
- Install XCode
- Swift Tutorial for Beginners
- Swift Functions Tutorial with Examples
- Swift Closures Tutorial with Examples
- Class and Object in Swift
- Swift Enums Tutorial with Examples
- Swift Structs Tutorial with Examples
- Programming for Team using XCode and SVN
Show More