Bring an Eclipse project to GitHub as an Repository
1. The objective of the article
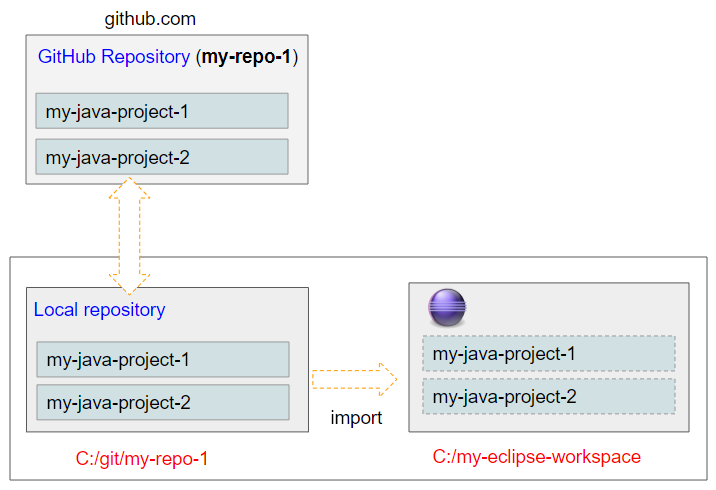
In this article, I'm going to show you how to use Eclipse to bring a project written on Eclipse to GitHub as a Repository. In this case, an Eclipse project is corresponding to a Repository on GitHub.
If you would like to have a GitHub Repository with multiple projects of Eclipse, you can take a look at some of my articles below:
- Create a GitHub Repository with multiple Eclipse Projects
- Use Eclipse to Clone a GitHub Repository with multiple projects
2. Bring a project to GitHub
First, on GitHub, create an empty Repository with any name, but it is highly recommended to name it after your Java project on Eclipse.

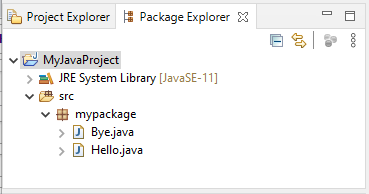
Next, on Eclipse, create a project named MyJavaProject.
Then on Eclipse, right click on your project and select:
- Team > Share Project... > Git
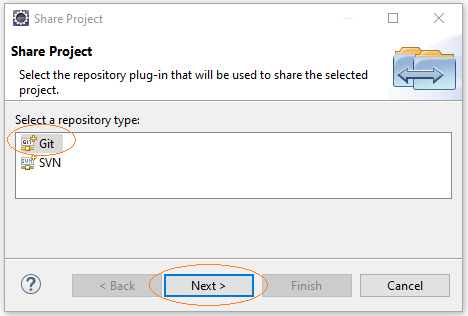
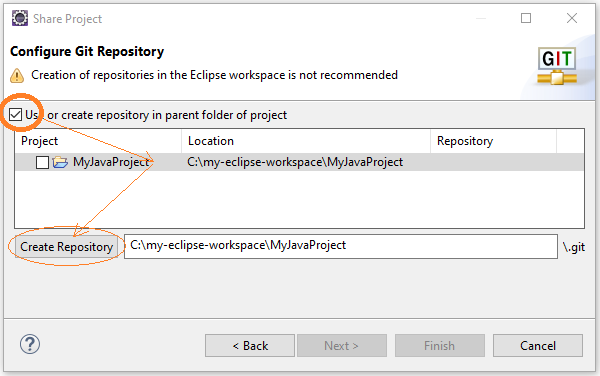
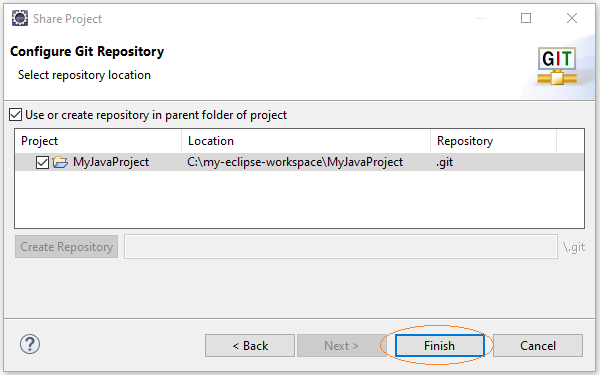
Select:
- Use or create repository in parent folder of project
Then click "Create Repository".
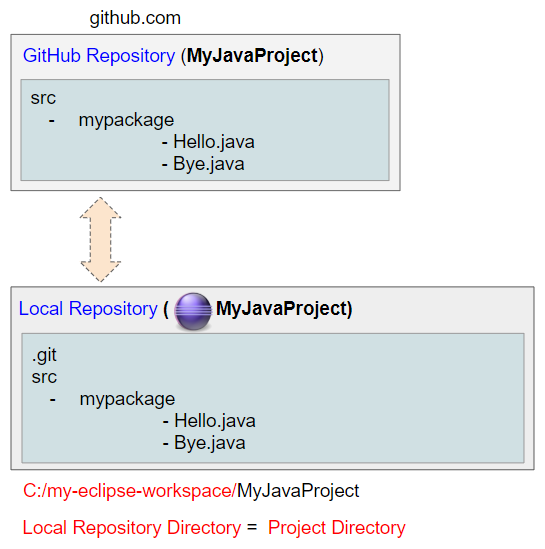
As a result, your project folder turns into a "Local Repository".
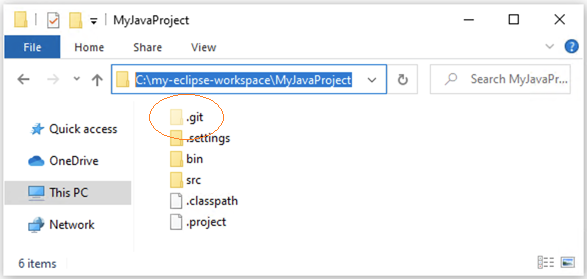
What you need to do next is link "Local Repository" to "GitHub Repository".
Right click on your project and select:
- Team > Commit
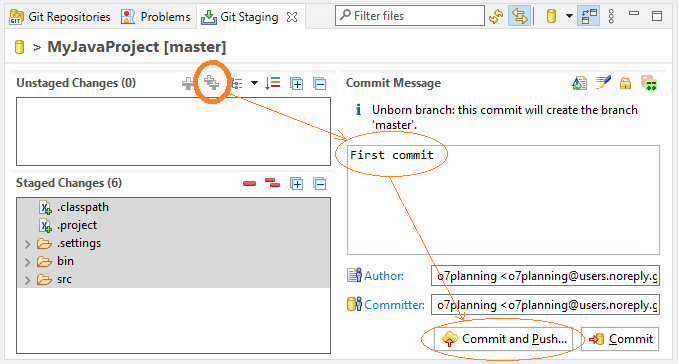
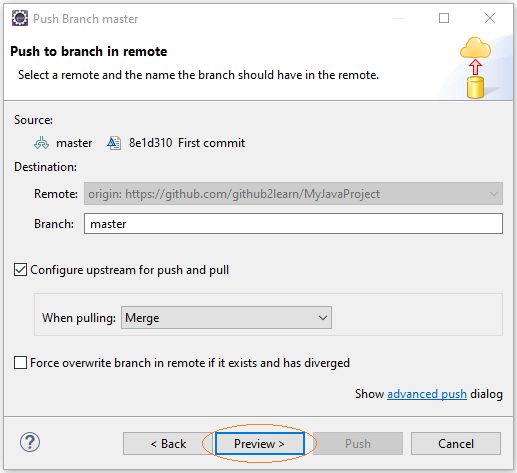
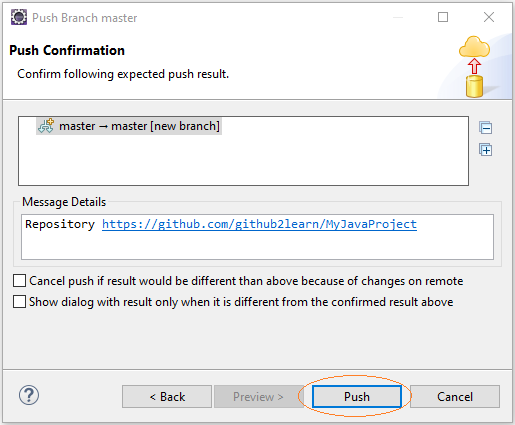
In the first Commit, a window will be displayed allowing you to enter the GitHub Repository address.
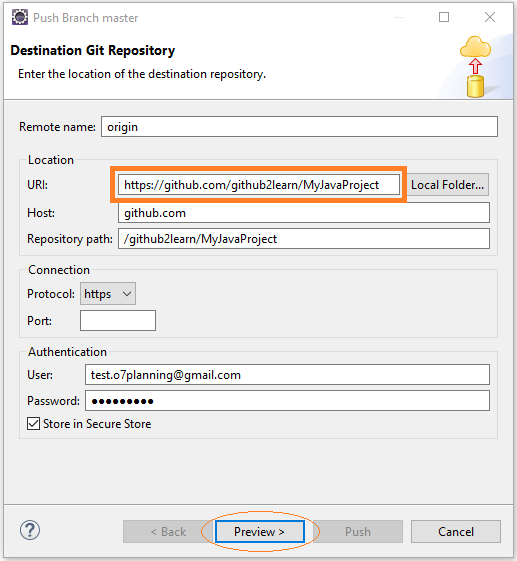
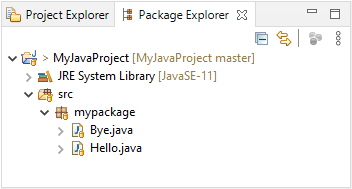
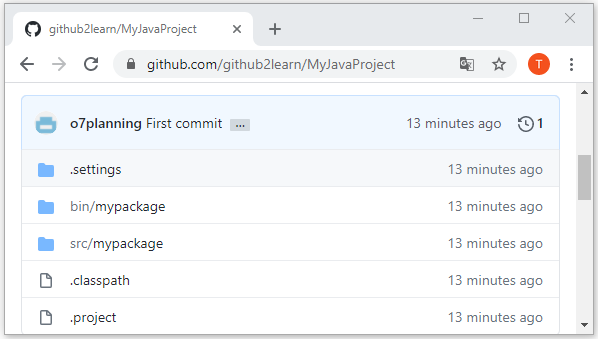
After the successful Commit, you will see a source code of the project on GitHub Repository.
3. Clone Project
Other team members can clone the Repository that you created in the previous step to create their Local Repository. Here are all the steps to do it:
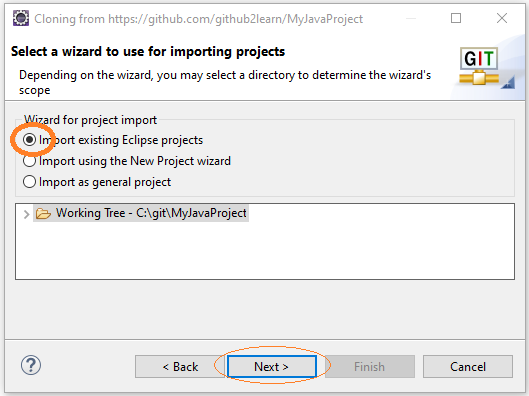
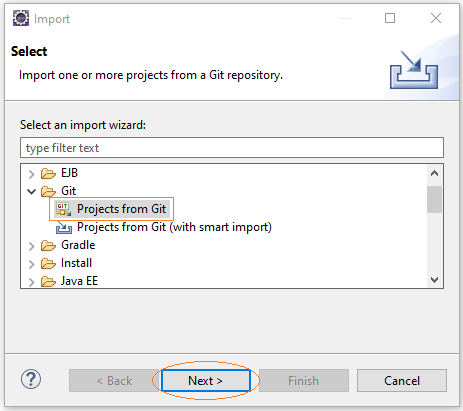
On Eclipse, select:
- File > Import...
- Git > Projects from Git
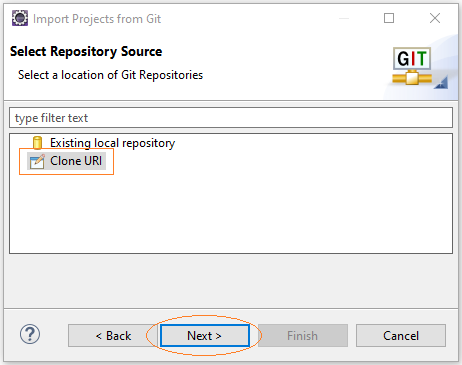
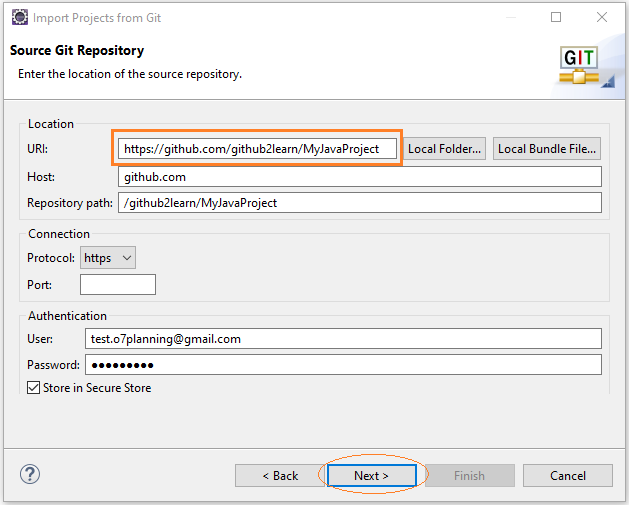
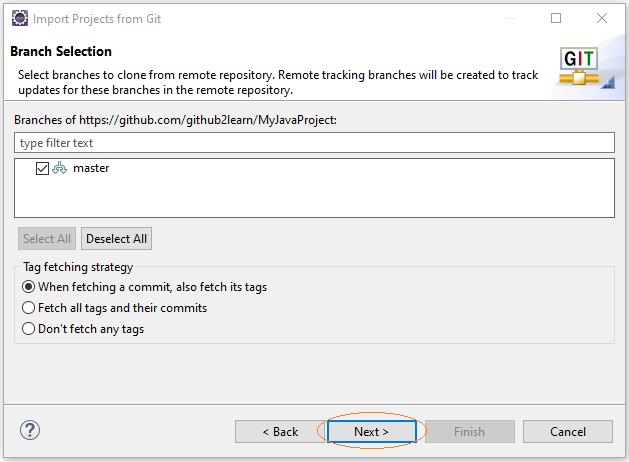
Next, enter the address of GitHub Repository.
Select the Local Repository folder.
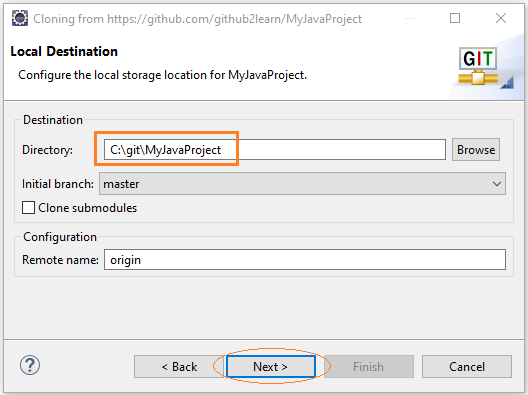
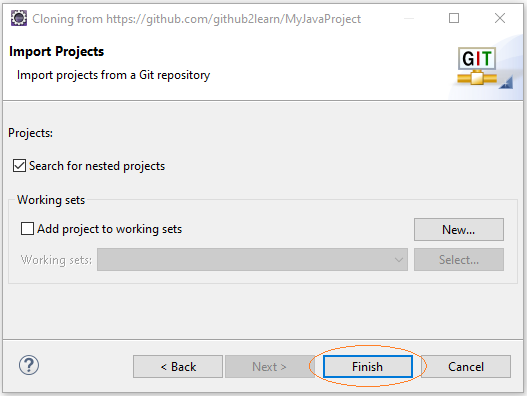
At this point, the project source code is downloaded and located at Local Repository.

Lastly, import the project into Eclipse Workspace: