Use GitHub with GitHub Desktop
1. Principle of operation
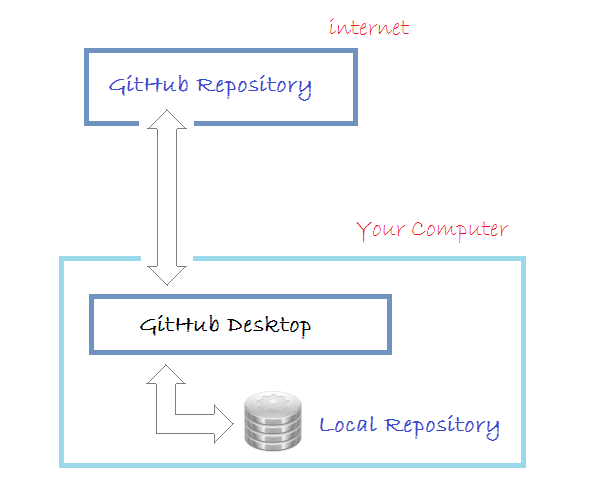
To work with GitHub you need:
- Register an GitHub account and create a repository (GitHub Repository).
- Install GitHub Desktop , an intuitive tool to manage Local Repository (local data repository).
- Configure to synchronize data with the GitHub desktop onto Repository server.
See the illustration below:
2. Register GitHub account
First you need to register an GitHub account freely . You can go to the homepage of GitHub at:
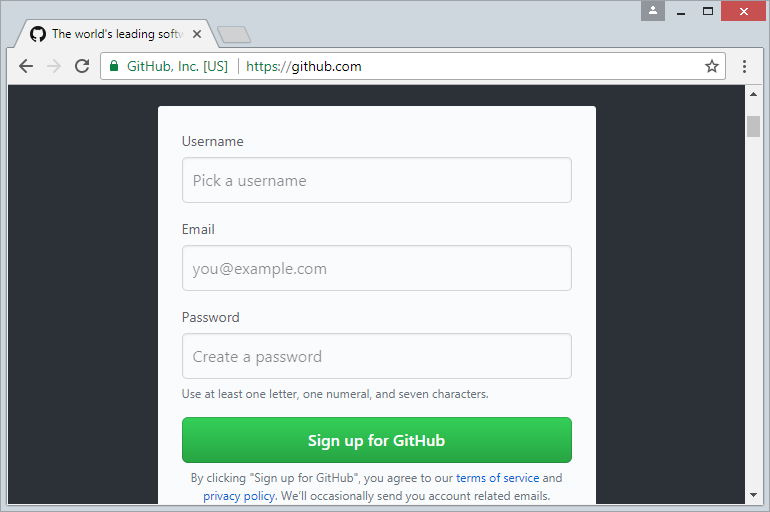
Signing up for an account is simple, you just need to enter username/password and email address. After registrating, you need to activate your account from email.
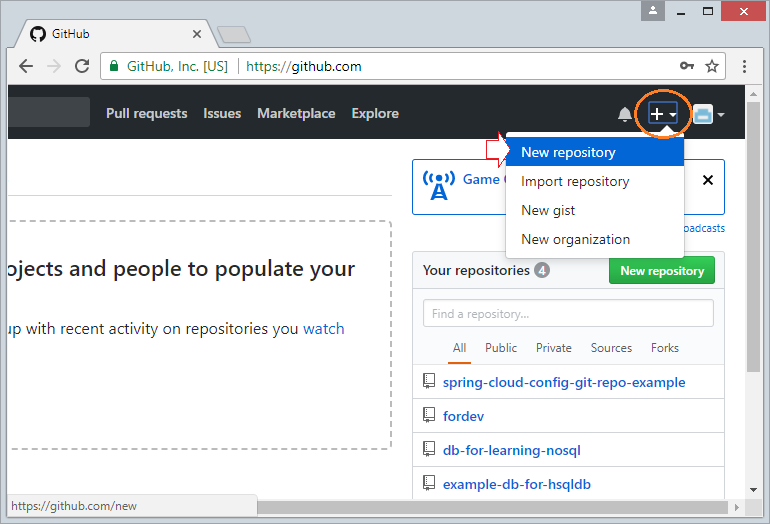
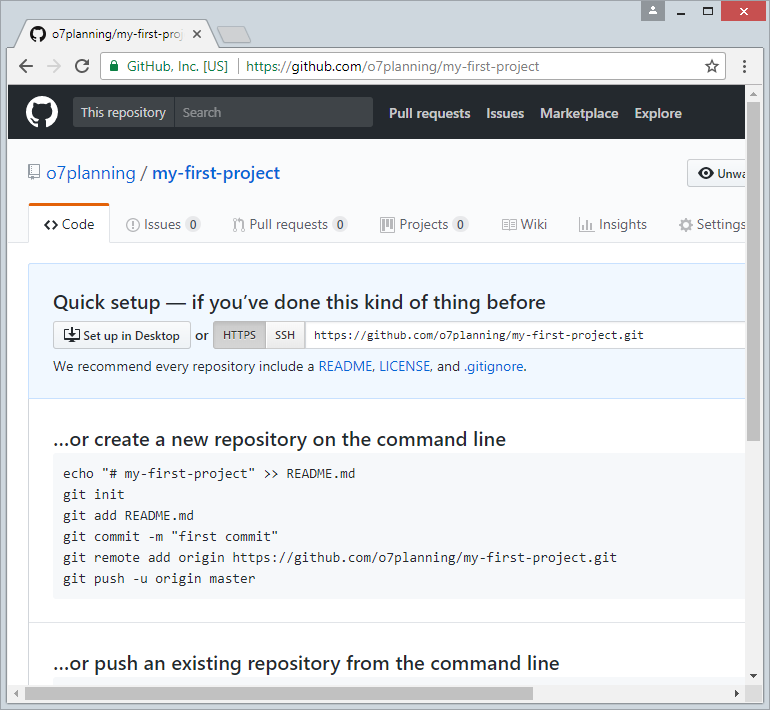
3. Create GitHub Repository
After registration of GitHub account is completed , and log on. You can create a GitHub repository.
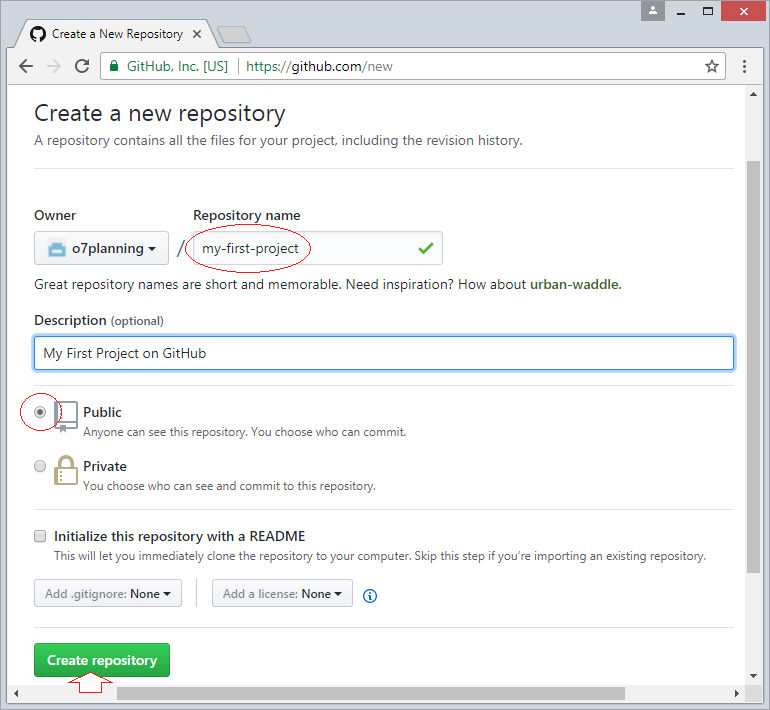
Repository is created.
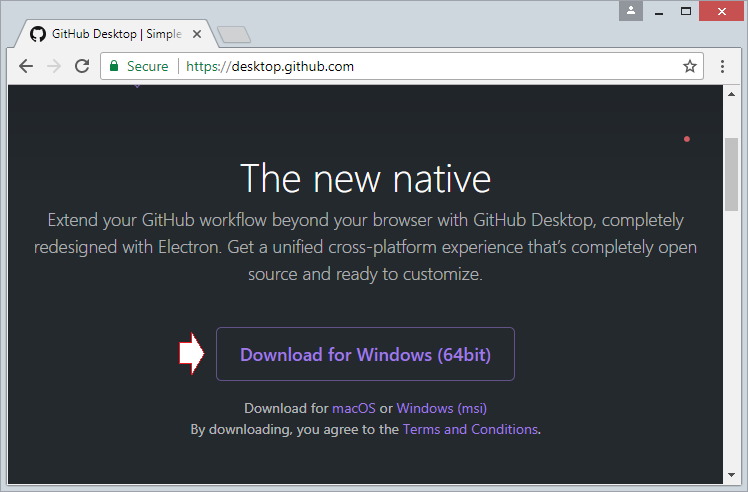
4. Download & Install GitHub Desktop
GitHub Desktop is essentially a visual tool that allows you to manage the Local Repository on your computer.
To download GitHub Desktop, you access address:
Download Results:
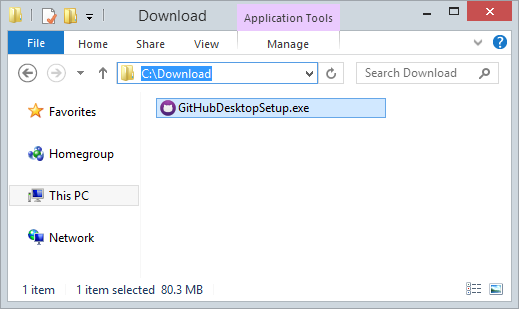
After downloading, you need to install GitHub Desktop on your computer:
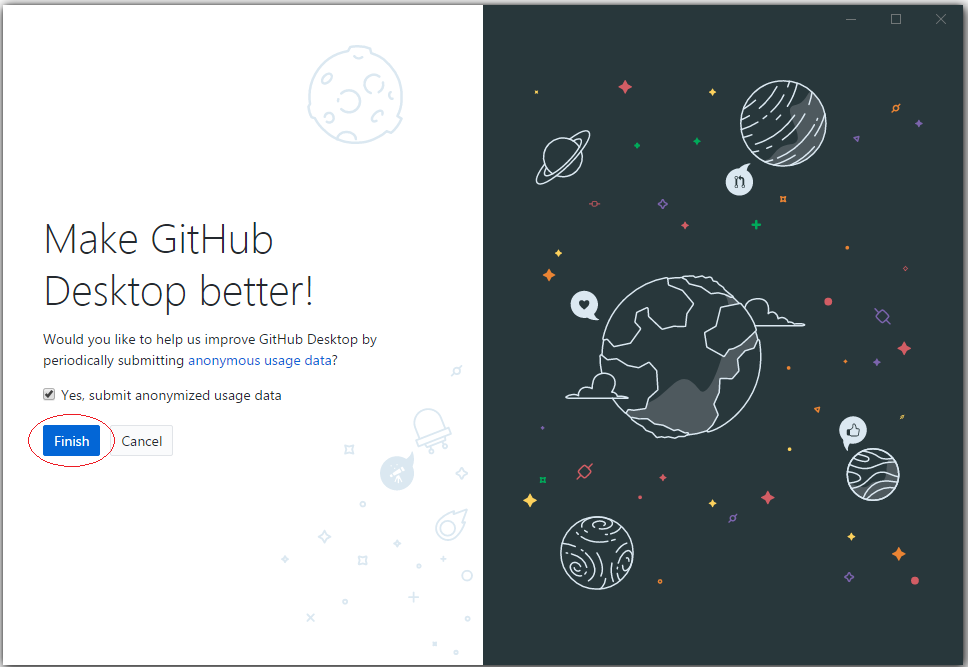
GitHub Desktop has been successfully installed.
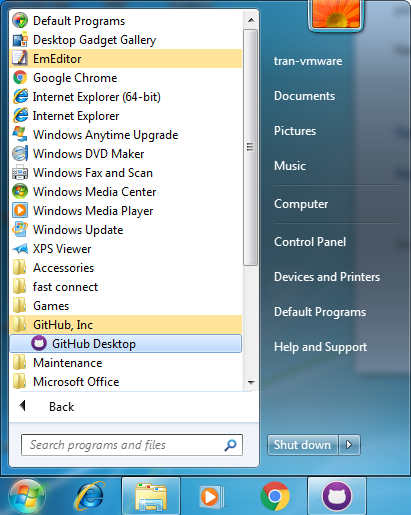
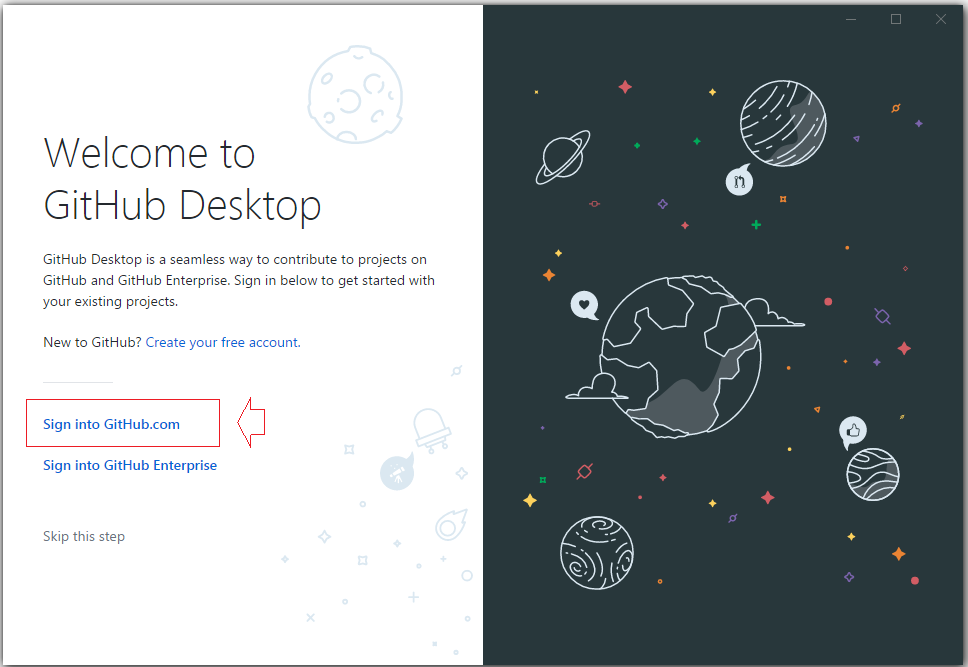
5. Running GitHub Desktop
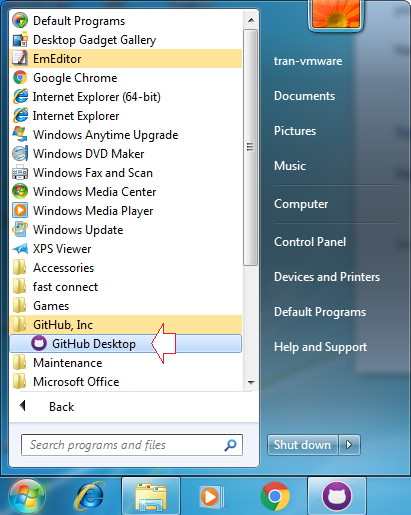
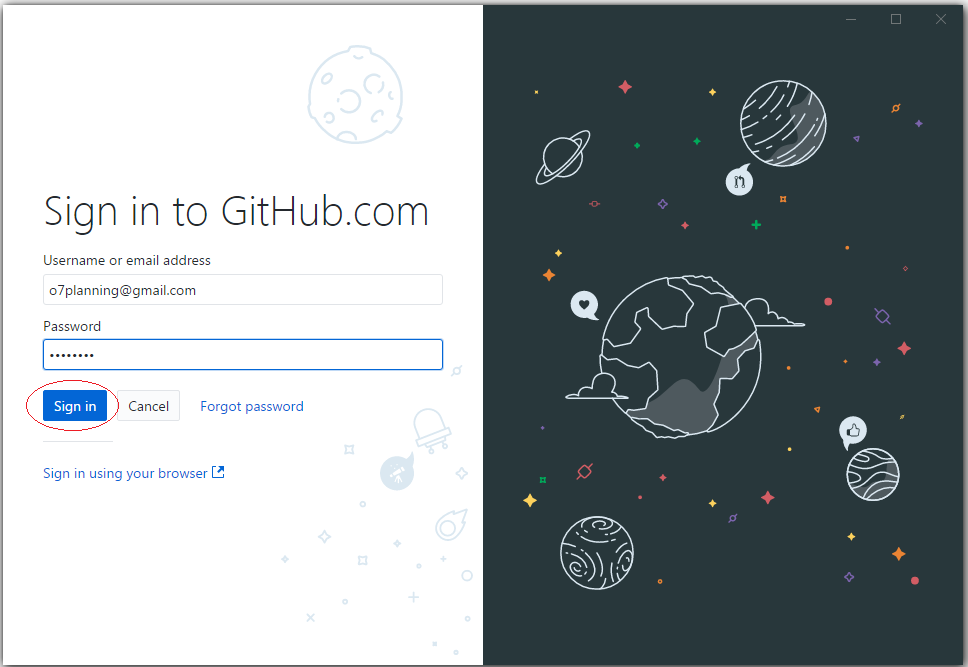
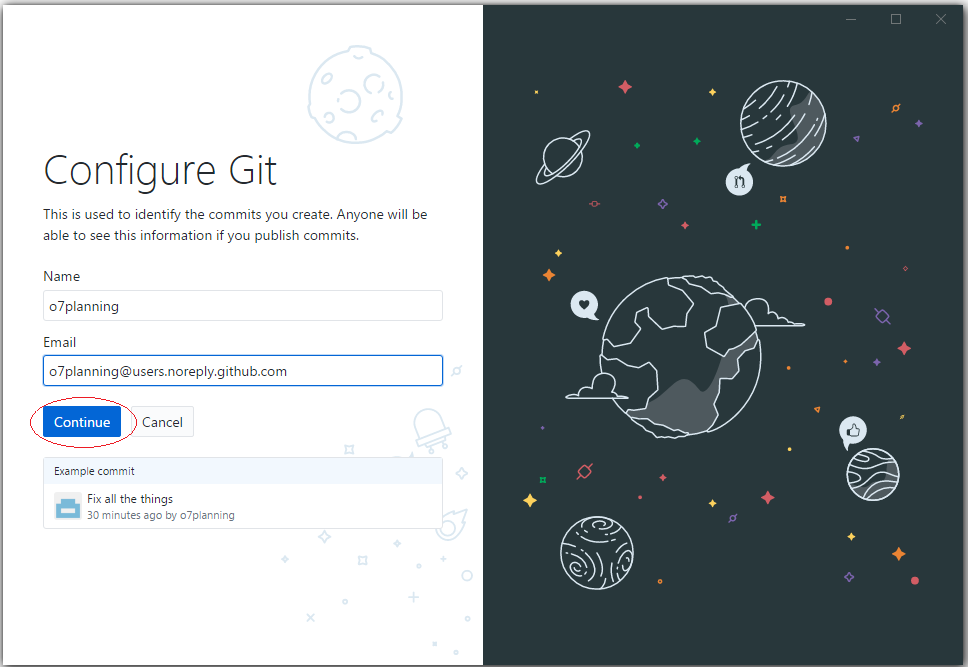
Log on GitHub Desktop to connect to your GitHub account.
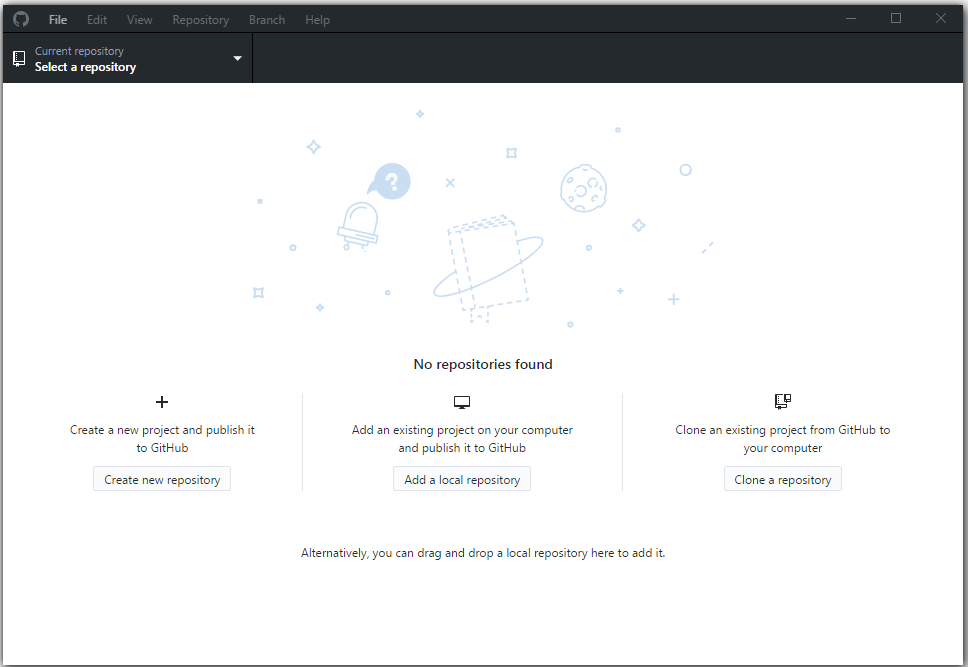
Until this time on your computer does not have a Local Repository.
6. Connect GitHub and GitHub Desktop
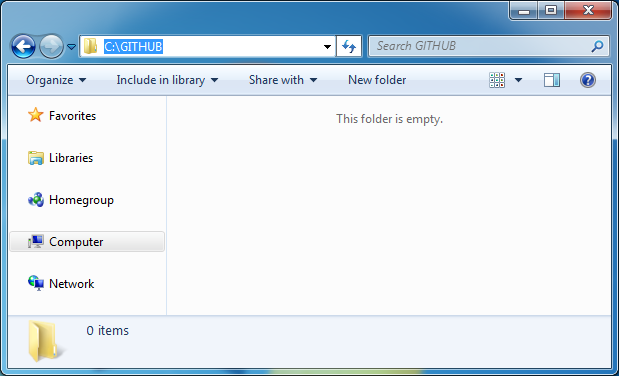
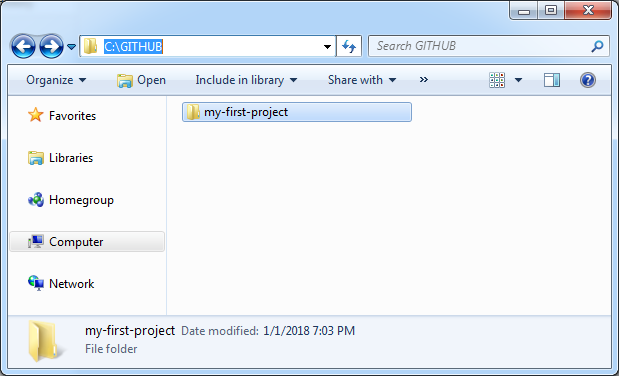
First it is necessary to choose an empty folder as a location for the local data.
For example:
- C:/GITHUB
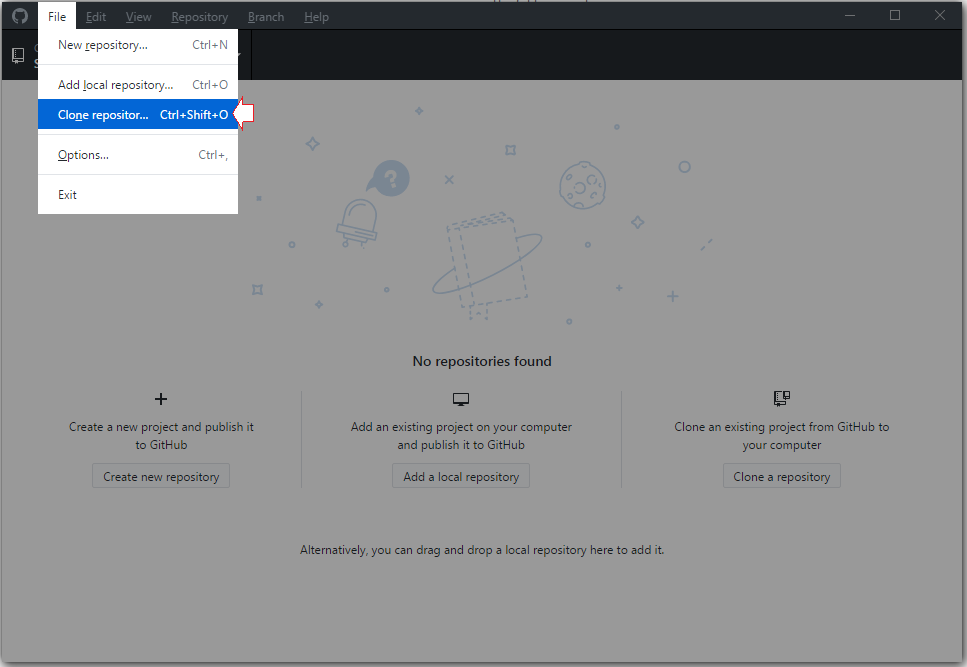
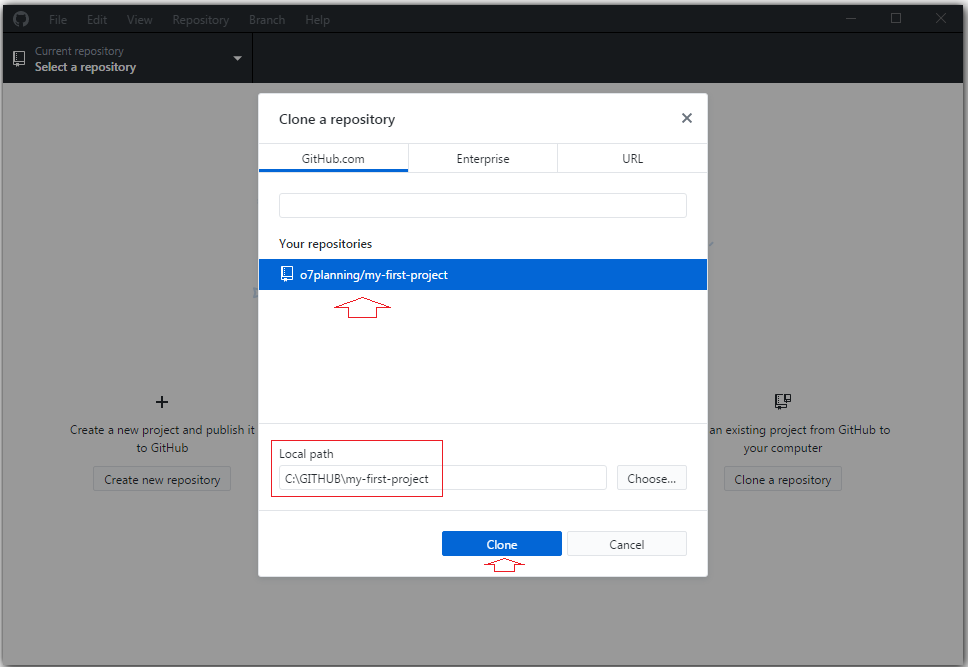
On GitHub Desktop, choose a Repository you created on GitHub in order to clone a copy at your local computer.
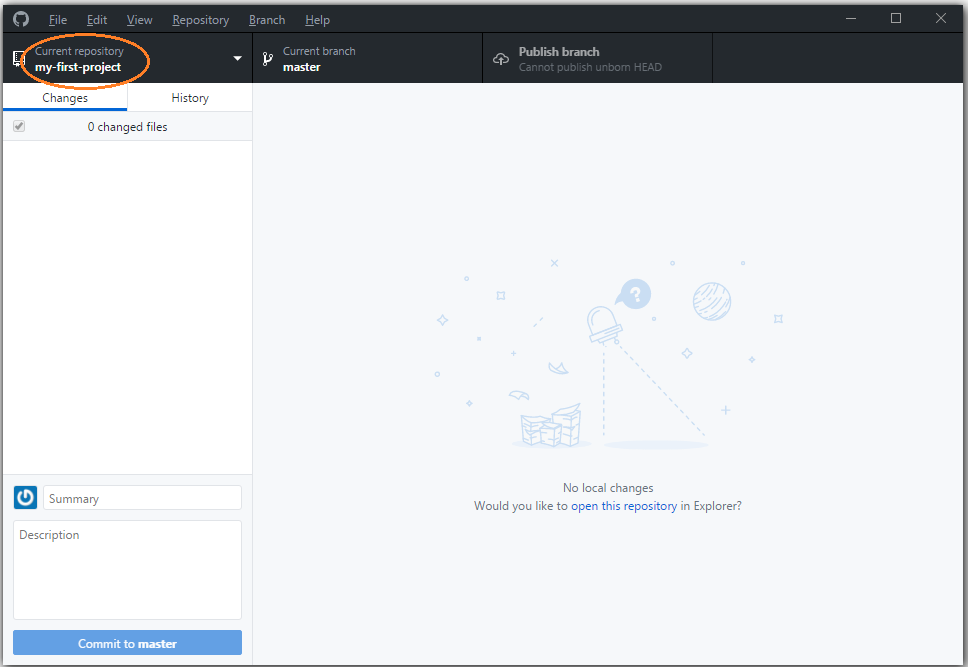
Now on GitHub Desktop, you will see a Local Repository has been created.
Copy some of your data files to the Local Repository:
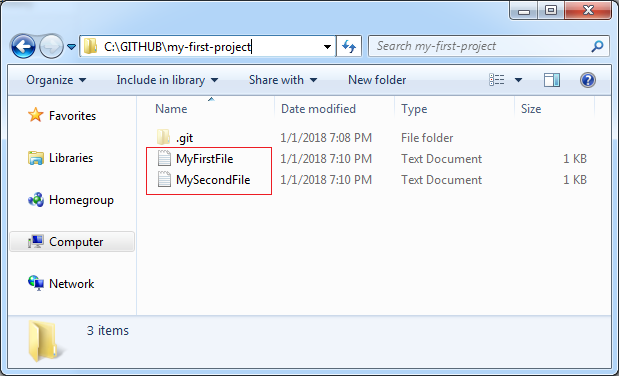
Immidiately, GitHub Desktop recognises changes at Local Repository.
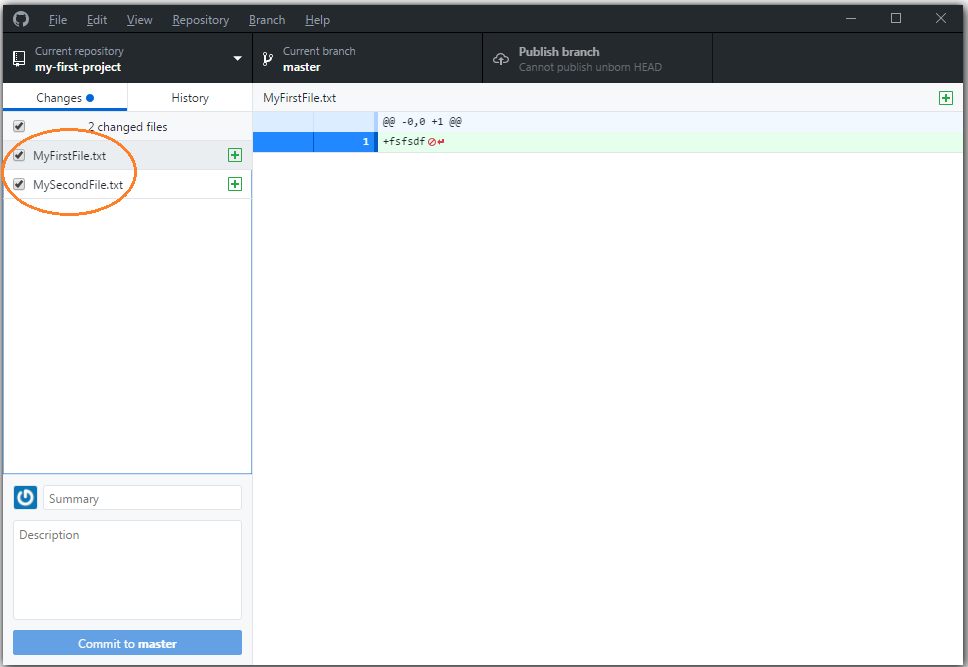
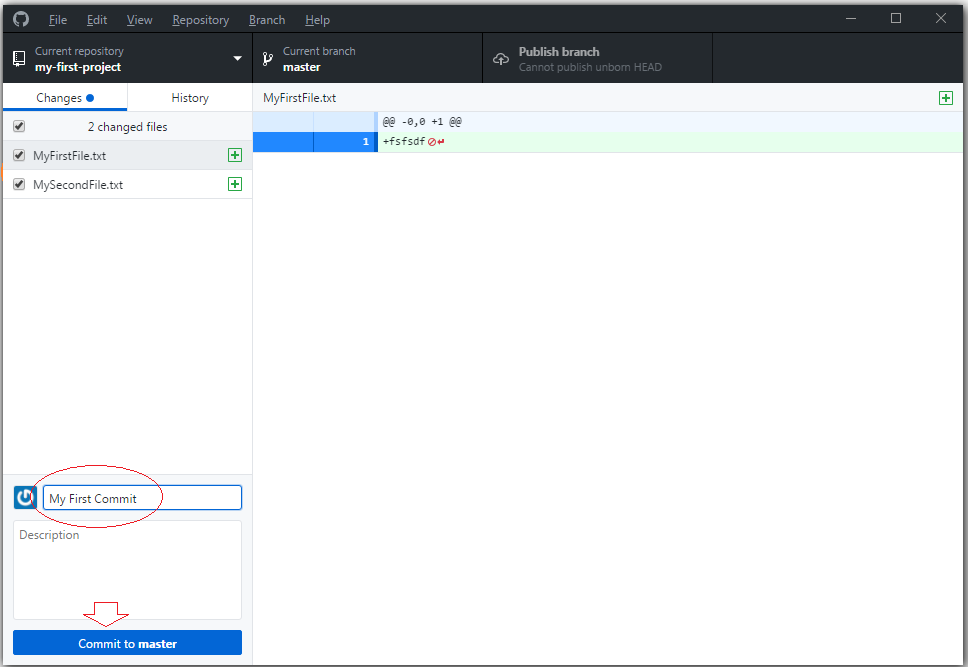
Enter comment and click Commit data.
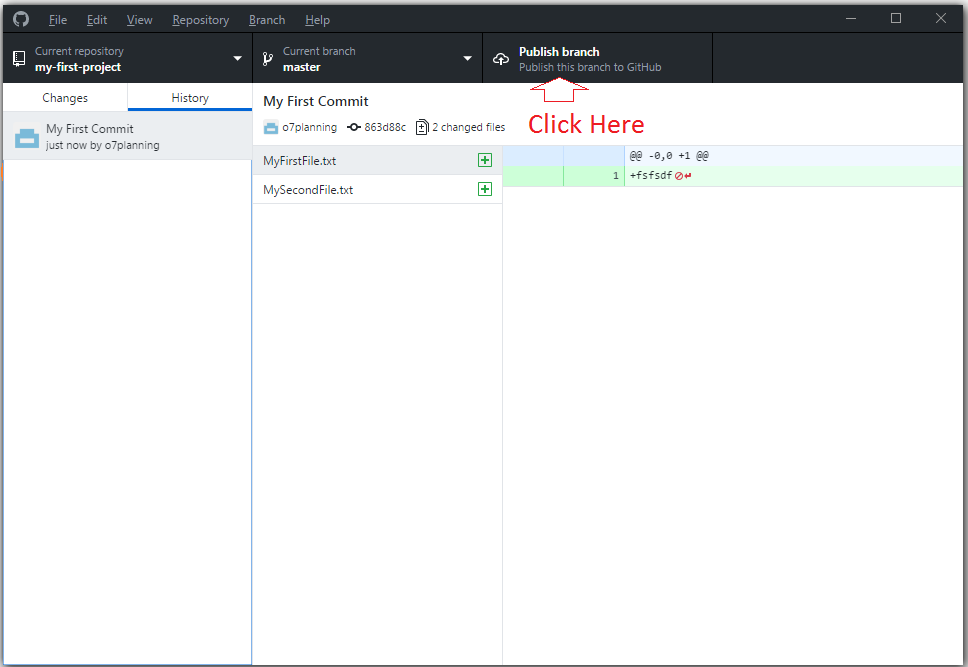
The data file you can see on the Server:
