Creating LOV (List Of Values) in Oracle ADF BC
1. The Objective of the Lesson
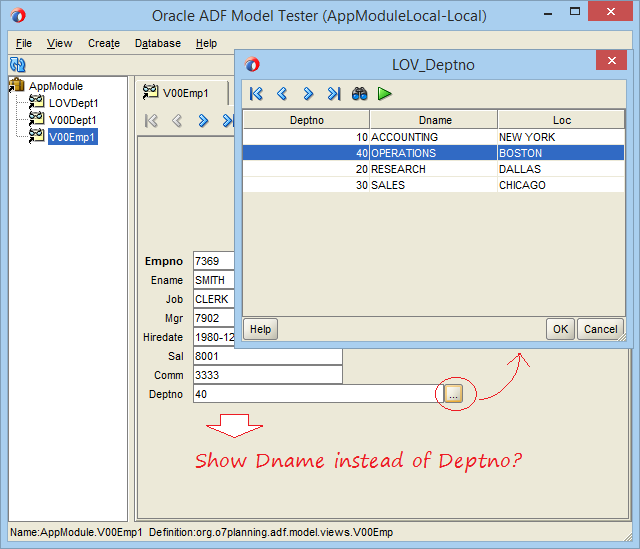
In this lesson, I will show you how to create and use the LOV (List Of Values) in the Oracle ADF application.
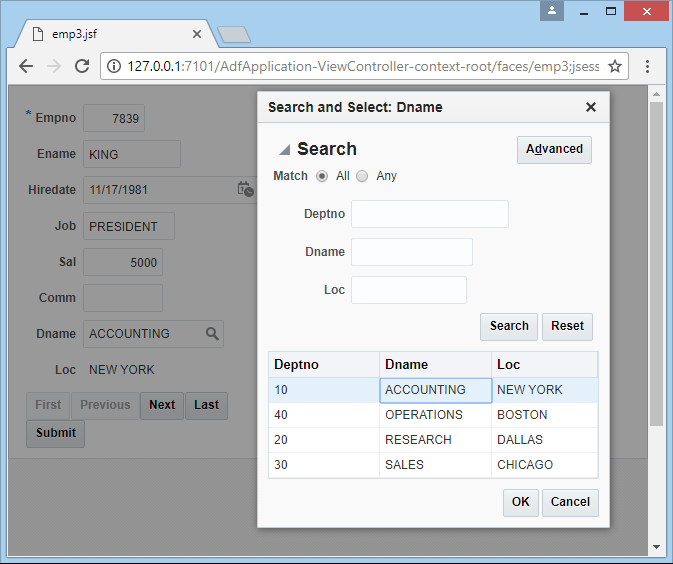
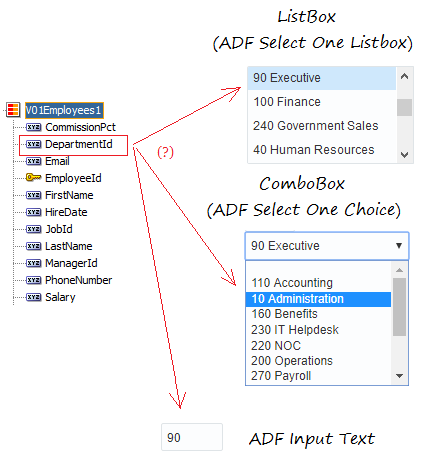
For example, you create an ADF Form to enter staff information. The staff information includes: Full name, Salary, Department,.. The information on departments will be selected through a LOV (List Of Values), which is like the following illustration:

2. Create an application
First of all, you need to create an ADF Fusion application with basic settings.
- Create "ADF Fusion Web Application".
- Connect to a database.
- Create Application Module.
- Create Entity Objects.
- Create default View Objects.
You can see the following instructions:
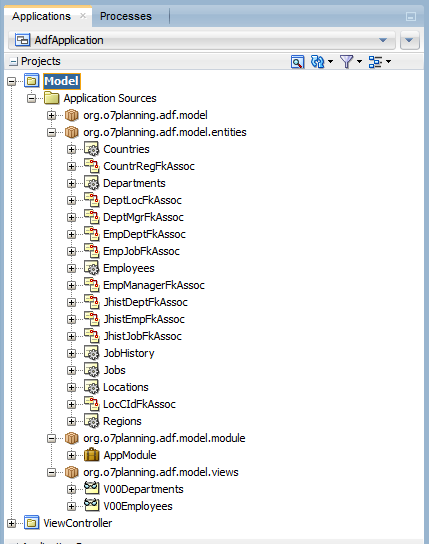
After the above steps, you obtain an application like the illustration below:
3. Use ADF Model Tester
The ADF Model Tester is a tool available on the ADF helping you test View Objects. In this lesson, I will use it to test the View Objects after each configuration of the View Object.
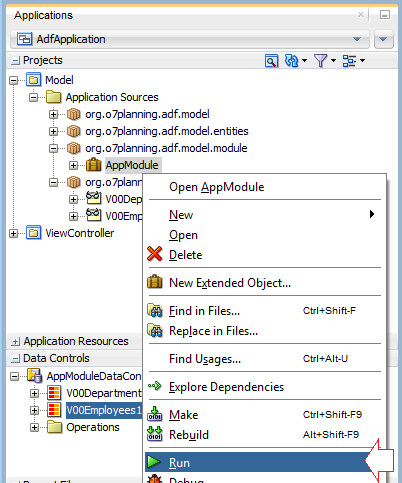
For example, you want to test V00Employees (View Object).
Note: To be able to test, the V00Employees (View Object) have to be registered with the Application Module.
4. Create the View Object based on two Entity Objects
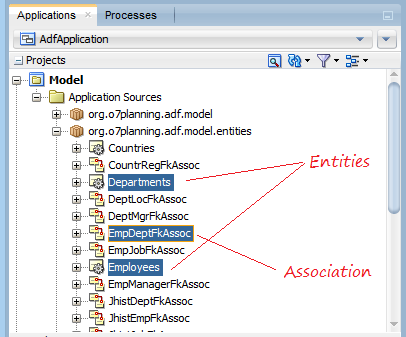
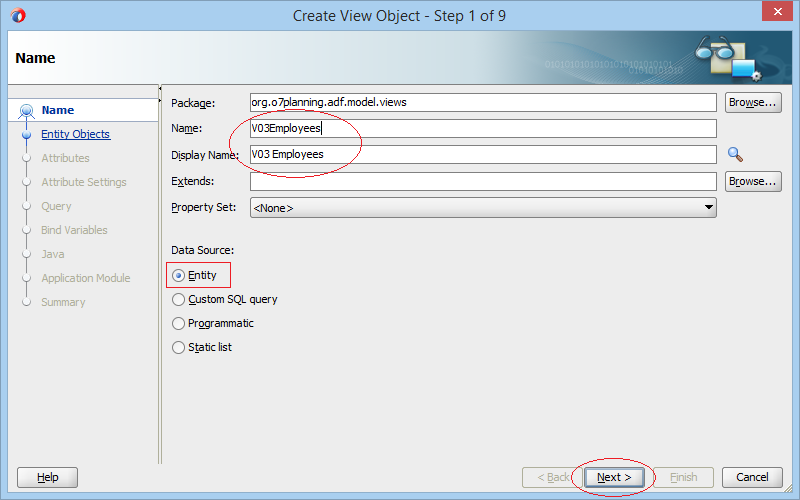
Create a View Object named V03Employees based on2 Entity Objects such as Employees and Departments.
Note: The two Entity Objects: Employees and Departments have constraints with each other by an association. It is a a concept corresponding to the concept of Foreign Key in the Database.
On the JDeveloper, select:
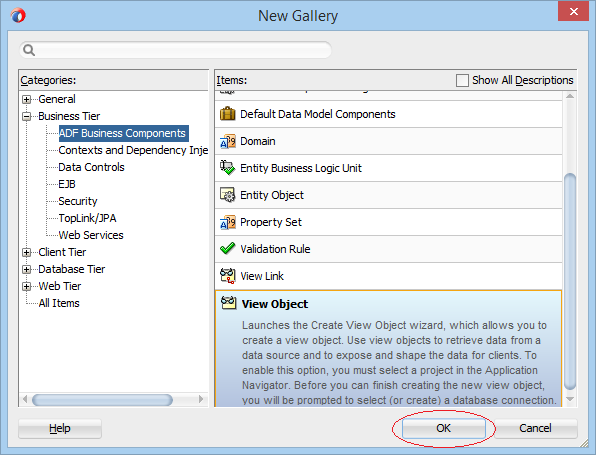
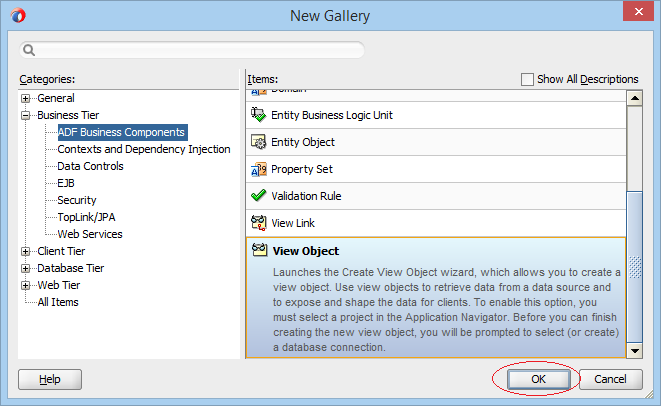
- File/New/From Gallery
- >> Bussiness Tier/ADF Bussiness Components/View Object
Select Employees (Entity Object):
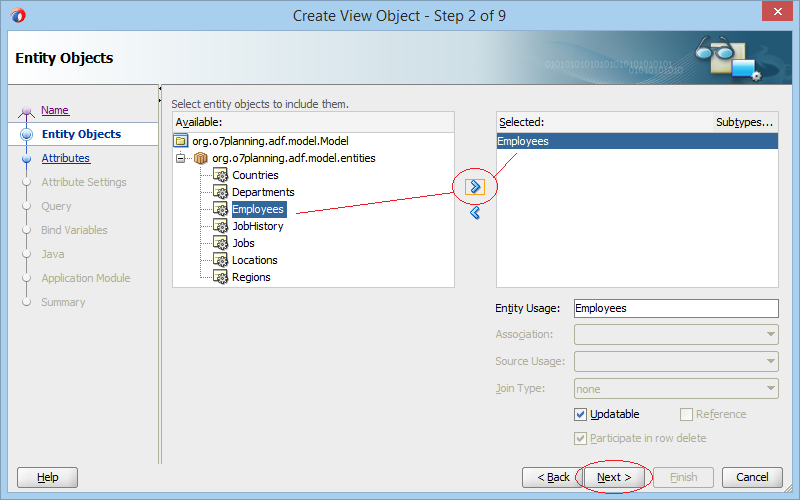
Next, select Departments (Entity Object):
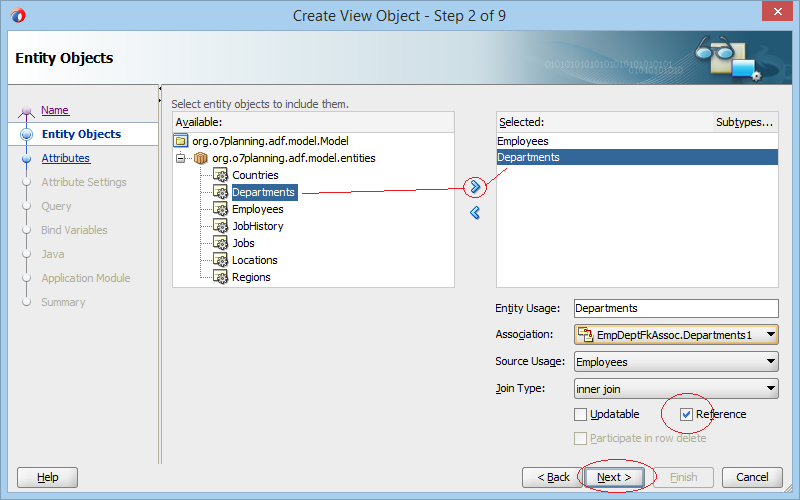
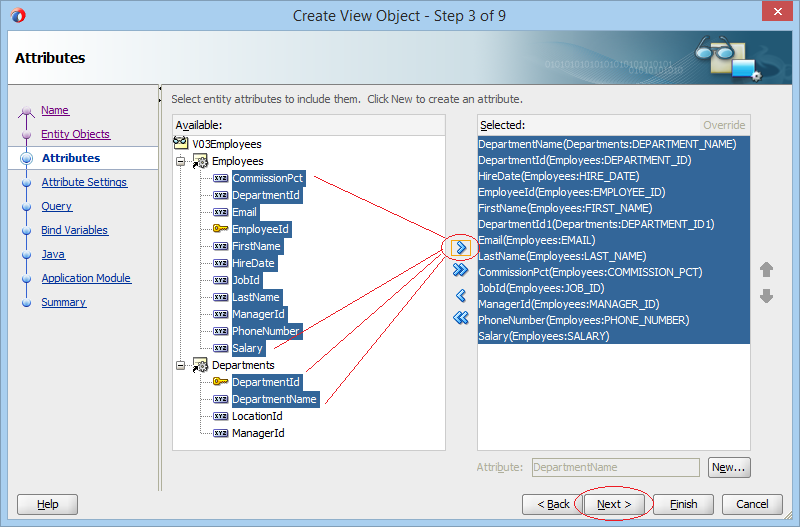
Select columns for the View Object which is being created by you. They are columns from the two Entity Objects (Empoyees & Departments).
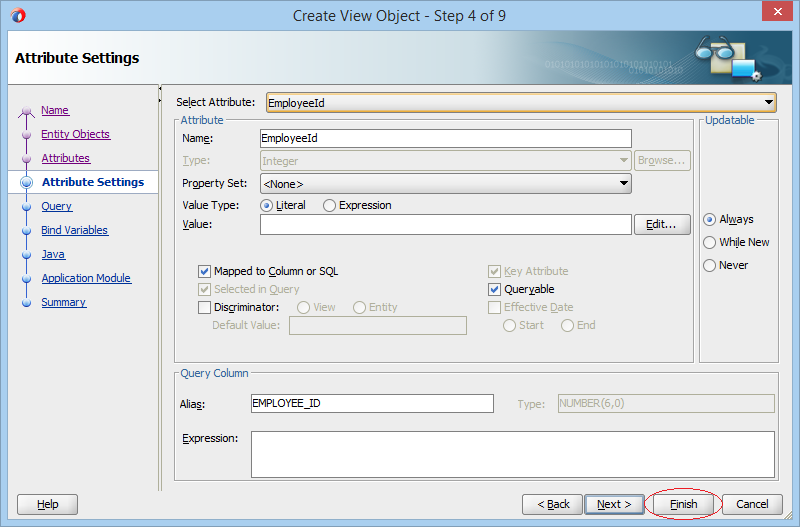
The V03Employees (View Object) has been created:
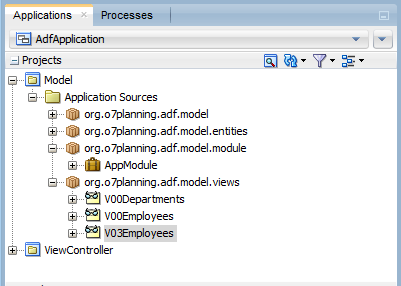
Then, you need to register the View Object whichyou have just created with the Application Module:
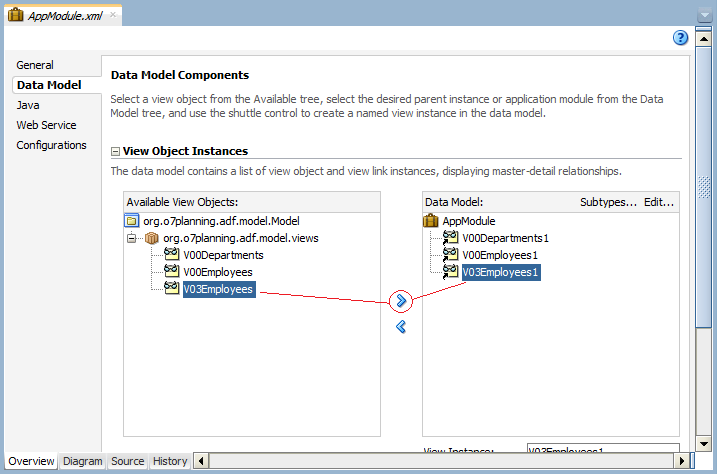
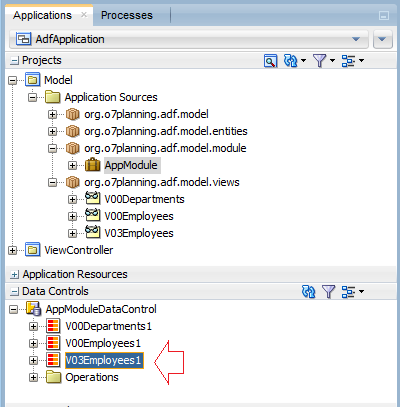
And you can see this View Object on the Data Controls.
5. Create LOV View Object
On the JDeveloper, select:
- File/New/From Gallery
- >> Bussiness Tier/ADF Bussiness Components/View Object
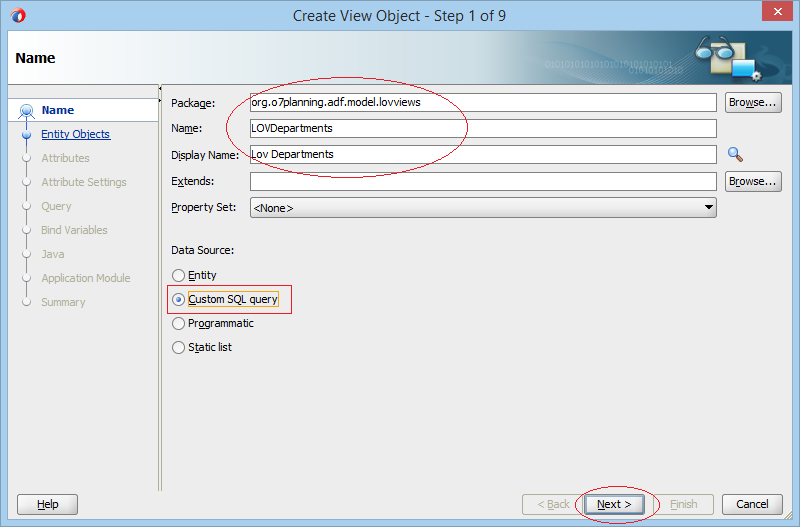
Enter:
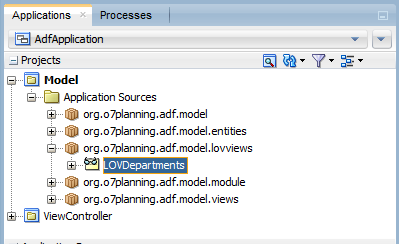
- Package: org.o7planning.adf.model.lovviews
- Name: LOVDepartments
Select d.Department_Id
      ,d.Department_Name
      ,Loc.City
From   Departments d
      ,Locations   Loc
Where  d.Location_Id = Loc.Location_Id(+)
Order  By d.Department_Name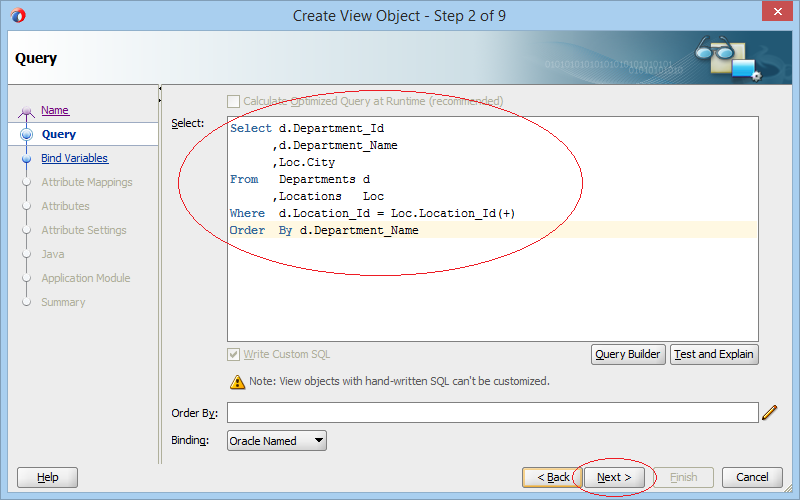
6. Create UI Hints for the View Object
ADF Tool helps you create the parts of the (ADF Form, ADF Table, ...) websites easily by dragging and dropping the View Object into the design screen. However, you need to set up hints for the ADF Tool.
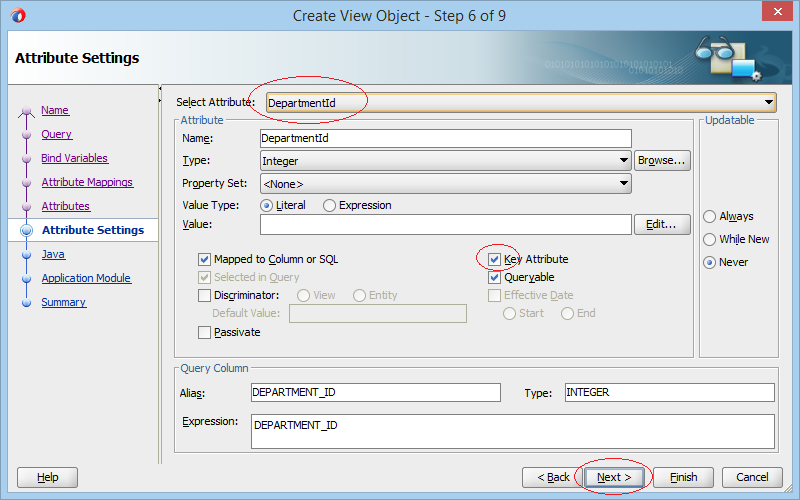
The Department_Id is the Primary Key Column of the table of DEPARTMENTS. When creating a new employee (Table of EMPLOYEES), the user have to select a department for this employee from a LOV (List Of Values).
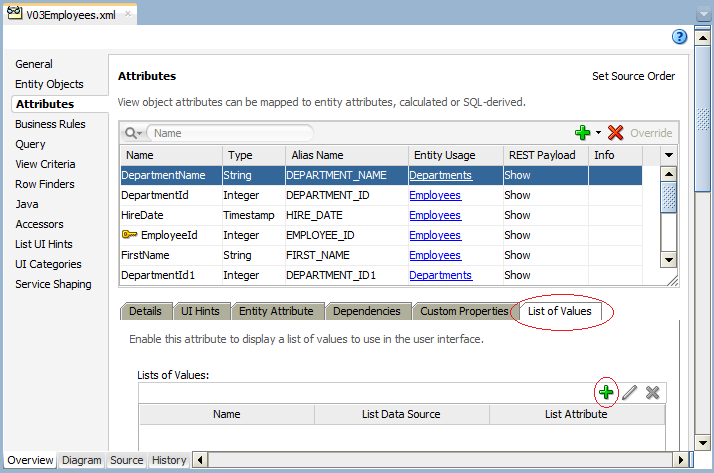
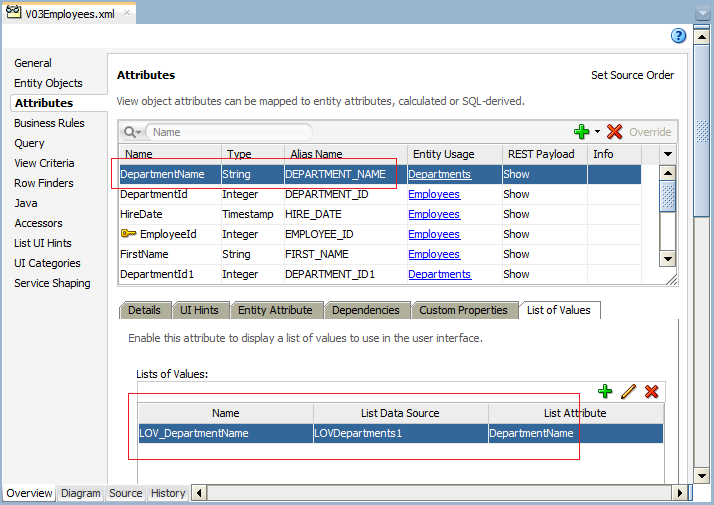
Open the V03Employees (View Object):
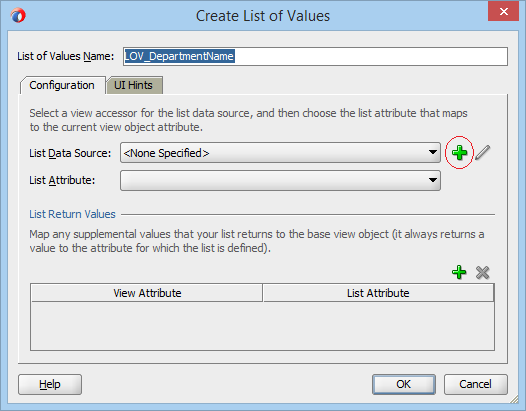
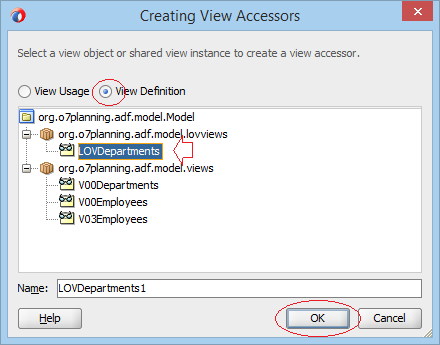
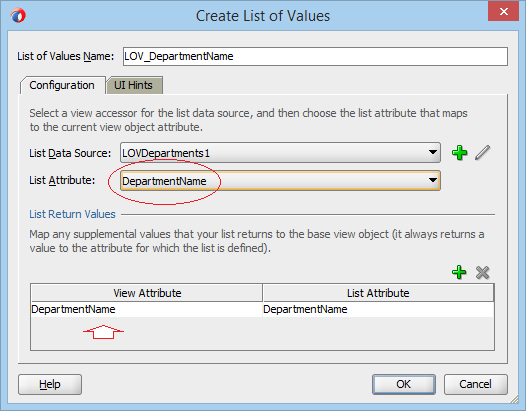
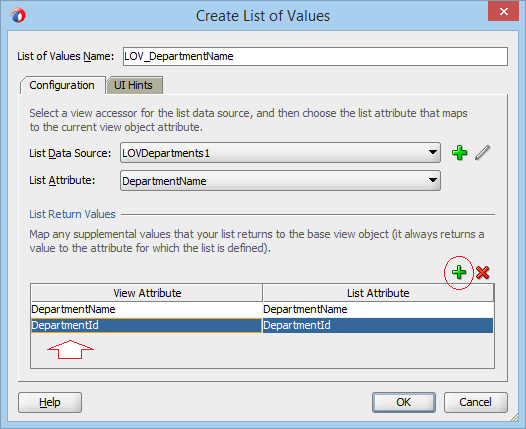
Select the DepartmentName Attribute and create a "List Of Values" for it.
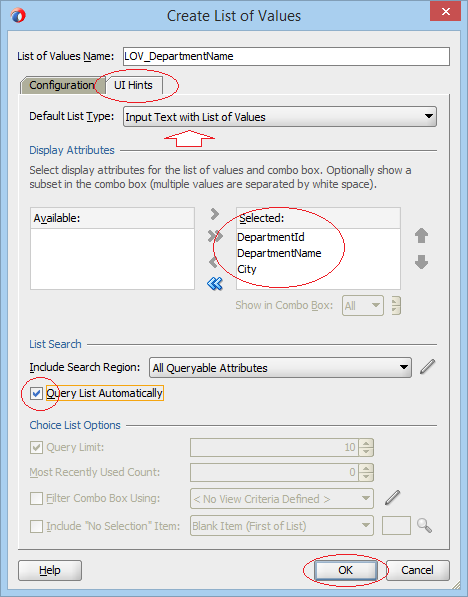
Transfer to the TAB - UI Hints:
After setting up the UI Hints for the V03Employees (View Object), you can test it on the ADF Model Tester:
7. Create ADF Form and LOV
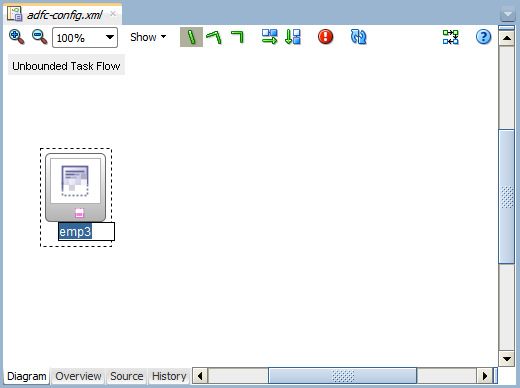
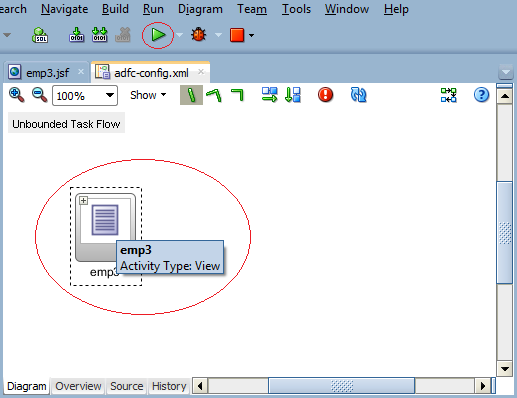
Open adf-config.xml:
Drag and drop a View object into the adf-config.xml window:

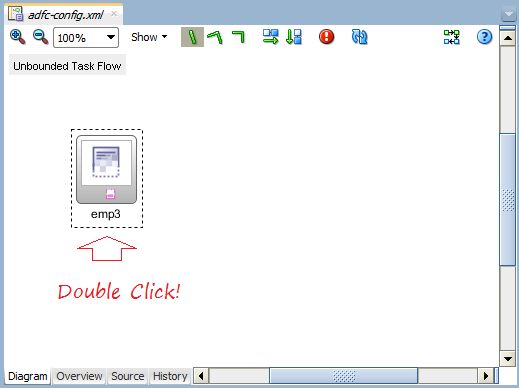
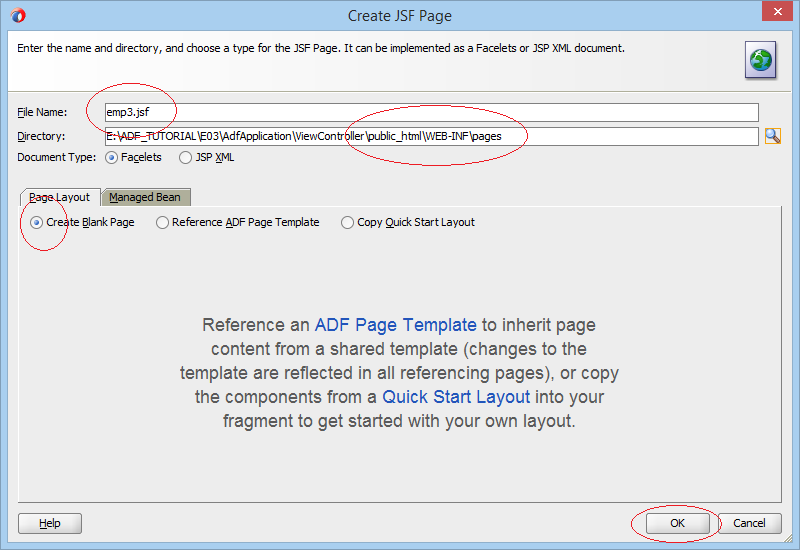
Double click on the emp3 icon(as the illustration) to create a corresponding source file for it .
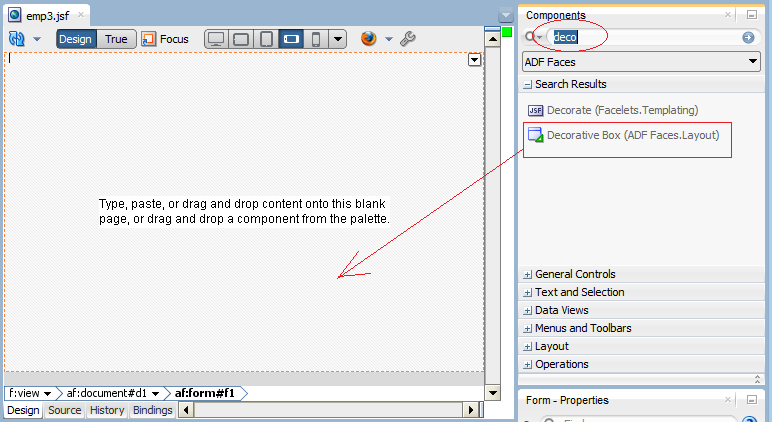
Search "Decorative Box (ADF Faces.Layout)" and drag and drop it into the emp3.jsf window:
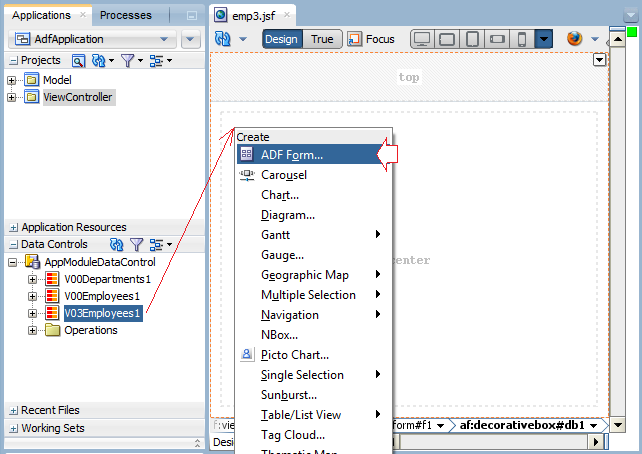
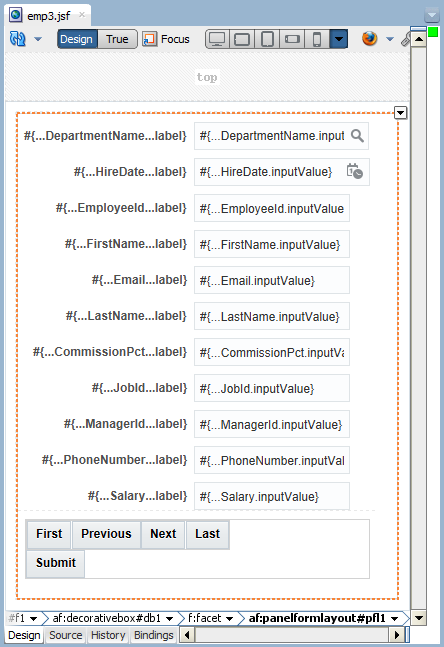
Drag and drop the V03Employees1 fromthe Data Controls into "Center" region of the emp3.jsf window and create an ADF Form.
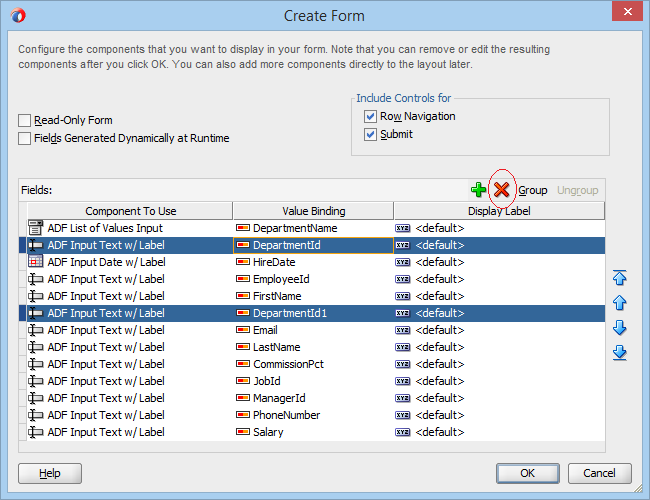
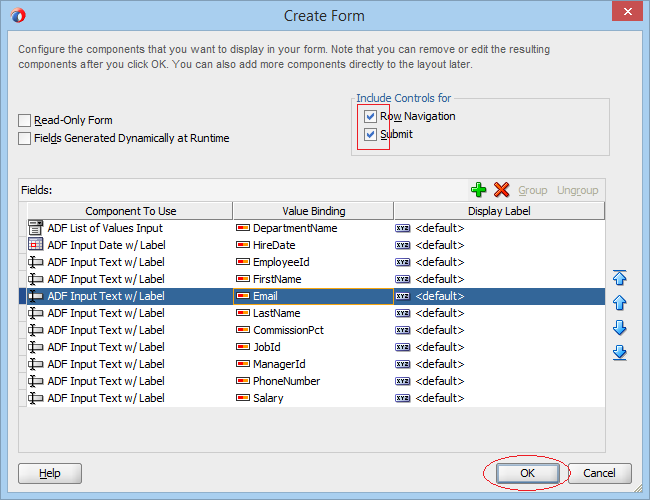
Delete the two columns of DepartmentId and DepartmentId1 :
Java Oracle ADF Tutorials
- Install Oracle JDeveloper 12c on Windows
- Steps to create a ADF Fusion Web application using ADF Business Components
- Create a Search Page in ADF BC using Parameter Form and display on ADF Table
- Create, Update and Delele Data using ADF Form in ADF BC
- Creating LOV (List Of Values) in Oracle ADF BC
- Undertanding Associations, View Links and Master-Detail in Oracle ADF BC
Show More