Steps to create a ADF Fusion Web application using ADF Business Components
1. The objective of the instruction
In this post, I show you how to create an ADF Fusion Web application usingADF Bussiness Components.
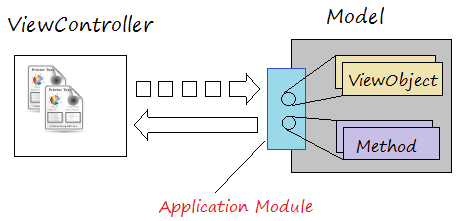
A ADF Application consists of two projects, which can also be considered as two modules (Model & ViewController), as the following illustration:
The objective of the post include:
- Create an ADF application withthe type of ADF Fusion Web Application.
- Create Model Project and ViewController Project.
- Create a connection in the Oracle database.
- Create the Application Module on the Model Project.
- Create a Entity Object on the Model Project.
- Create default View Objects on theModel Project and register them with the Application Module.
2. Database
In this article I use HR Schema, which is a sample schema of Oracle, and is available when you install Oracle. If not available, you can create this Schema as guided below:
- HR Schema
3. Create ADF Web Application
On the JDeveloper, select:
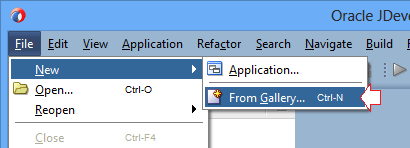
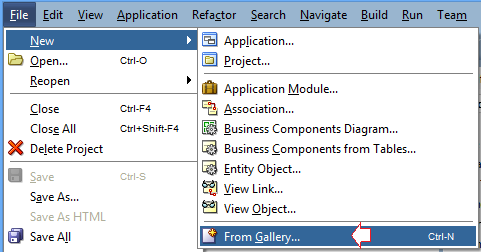
- File/New/From Gallery...
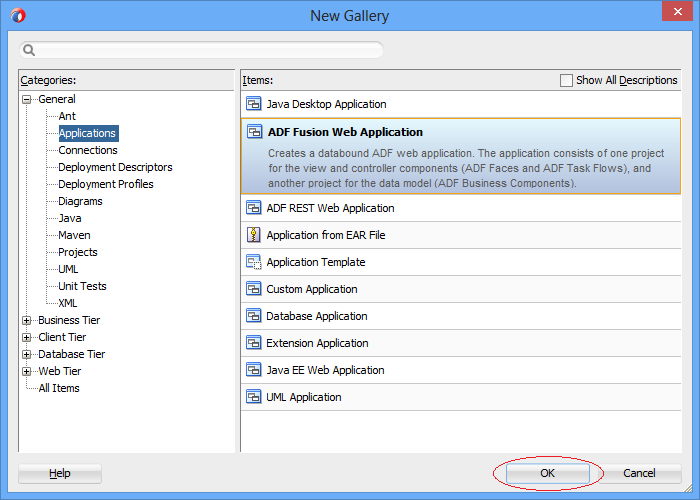
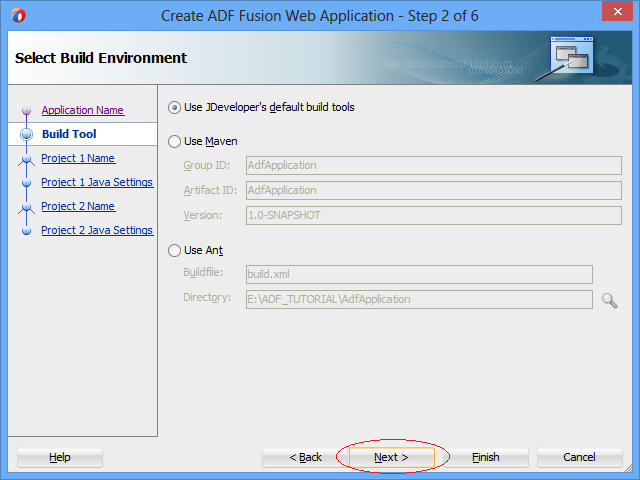
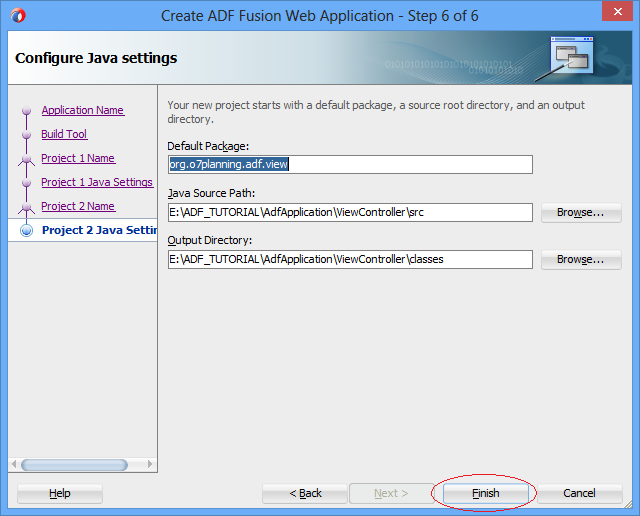
Select "ADF Fusion Web Application":
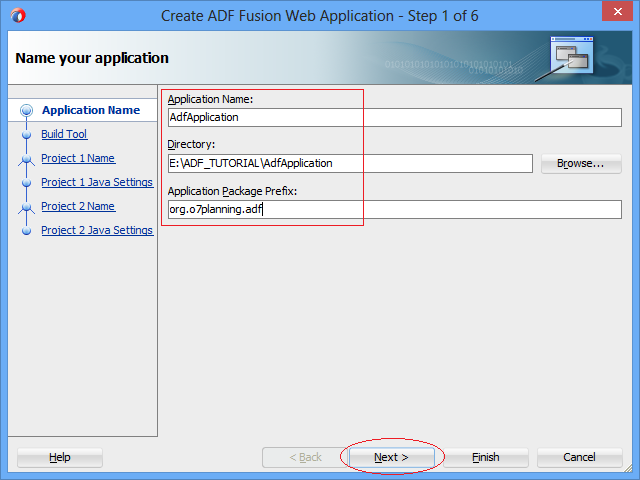
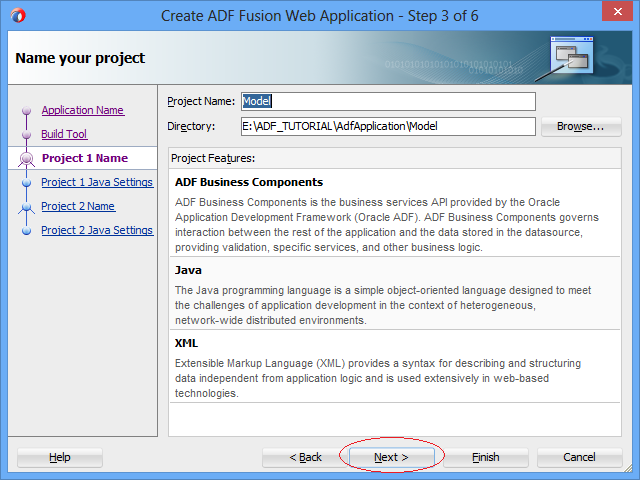
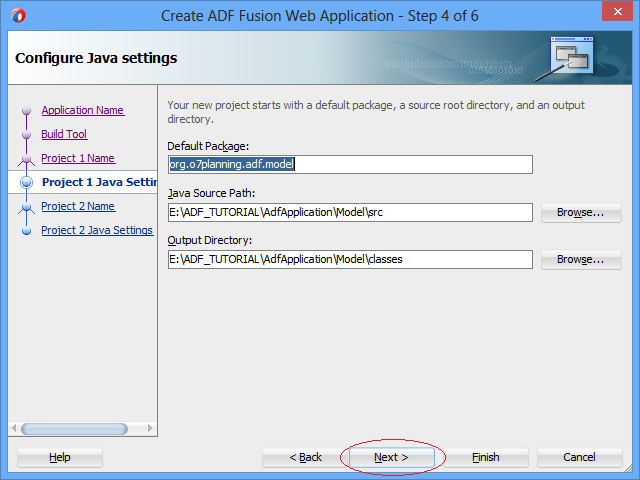
Next, the JDeveloper will create Model Project, of which default name is "Model". You can give it another name if you want. The technologies used for this project include:
- Java
- XML
- ADF Bussiness Components.
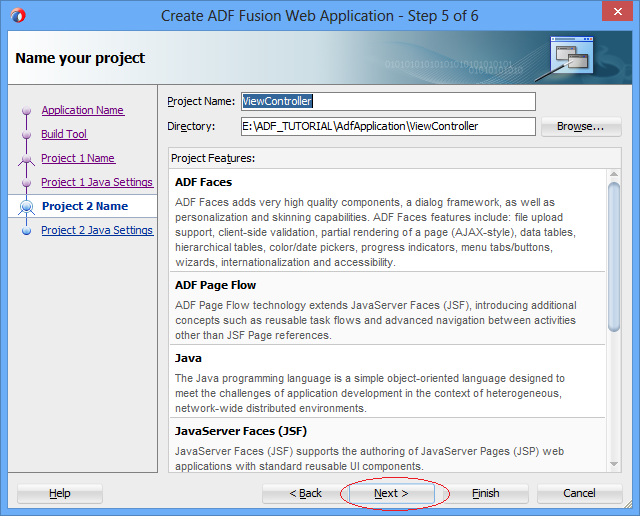
Next, the JDeveloper will create ViewController Project. Its default name is "ViewController". You can give it another name if you want. The technologies used for this project include:
- ADF Faces
- ADF Page Flow
- Java
- JavaServer Faces (JSF)
- JSP and Servlets
- Trinidad
- XML,..
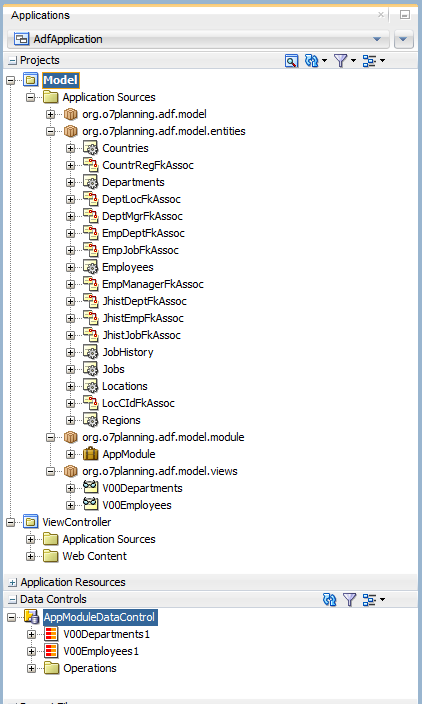
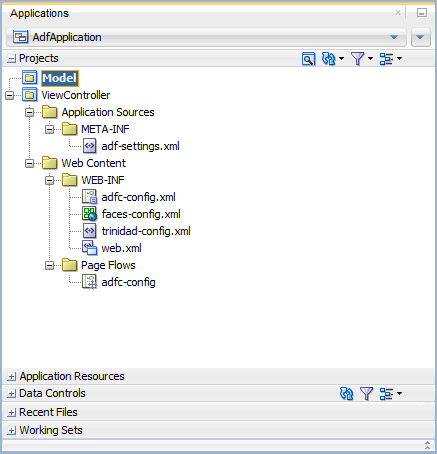
Your application has been created. It is the same as the following illustration:
4. Create a connection to the database
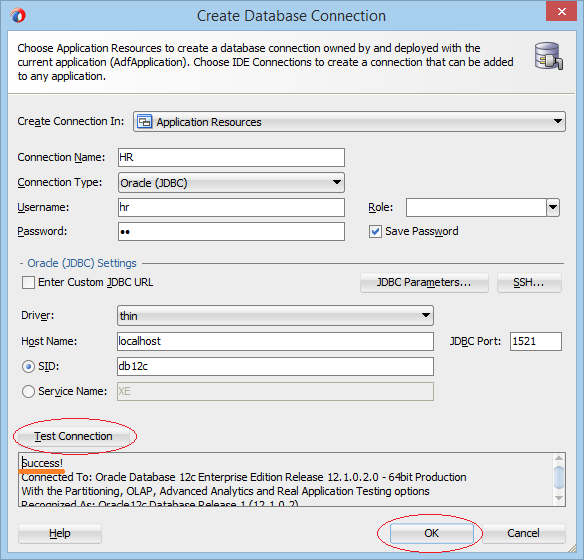
And then, you need to create a connection to the Oracle database. Here, I will connect to the HR Schema.
On the JDeveloper, select:
- File/New/From Gallery...
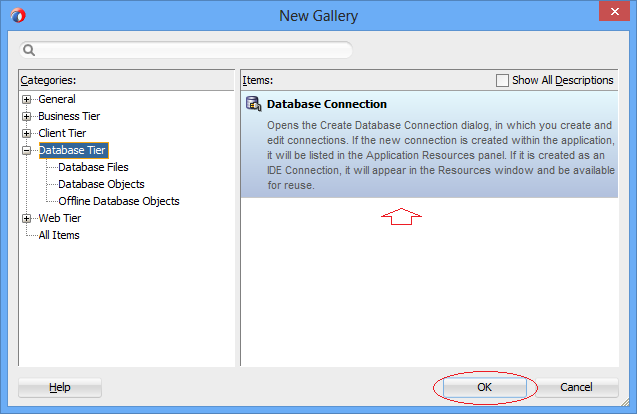
Enter parameters to connect to the HR Schema. After that, press "Test Connection" to check the connection. If everything is good, you will receive a success notice.
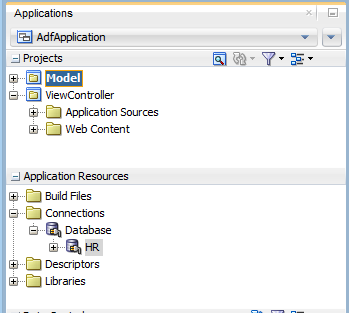
A Connection has been created, you can see it on the window of "Application Resources":
5. Create Application Module
"Application Module" is an important component of the ADF application. It is like a bridge between ViewController Project and Model Project.
Application Module is placed at Model Project.
Application Module is placed at Model Project.

ViewController can only access to the objects or methods of the Model if they are registered with the Application Module. (See the above illustration).
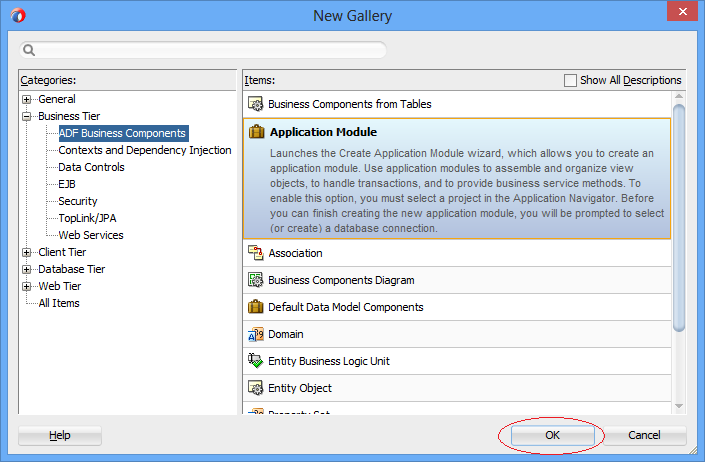
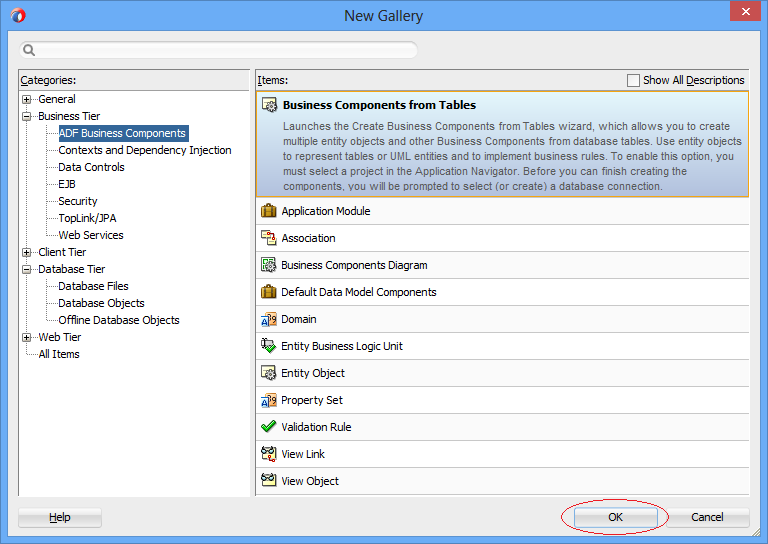
To create an Application Module, on the JDeveloper,select:
- File/New/From Gallery...
- >> Business Tier/ADF Business Components/Application Module
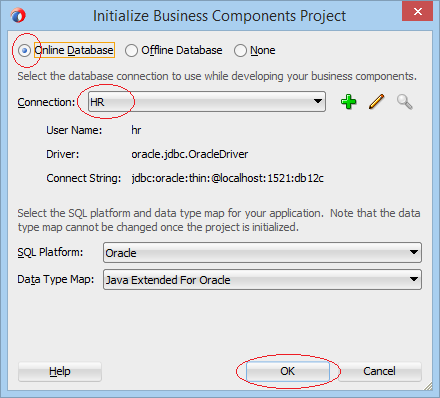
Select connection as HR, created by you in the above step.

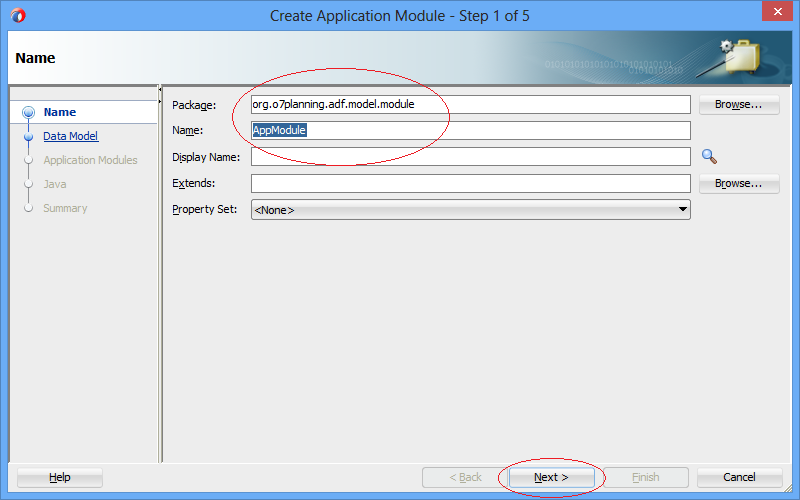
- Package: org.o7planning.adf.model.module
- Name: AppModule
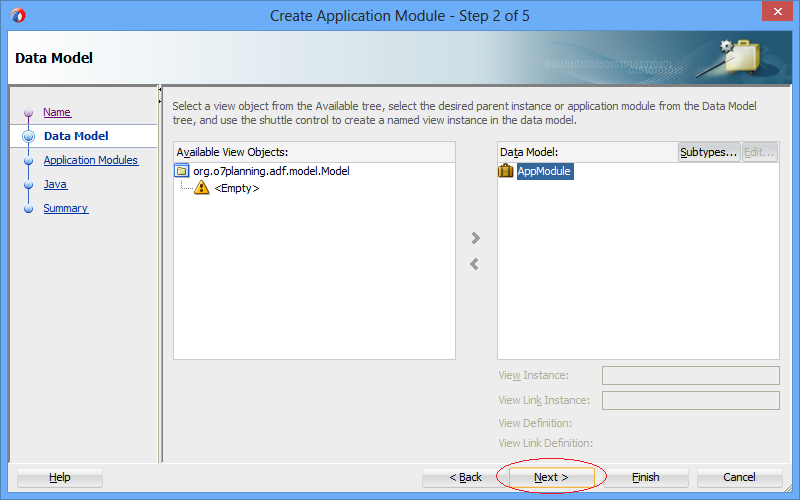
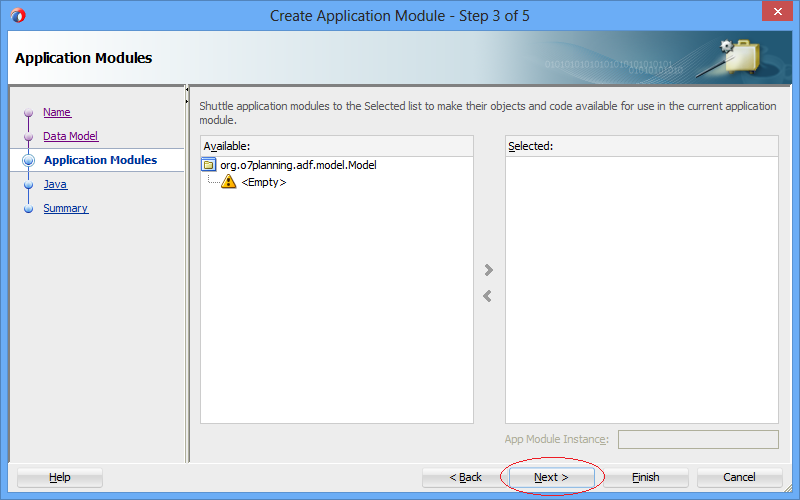
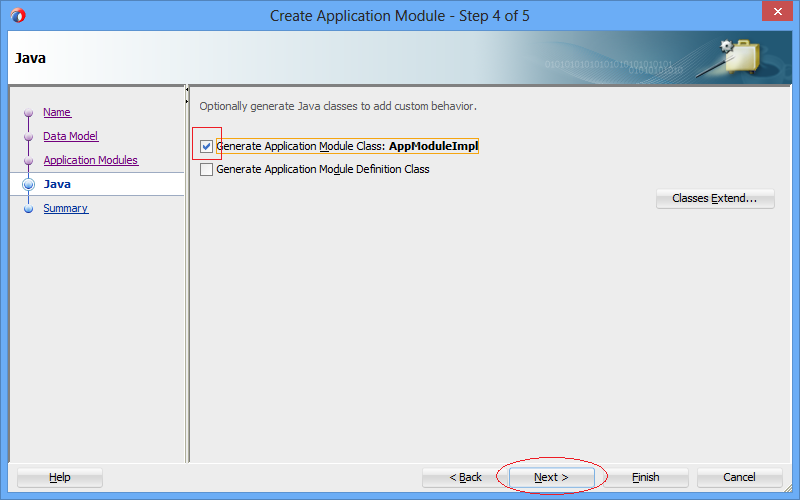
Next, the JDeveloper suggests you to generate a class for "Application Module". Check to select "Generate Application Module class" and press "Next" to continue:
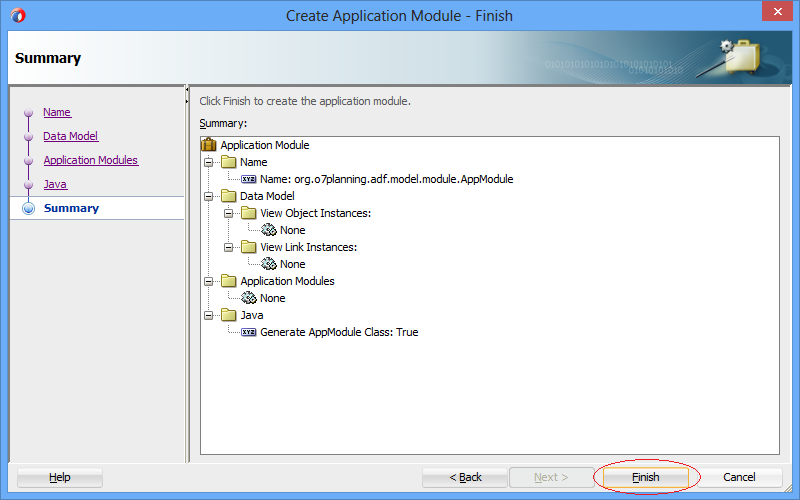
Your "Application Module" has been generated:
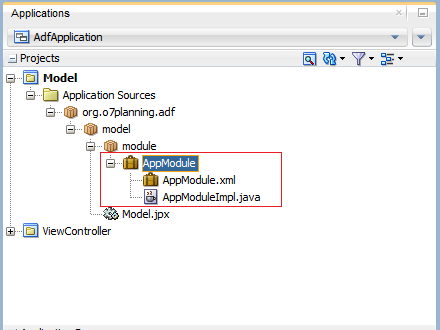
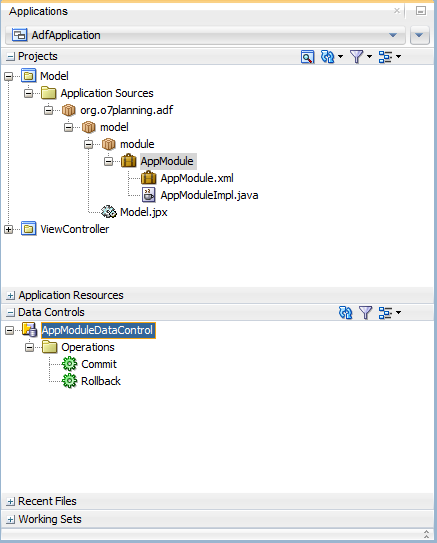
After generation of the Application Module, the objects registered with it are seen on the "Data Controls", and can be used by other projectsc (For example, ViewController). Currently, your Application Module doesn't have any object or modes.
6. Create Entity Objects on the Model Project
Next, you need to create the Entity Object. Each Entity Object represents a table in the database, and they are also related to each other through the Association.
On the JDeveloper, select:
- File/New/From Gallery...
- >> Business Tier/ADF Business Components/Business Components from Tables...
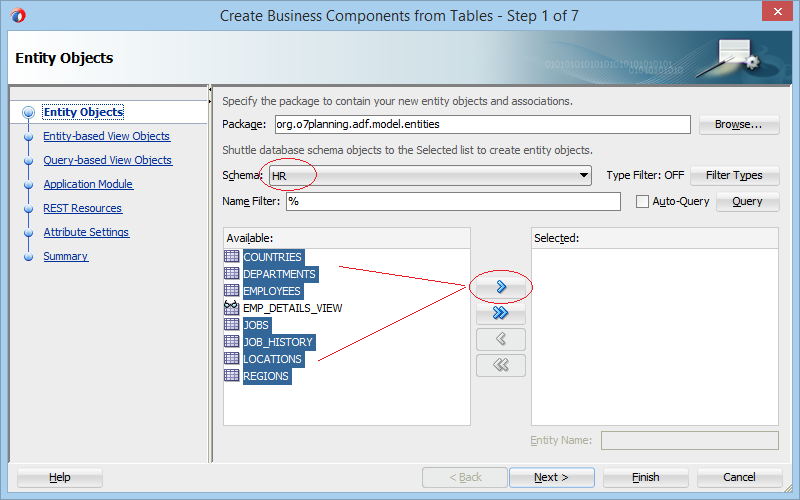
Select a connection as HR, which is created in the above step by you.
Name the package used to contain Entities:
- org.o7planning.adf.model.entities
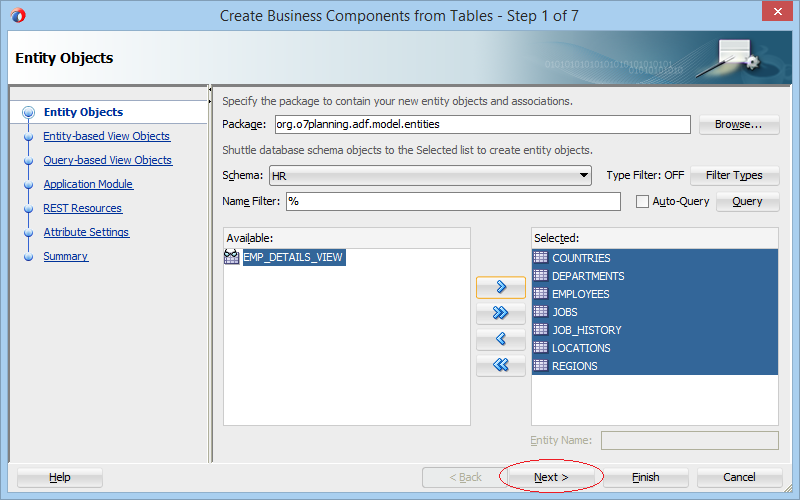
Select the tables that you want to generate corresponding Entity Objects for it.
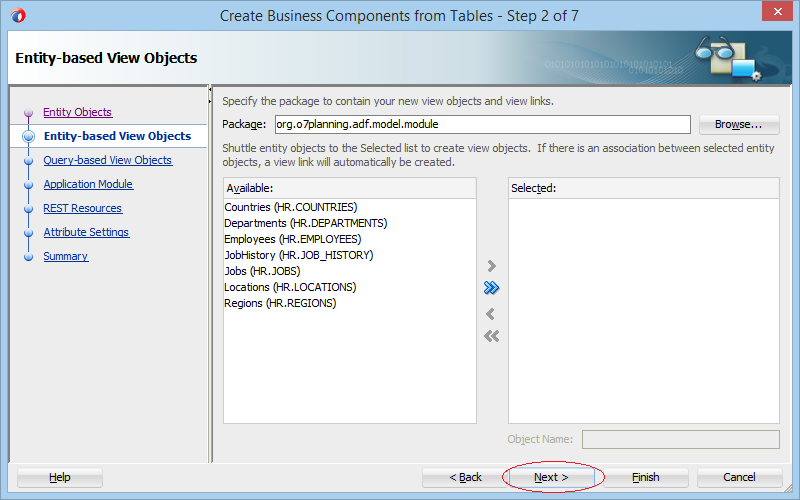
Next, the JDeveloper suggests you to create Entity-based View Objects (default View Objects). You probably don't need them, therefore, you can skip them. You can createlater if necessary for your application.
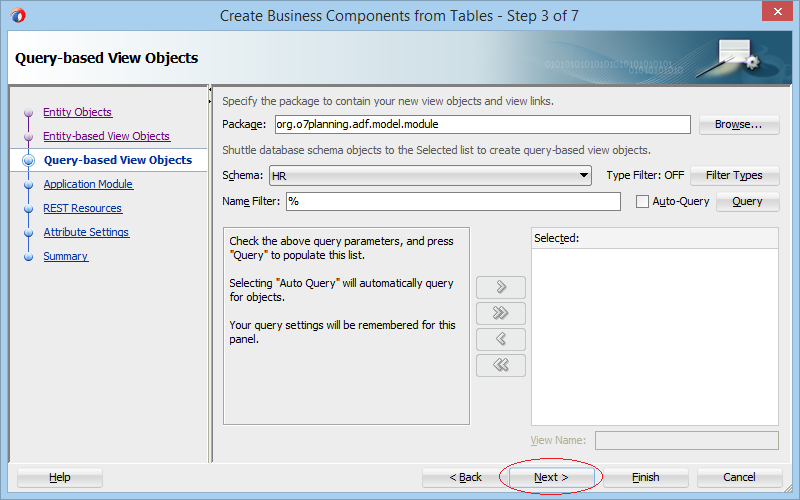
Next, the JDeveloper suggest you to continue generating "Query based View Objects" ( View Objects are based on query statement). You don't also neet them.
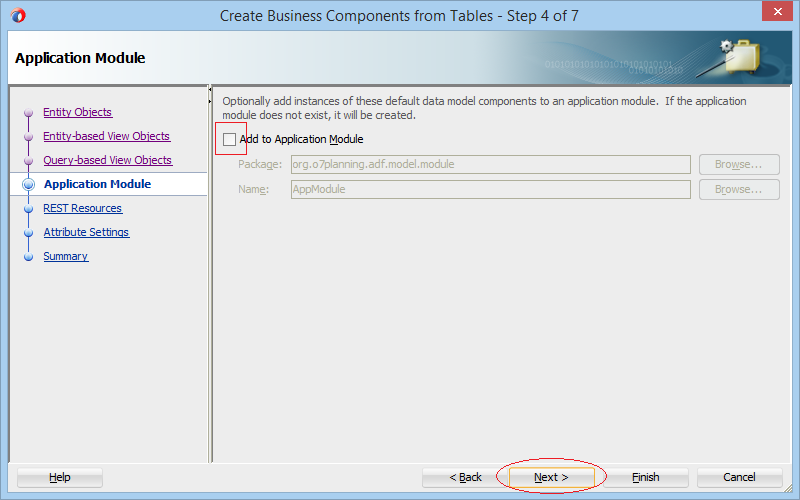
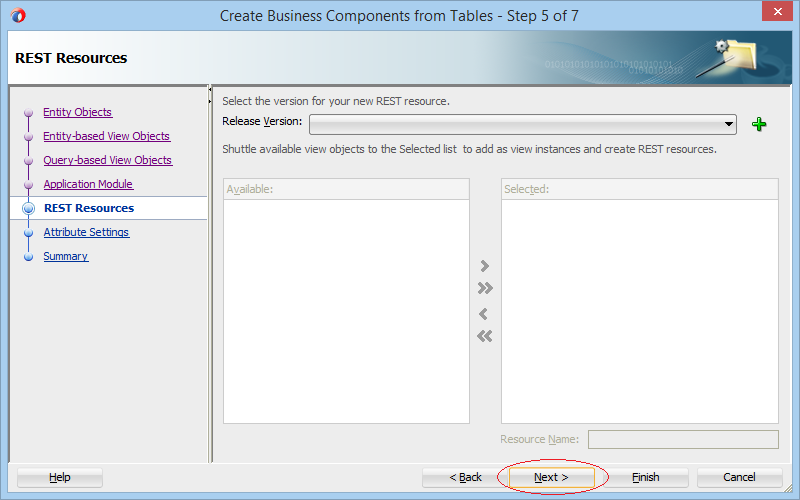
Next, the JDeveloper suggest you to register the objects created in the previous step with Application Module. You can skip this step.
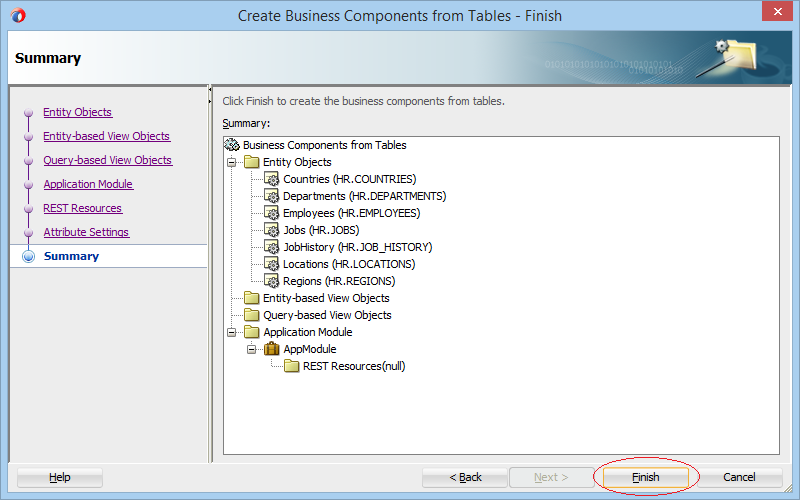
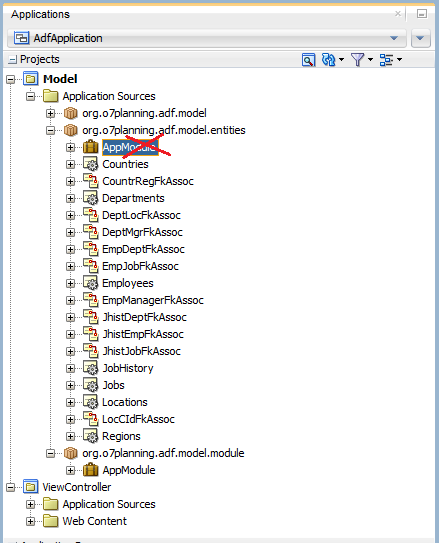
The Entity Objects have been generated onModel Project. Each table on the database will correspond to an Entity Object generated. The Foreign Keys on the database will correspond to an Association. See the illustration below:
Note: If JDeveloper automatically creates another Application Module. You can delete it. An ADF application allows one or more Application Modules.
7. Create default View Objects
- Entity Object is a component of the DF BC application. It corresponds to a table on the database.
- The View Object is a component of the BC ADF application. It corresponds to a VIEW of the database (or any query statement).
- The default View Object is a View Object created from an Entity Object.
Creating View Objects is defaulted to be unmandatory, which depends on your application. The View Objects created can be registered with theApplication Module by you. The View Objects registered with the Application Module can be used by other projects.
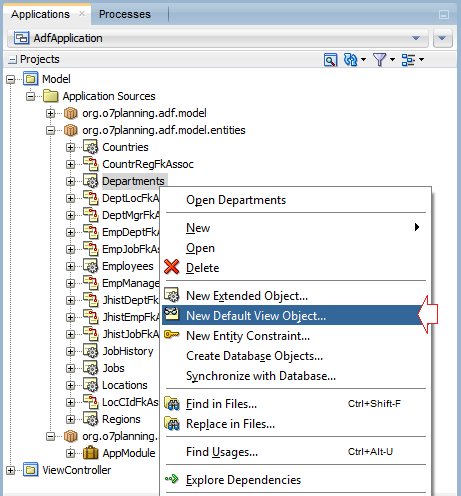
Create default View Object
Right click on one Entity Object and select "New Default View Object":
Enter:
- Package: org.o7planning.adf.model.views
- Name: V00Departments
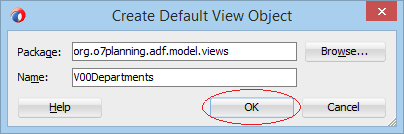
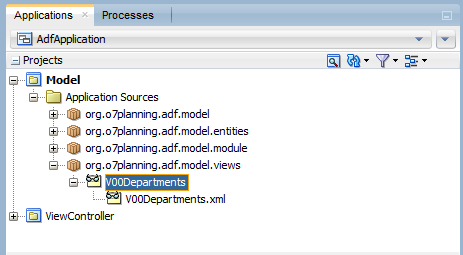
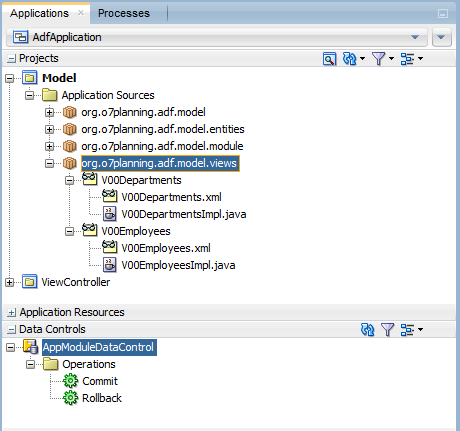
Default View Object (V00Departments) has been created.
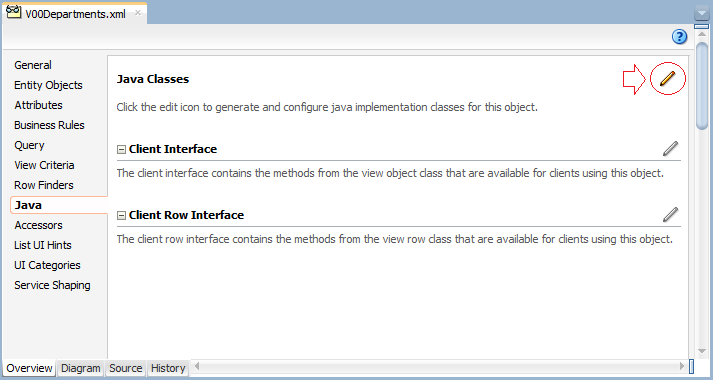
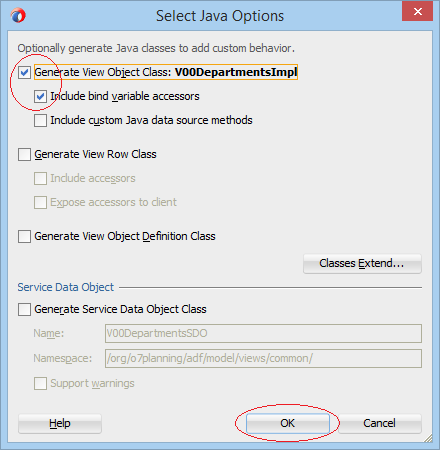
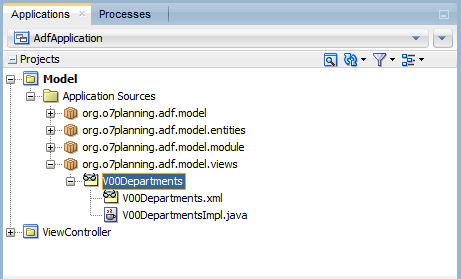
Next, you need to create Java class for the View Object which has just been created.
Similarly, you continue creating a default View Object for Employees.
Register View Object with Application Module:
Open the Application Module:
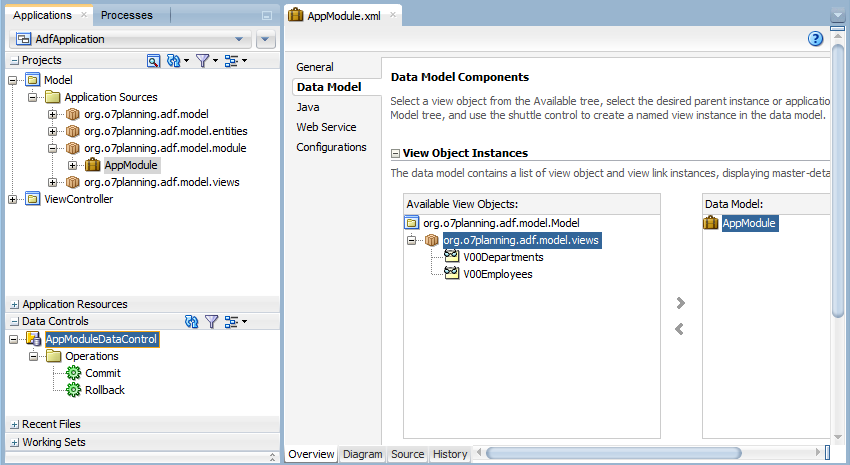
Select View Objects and move them into "Data Model".
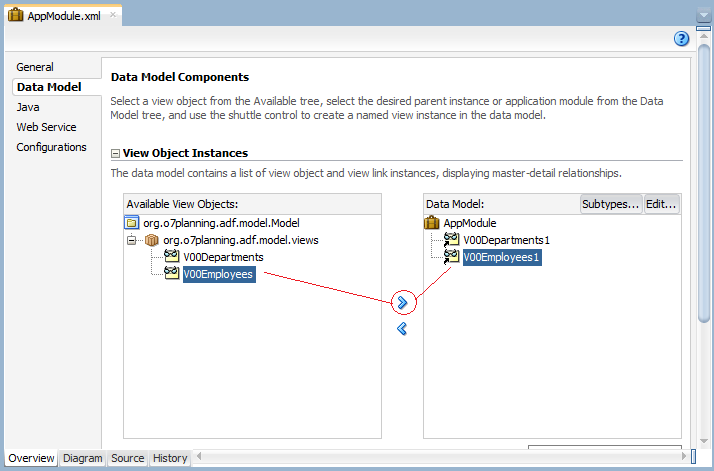
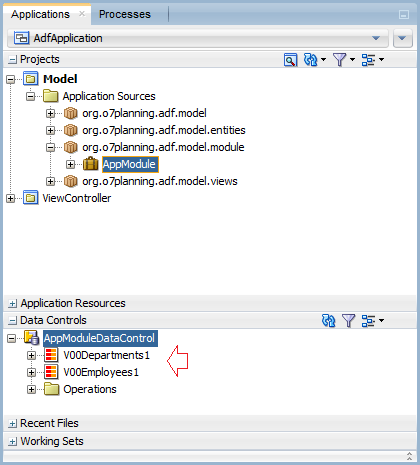
At this point, 2 View Objects (V00Departments & V00Employees) have been already registered on the Application Module, and other Projects can access to use them through "Data Controls":
Java Oracle ADF Tutorials
- Install Oracle JDeveloper 12c on Windows
- Steps to create a ADF Fusion Web application using ADF Business Components
- Create a Search Page in ADF BC using Parameter Form and display on ADF Table
- Create, Update and Delele Data using ADF Form in ADF BC
- Creating LOV (List Of Values) in Oracle ADF BC
- Undertanding Associations, View Links and Master-Detail in Oracle ADF BC
Show More