Install Tomcat Server
1. What is Tomcat?
Tomcat is a Server Application, which is an open source software provided by Apache. The Tomcat is famous for its compactness. It is often used during developing a Web application on the Java Servlet platform.

You can also use Tomcat to deploy Java Web applications in fact and can fully believe in its stability.
In this post, I will guide you for installing and configuring the Tomcat, with Windows, Linux operating systems
2. Download Tomcat
The latest version of Tomcat is 9.x. We will download this version.
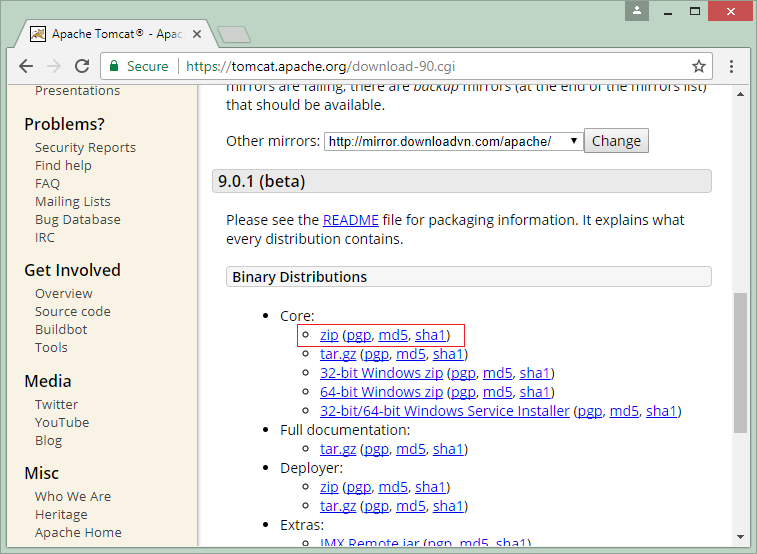
As recommended by me, you should download a zip file. It is suitable for all different operating systems (Windows, Linux, ...)
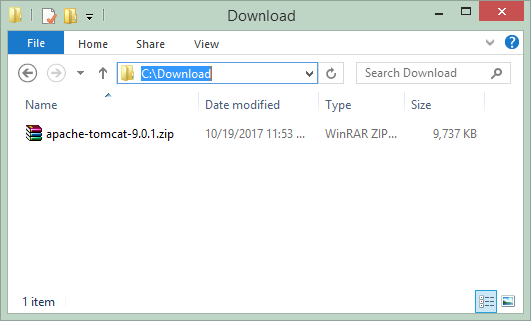
The result downloaded:
3. Install Tomcat
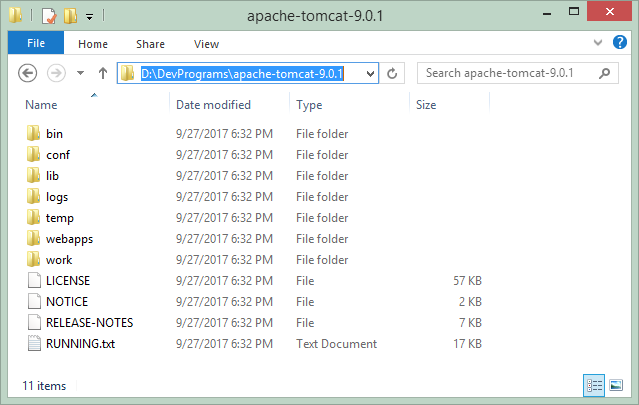
Installing the Tomcat is extremely simple. After you download a zip file in the above step, please extract it in a certain folder.
For example, I have extracted the downloaded file in the folder:
- D:/DevPrograms
4. Configure Java_Home and User for the Tomcat
To be able to run the Tomcat, you are required to install Java> = 8 on your computer and configure it to specify the position of the Java for the Tomcat.
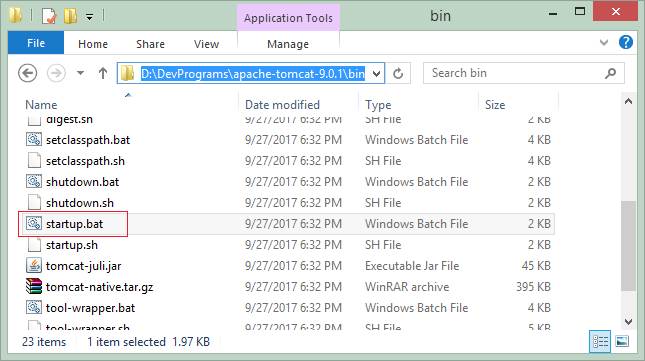
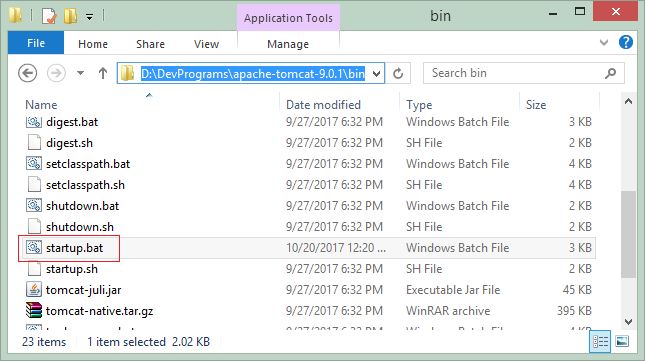
Open the startup.bat file located in the bin folder of the Tomcat. (For Linux / Ubuntu, it will be the startup.sh file.)
Add a configuration snippet:
# Với Windows

set JAVA_HOME="C:\DevPrograms\Java\jdk1.8.0_144"

# Với Linux/Ubuntu

JAVA_HOME="/usr/lib/jvm/open-jdk"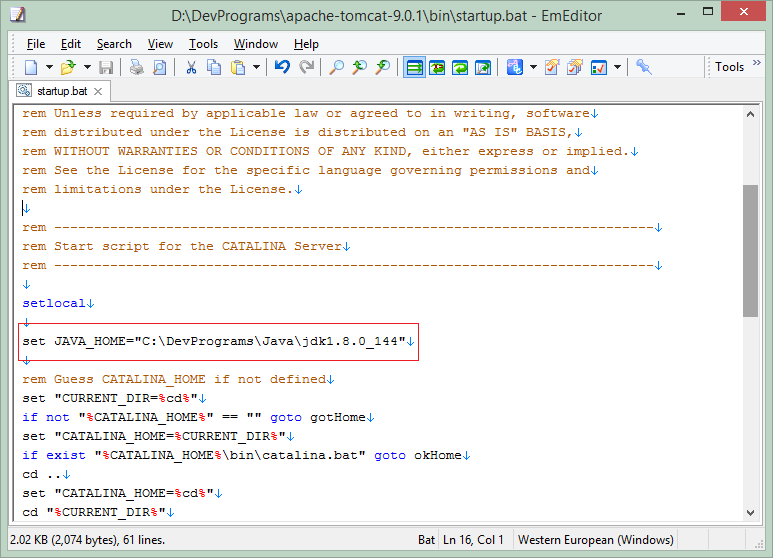
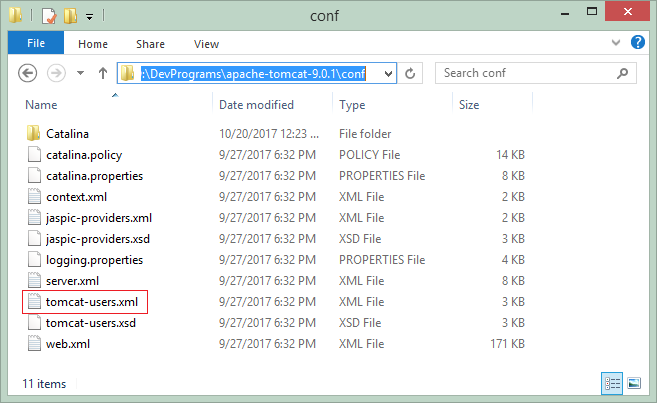
Next, you need to configure the users that are allowed to use Tomcat. Open the tomcat-users.xml file (located in the conf folder).
Tomcat have defined the following four roles in advance:
- manager-gui - allows access to the HTML GUI and the status pages
- manager-script - allows access to the text interface and the status pages
- manager-jmx - allows access to the JMX proxy and the status pages
- manager-status - allows access to the status pages only
A user can have one or more roles. Now I will declare a user named "tomcat" and having 4 above roles.
** define a user **
<role rolename="manager-gui"/>
  <role rolename="manager-script"/>
  <role rolename="manager-jmx"/>
  <role rolename="manager-status"/>

  <user username="tomcat"
      password="mypassword"
      roles="manager-gui,manager-script,manager-jmx,manager-status"/>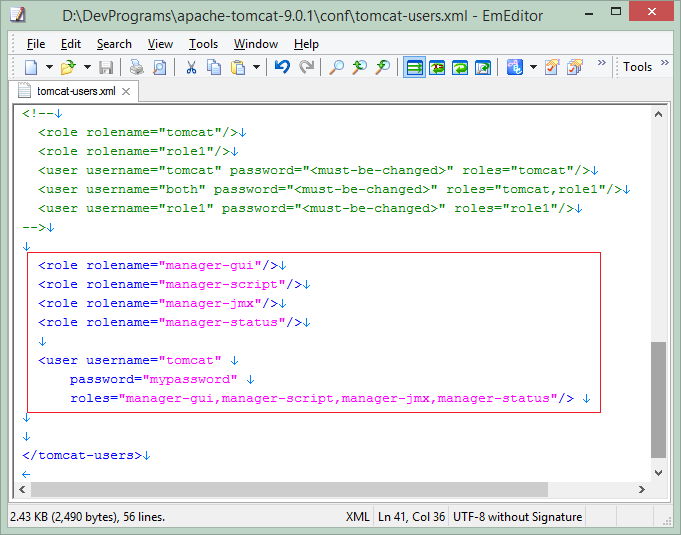
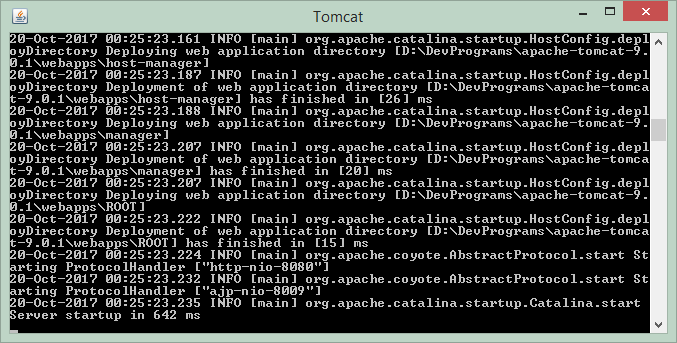
5. Run the Tomcat
To run the Tomcat, double-click on startup.bat (or startup.sh if you use Linux/Ubuntu operating system).
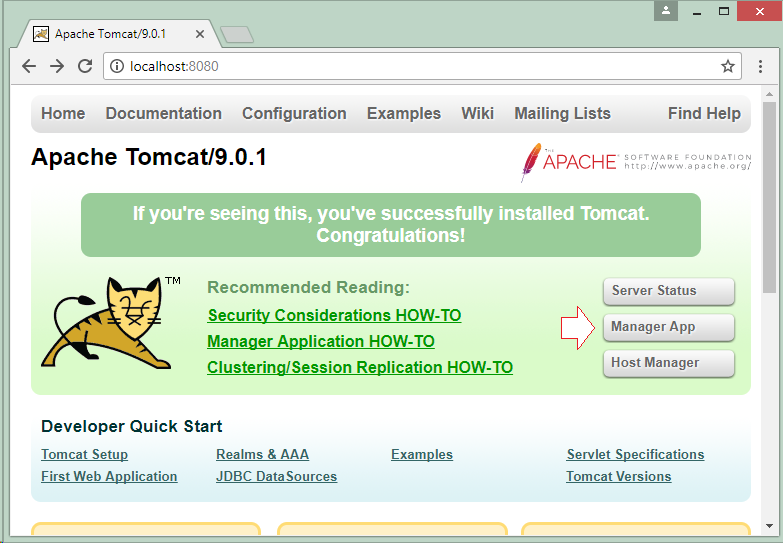
In the browser, visit the address:
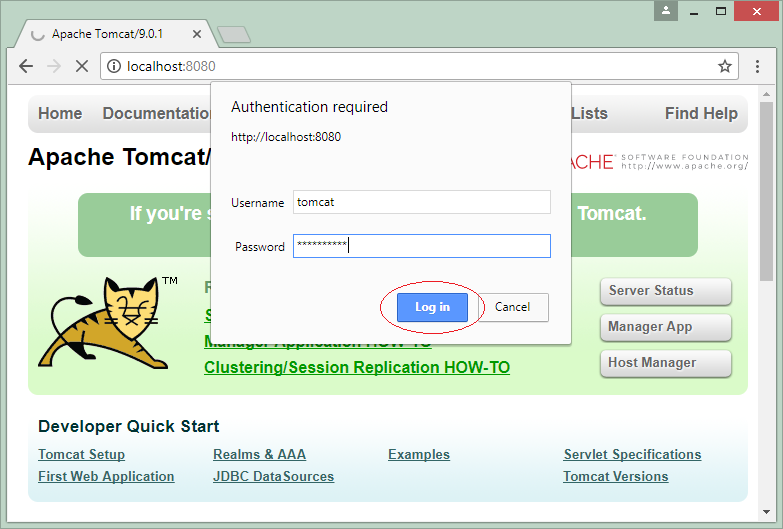
The Tomcat requires you to to log in. Please log in with the user/password that you have declared in the previous step.
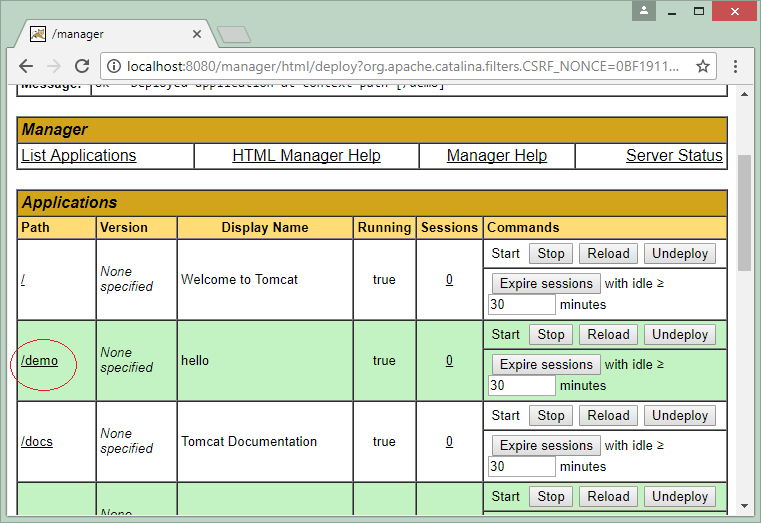
By default, some applications have already been deployed on the Tomcat, of which Tomcat Manager Application is the most important. It helps you manage the Tomcat and you can access it by the following link:
Other applications can be undeployed by you, if you find that it is not necessary .
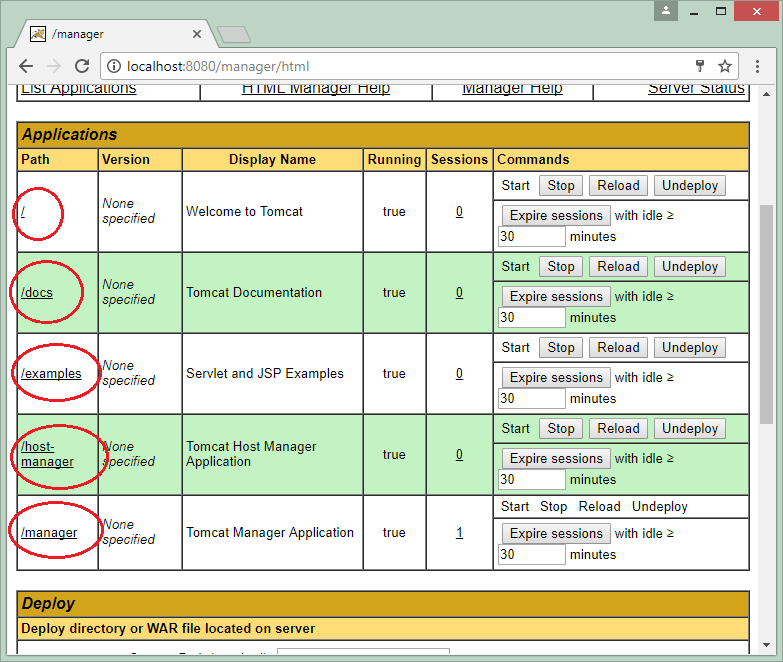
The Welcome to Tomcat application is using a default Context-Path. You can undeploy it to use the default Context-Path for another application.
6. Deploy the application onto the Tomcat
First of all, you need to download a demo application, and deploy it onto the Tomcat.
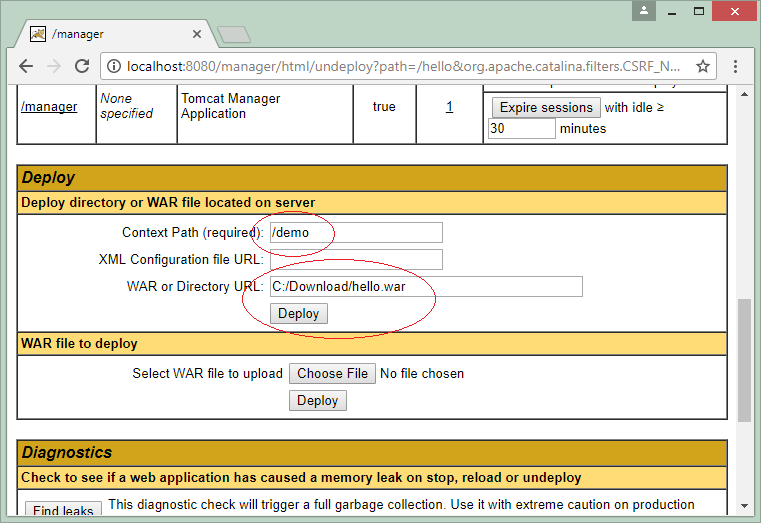
The demo application has been deployed onto the Tomcat.
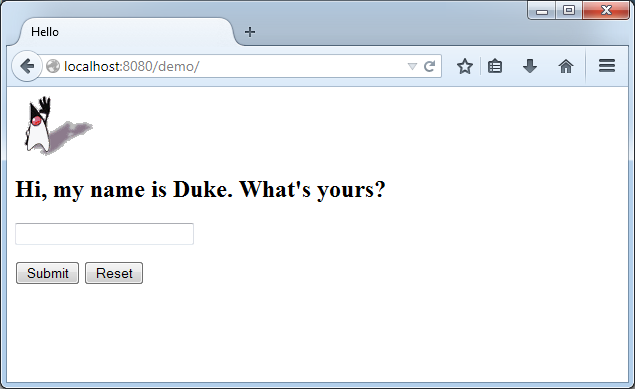
Run the demo application:
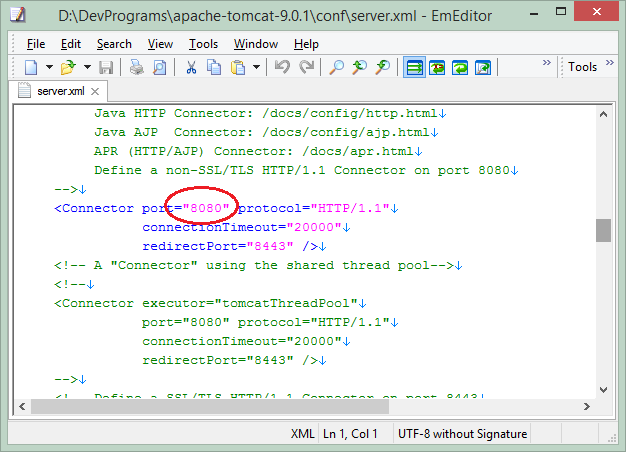
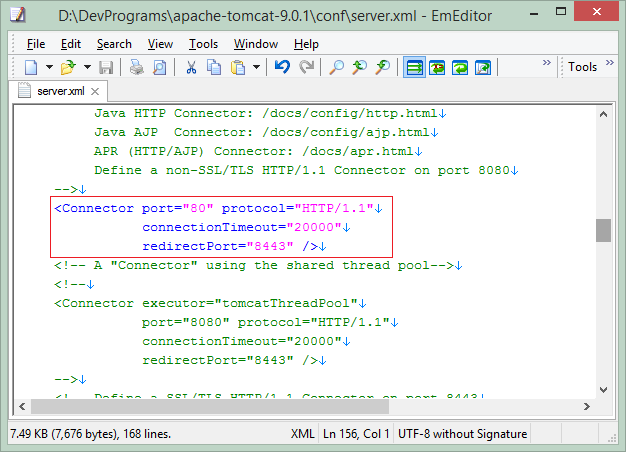
7. Change Port 8080 to 80
By default, the Tomcat useport 8080, you can configure to transfer to another port, for example, port 80.
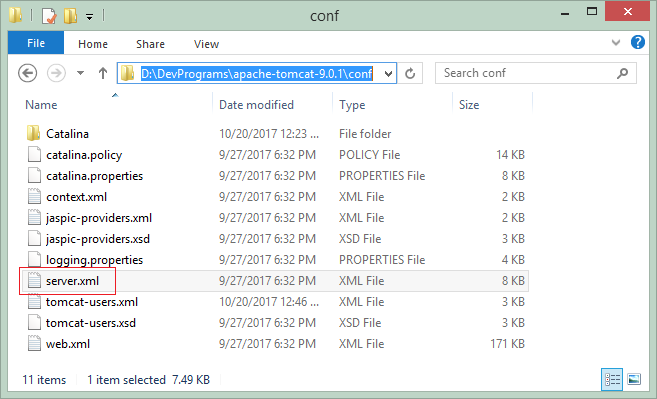
Open server.xml file (Located in the conf folder)
8. Configure default charset (UTF-8)
Sometimes you deploy an application onto the Tomcat, but UTF-8 doesn't work. You can configure the UTF-8 as the default charset for the Tomcat.
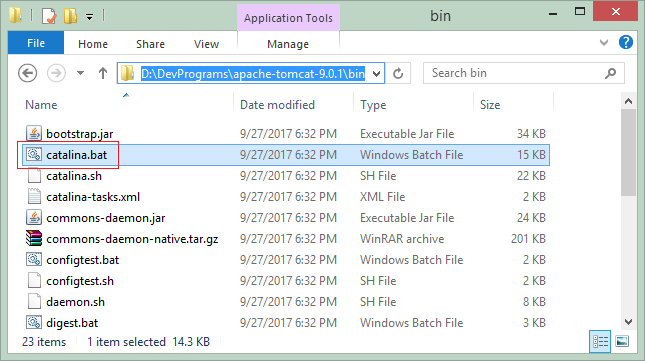
Open the bin/catalina.bat file (or the bin/catalina.sh file, if you uses the Linux/Ubuntu operating system). Add the following configuration snippet:
# Windows:

set JAVA_OPTS=-Djavax.servlet.request.encoding=UTF-8 -Dfile.encoding=UTF-8

# Linux/Ubuntu

JAVA_OPTS=-Djavax.servlet.request.encoding=UTF-8 -Dfile.encoding=UTF-8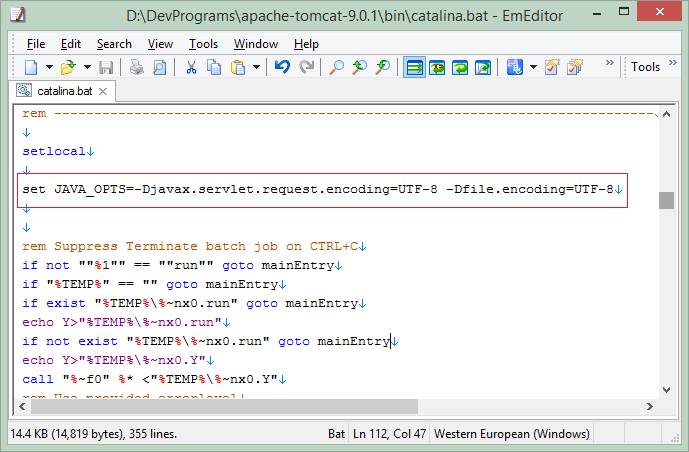
Java Application Servers Tutorials
- Install Tomcat Server for Eclipse
- Install Tomcat Server
- Install Glassfish Web Server on Windows
- Install Oracle WebLogic Server
- How to create Windows Service for Oracle WebLogic Server?
- Deploy Spring Boot Application on Tomcat Server
- Deploy Spring Boot Application on Oracle WebLogic Server
- Deploy Spring MVC on Oracle WebLogic Server
- Install SSL Certificate for Tomcat Server
- Install a free SSL certificate Let's Encrypt for Tomcat Server on Ubuntu
Show More