Create a Gradle Java Web Application and run on Gradle Tomcat Plugin
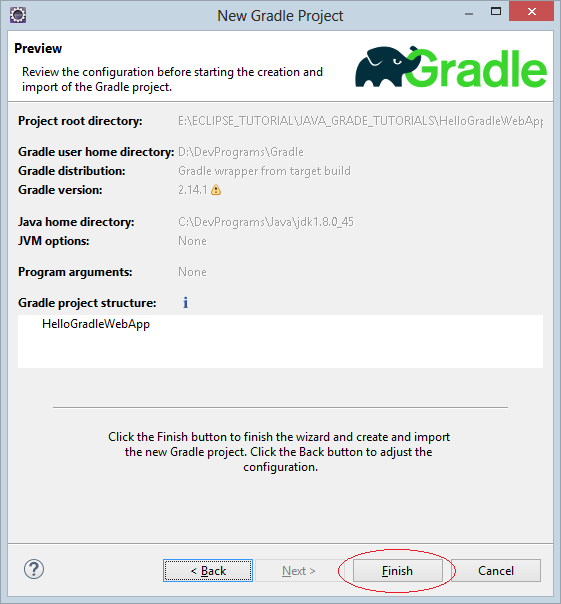
1. Create Gradle Project
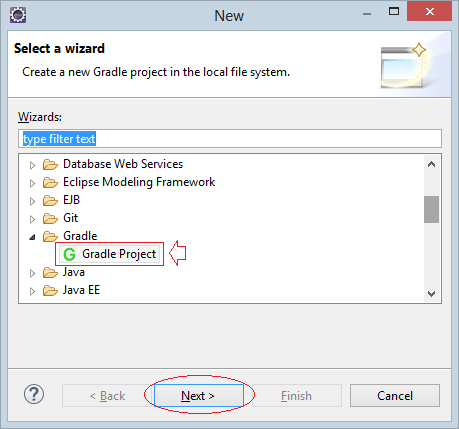
- File/New/Other...
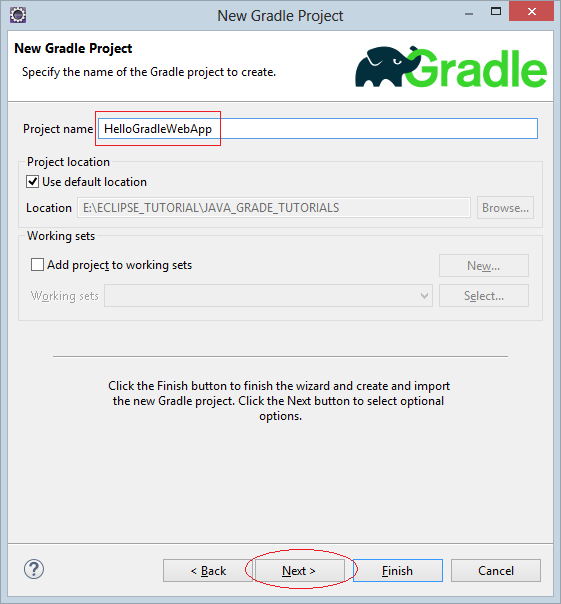
Enter the name of the project:
- HelloGradleWebApp
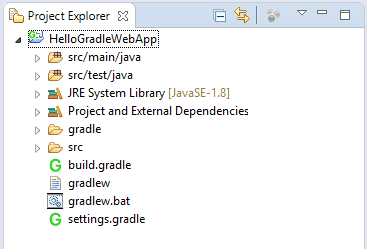
Project is created:
2. Configuring Gradle
This is the default content of build.gradle file created by Eclipse, and remove all the comments:
build.gradle (ORIGIN CONTENT)
apply plugin: 'java'

repositories {
   jcenter()
}

dependencies {

   compile 'org.slf4j:slf4j-api:1.7.21'

   testCompile 'junit:junit:4.12'

}
You need to add the configuration for your application to become "WEB Application". And can be run directly on Eclipse + Tomcat Plugin.
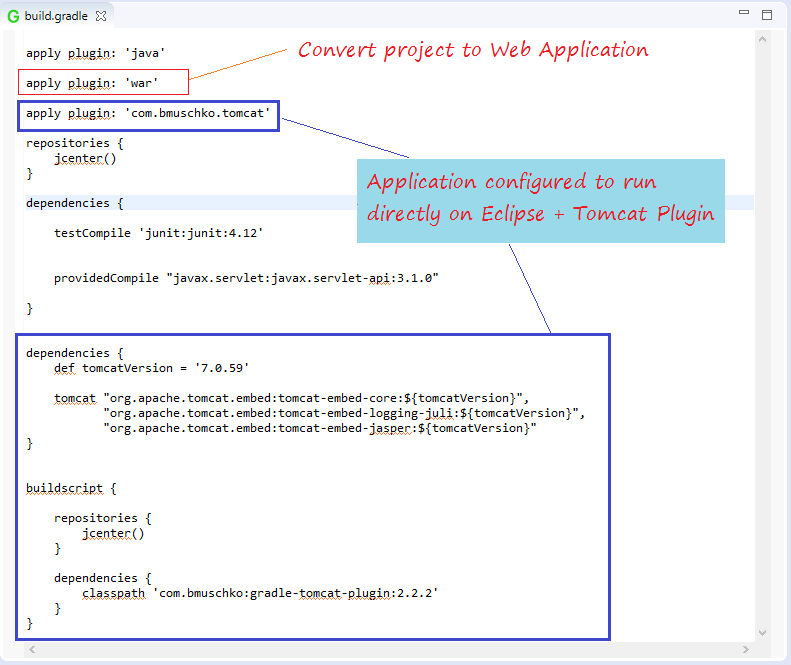
See full code:
build.gradle
apply plugin: 'java'
apply plugin: 'war'
apply plugin: 'com.bmuschko.tomcat'
repositories {
jcenter()
}
dependencies {
testCompile 'junit:junit:4.12'
providedCompile "javax.servlet:javax.servlet-api:3.1.0"
}
dependencies {
def tomcatVersion = '7.0.59'
tomcat "org.apache.tomcat.embed:tomcat-embed-core:${tomcatVersion}",
"org.apache.tomcat.embed:tomcat-embed-logging-juli:${tomcatVersion}",
"org.apache.tomcat.embed:tomcat-embed-jasper:${tomcatVersion}"
}
buildscript {
repositories {
jcenter()
}
dependencies {
classpath 'com.bmuschko:gradle-tomcat-plugin:2.2.2'
}
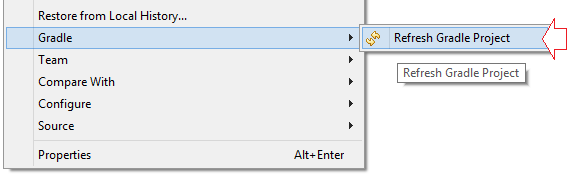
}Note that each time there is a change in build.gradle you need to update the project, using the tool of Gradle.
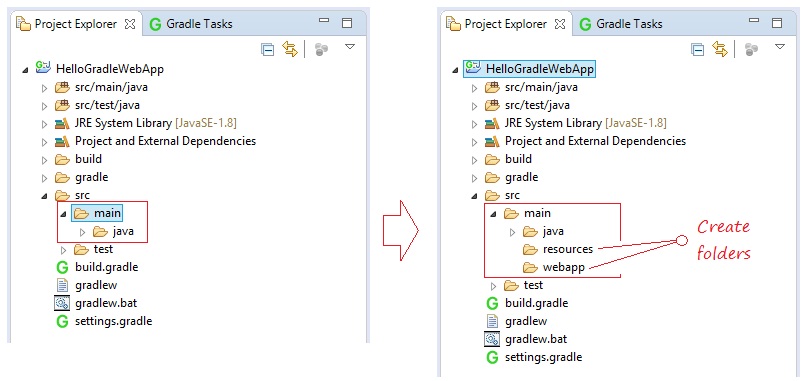
3. Edit application structure
In "src/main" folder, you need to create 2 sub folders are "resources" and "webapp".
- src/main/java: This folder has java sources.
- src/main/resources: This folder can hold property files and other resources
- src/main/webapp: This folder holds jsp and other web application content.
4. Code Project
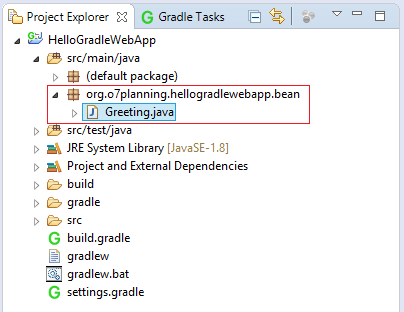
Greeting.java
package org.o7planning.hellogradlewebapp.bean;

public class Greeting {


    public String getHello()  {
        return "Hello Gradle Web Application";
    }

}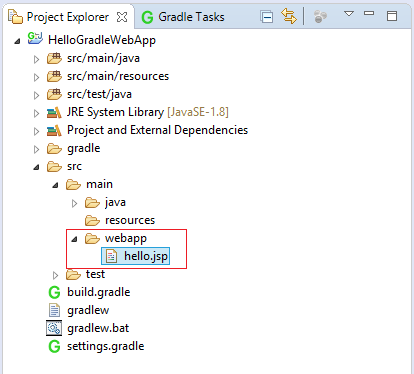
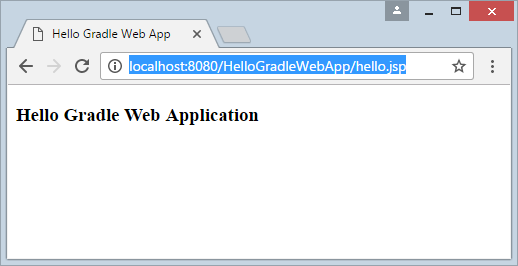
hello.jsp
<!DOCTYPE html>
<html>
<head>

<meta charset="UTF-8">

<title>Hello Gradle Web App</title>
</head>
<body>

<jsp:useBean id="greeting" class="org.o7planning.hellogradlewebapp.bean.Greeting"/>

<h3>${greeting.hello}</h3>


</body>
</html>
5. Gradle Build
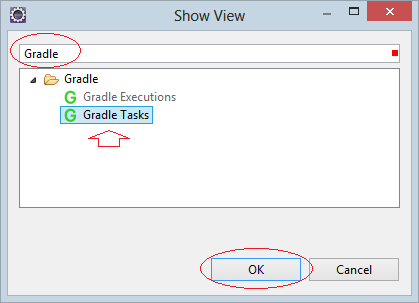
Open "Gradle Task" view.
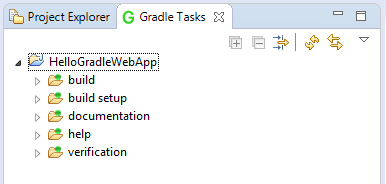
Note: If you do not see "Gradle Task", you can open it by:Window/Show View/Other...
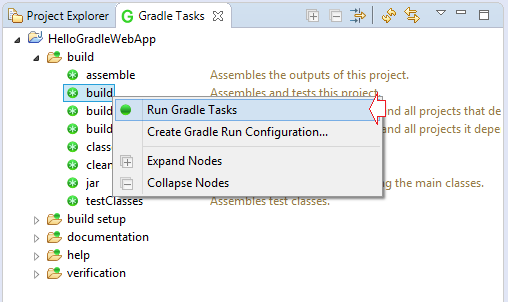
Right-click on "build" and select "Run Gradle Tasks".
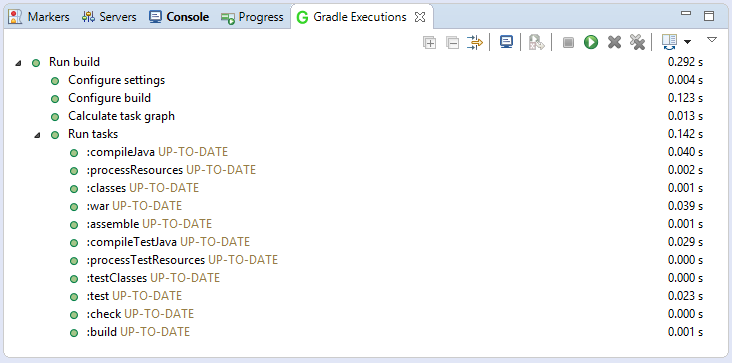
Check Gradle Executions tab, you should see a list of tasks executed.
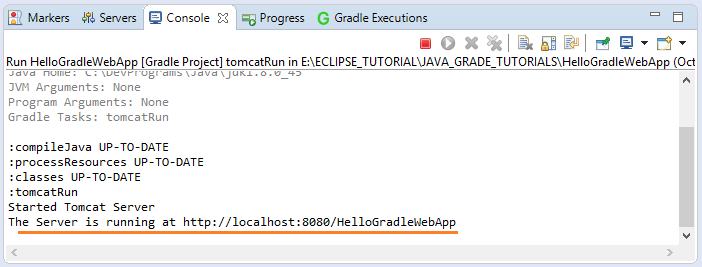
6. Configure to run application
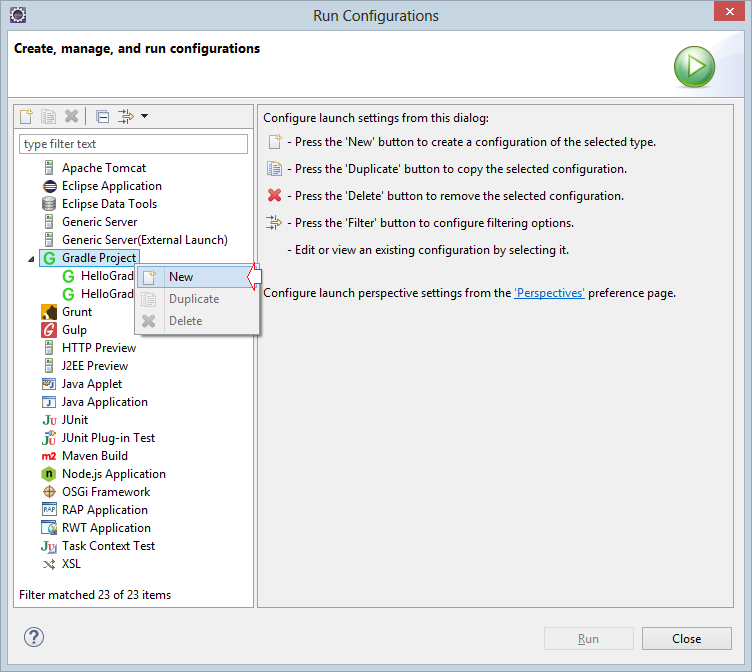
Enter:
- Name: Run HelloGradleWebApp
- Gradle Tasks: tomcatRun
- Working Directory: ${workspace_loc:/HelloGradleWebApp}

Task Name | Depends On | Type | Description |
tomcatRun | - | TomcatRun | Starts a Tomcat instance and deploys the exploded web application to it. |
tomcatRunWar | - | TomcatRunWar | Starts a Tomcat instance and deploys the WAR to it. |
tomcatStop | - | TomcatStop | Stops the Tomcat instance. |
tomcatJasper | - | TomcatJasper | Runs the JSP compiler and turns JSP pages into Java source using Jasper. |