Gradle Tutorial for Beginners
1. Instroduction
We must first ensure that you have installed Gradle Plugins into Eclipse. If not, you can see the installation instructions here:
The goal of the tutorial:
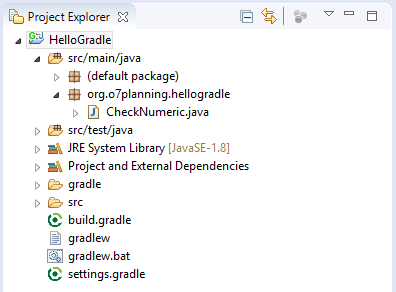
This is the image after Project completion:
2. Create Gradle Project
In Eclipse, Click "New/Other"
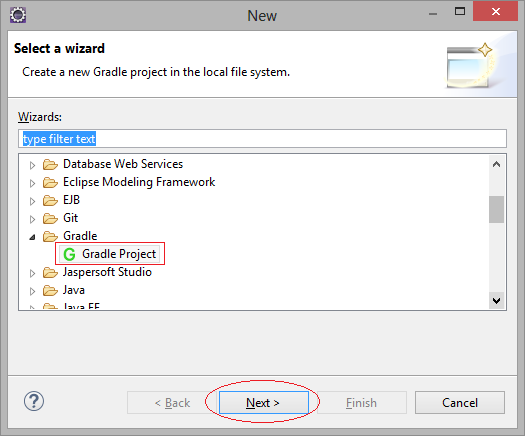
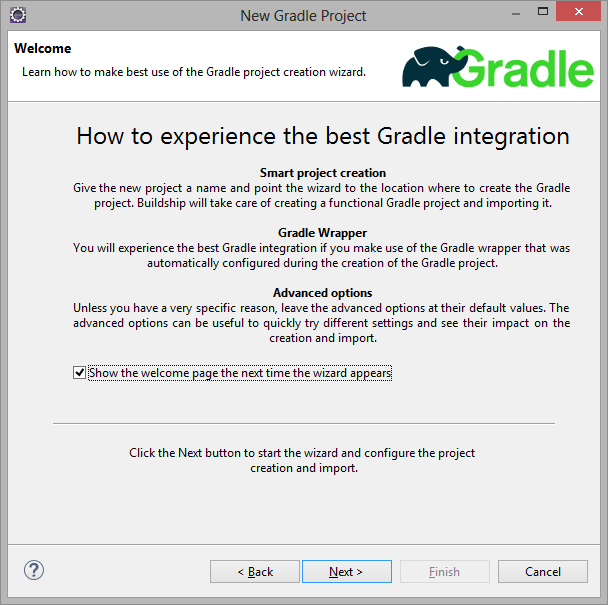
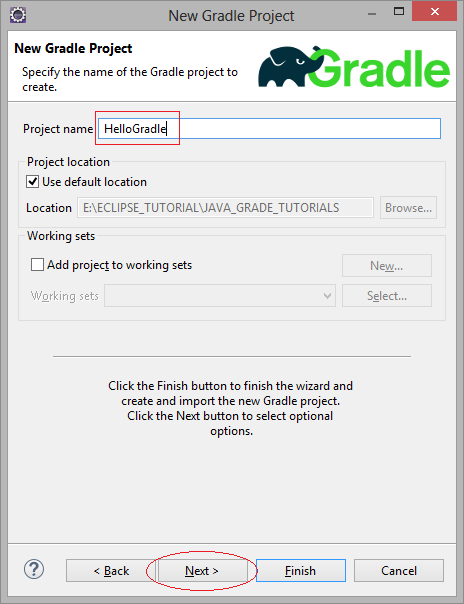
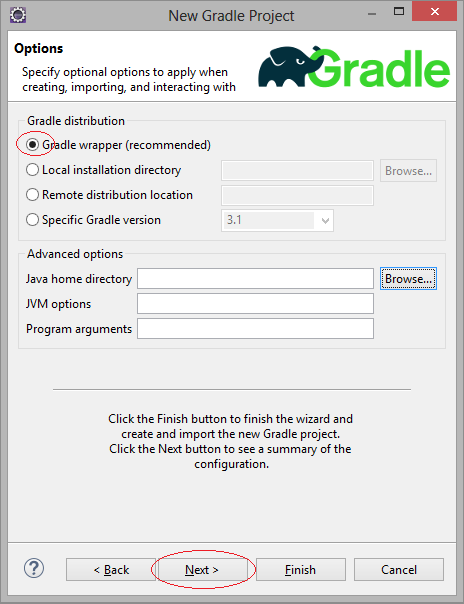
In the first run, Eclipse will download Gradle software.
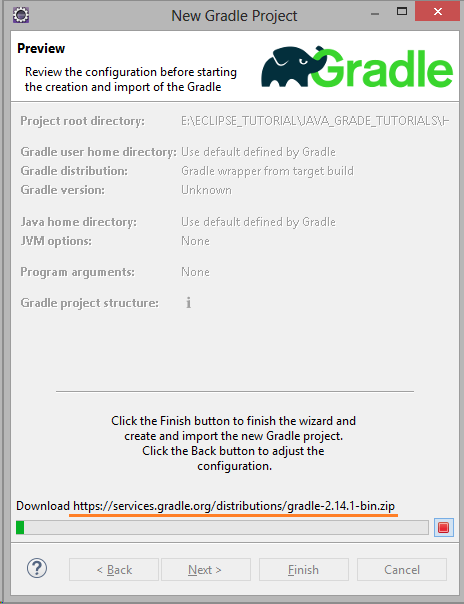
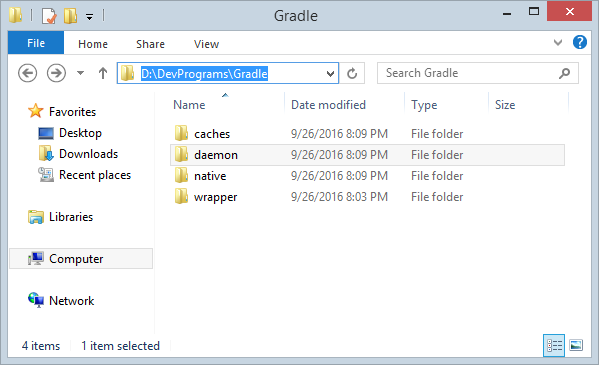
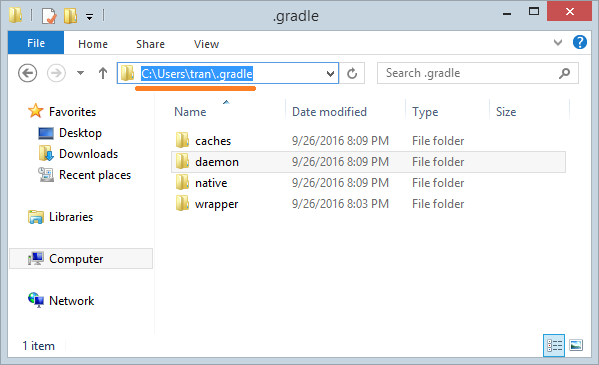
By default, Gradle software will be downloaded to C:/Users/{username}/.gradle by Eclipse. You can configure to change its location, the matter will be mentioned in the last appendix of this guide.
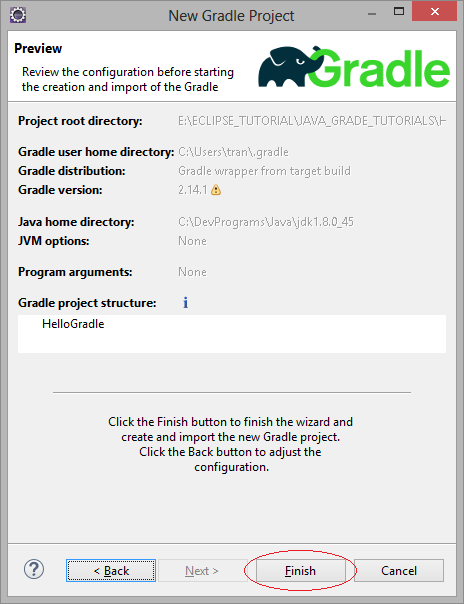
Your Gradle Project is created. Its structure is similar to Maven project.
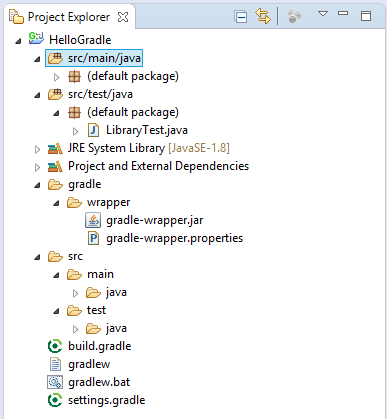
Note that this is a project structure defined for a gradle project.
- src/main/java folder will contain all java source files
- src/test/java folder will contain all java test cases
- build.gradle file will have build script for project
- settings.gradle file will contain necessary settings.
3. Configure Gradle
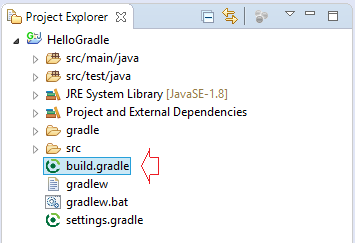
build.gradle is the file that you configure libraries used in the project. It is the same as pom.xml in Maven Project.
Open build.gradle file to configure the library will use:
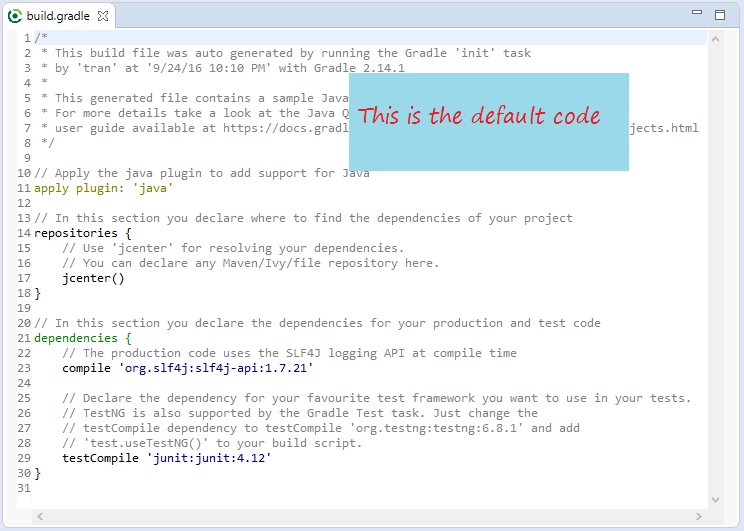
Add the code:
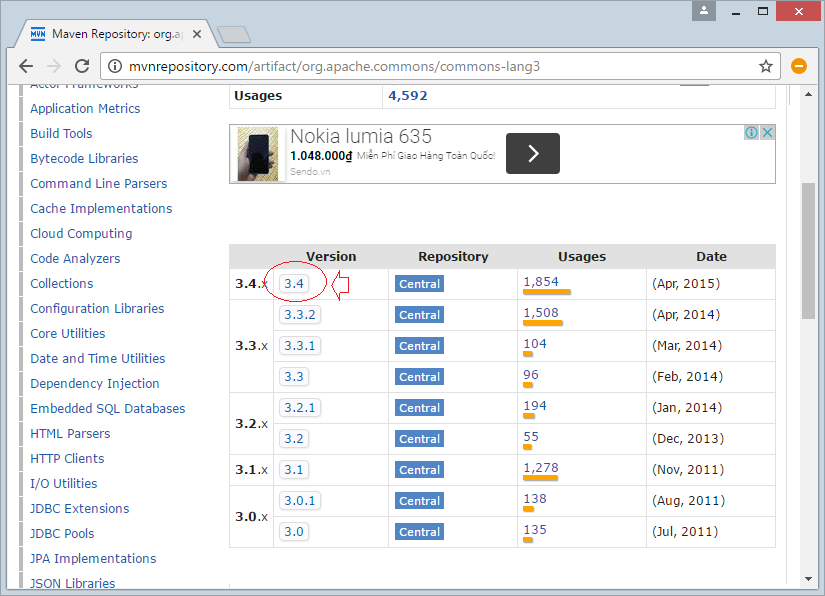
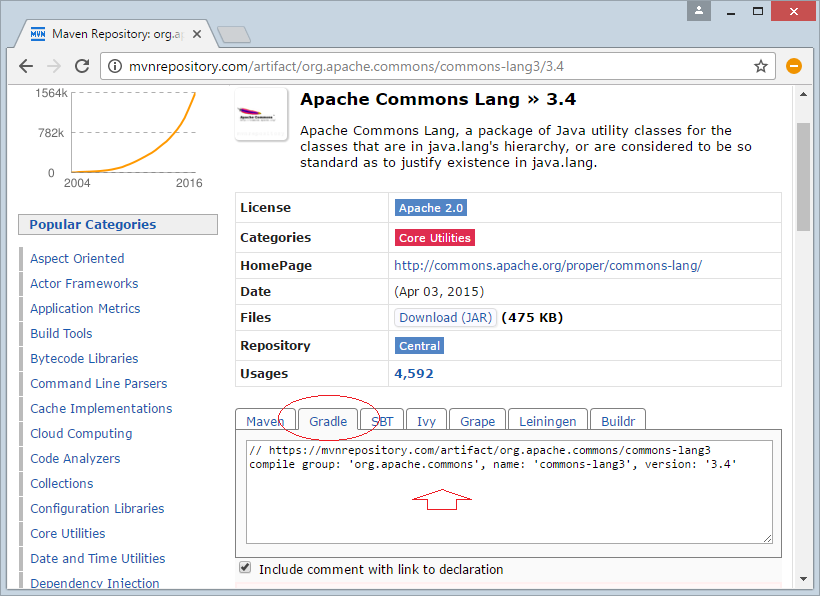
// https://mvnrepository.com/artifact/org.apache.commons/commons-lang3

compile group: 'org.apache.commons', name: 'commons-lang3', version: '3.0'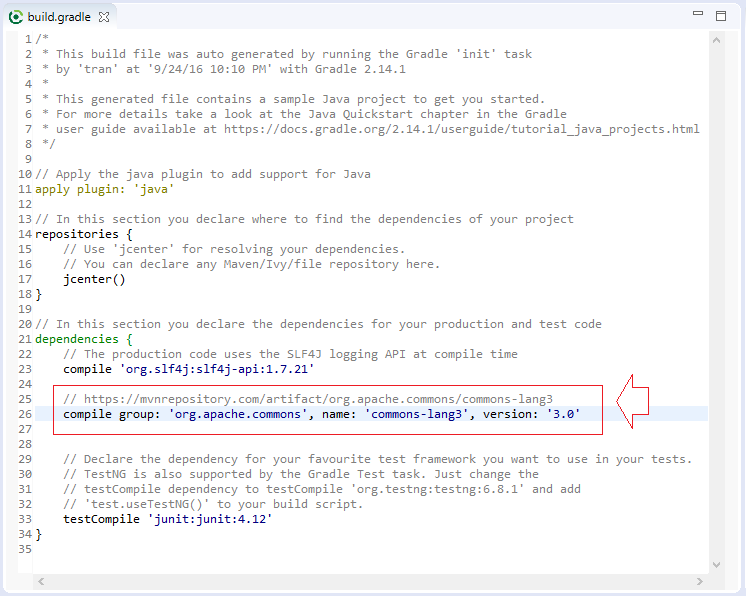
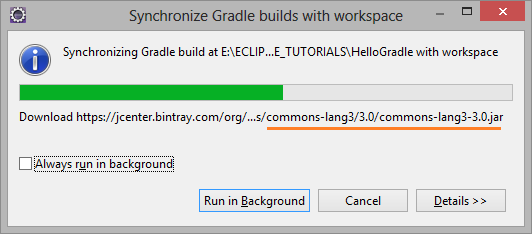
NOTE: Eclipse does currently not automatically update the classpath if the build.gradle file is updated. Select Gradle/Refresh Gradle Project from the context menu of the project or from your build.gradle file for that.

If the new libraries are declared in build.gradle, they will be downloaded to local computer.
Create class CheckNumeric.java
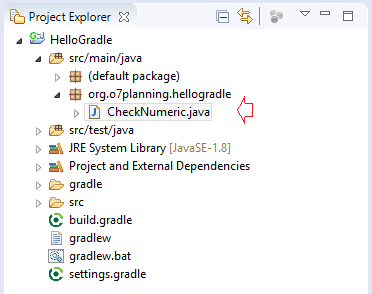
package org.o7planning.hellogradle;


import org.apache.commons.lang3.StringUtils;

public class CheckNumeric {

    public static void main(String[] args) {
        String text1 = "0123a4";
        String text2 = "01234";

        boolean result1 = StringUtils.isNumeric(text1);
        boolean result2 = StringUtils.isNumeric(text2);

        System.out.println(text1 + " is a numeric? " + result1);
        System.out.println(text2 + " is a numeric? " + result2);

    }

}
Running CheckNumeric class and get results:
0123a4 is a numeric? false
01234 is a numeric? true
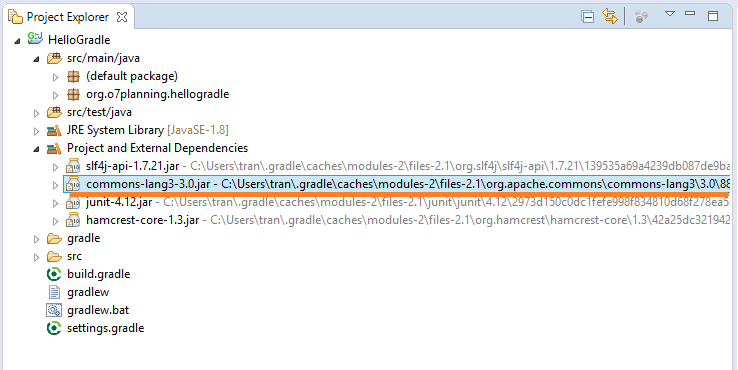
You can clearly see your project using the library. And its location on the hard drive
4. Explain the operating principles of Gradle
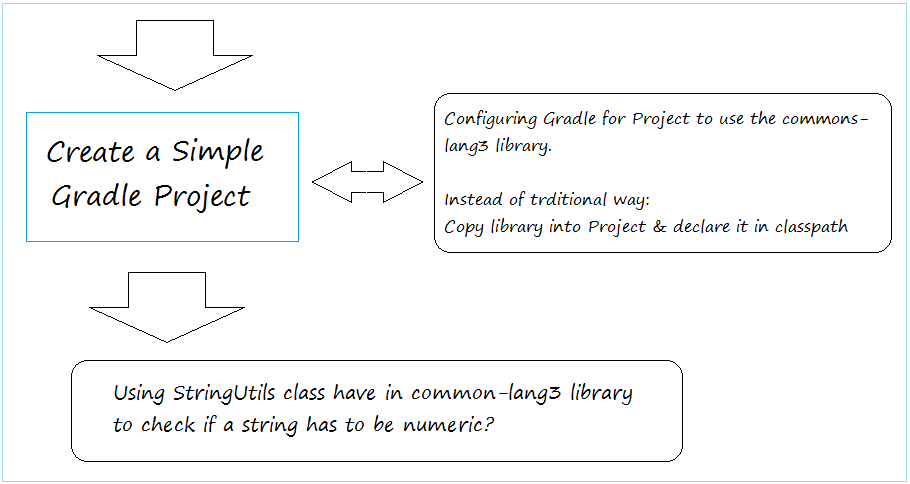
Above you have created the project and ran flawlessly. The Project using StringUtils class, which to be a class of Apache, and not in the standard library of JDK. Traditionally you have to copy this library to project and declare the classpath. However, the guidelines do not have to copy and declare classpath as the traditional way. The library was managed by Gradle management. Now we will explain how Gradle works.
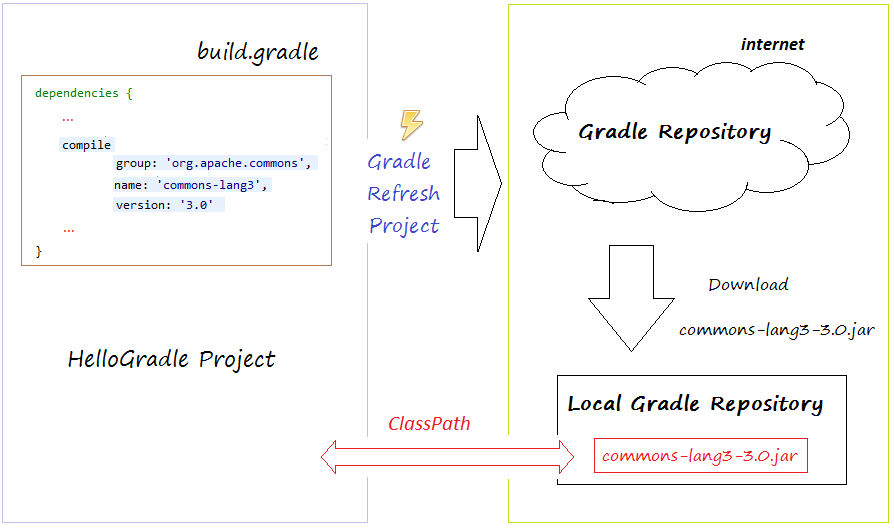
The illustration above shows how the Gradle done.
- You declare in build.gradle, that project depend on common-lang3 library version 3.0.
- As soon as you refresh project by Gradle tool, Gradle will check if this library has local repository on your computer yet. If has no, Gradle will download it from the repository in the internet.
- Finally, Gradle will automatically declare Classpath
So you only need to declare all libraries want to use in build.gradle. The libraries was managed by Gradle.
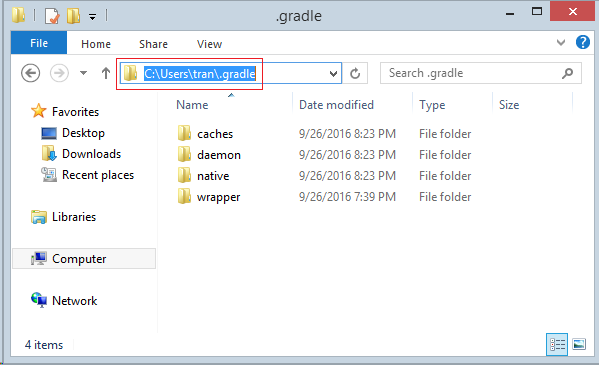
5. View Local repository
Your question is where local repository located?
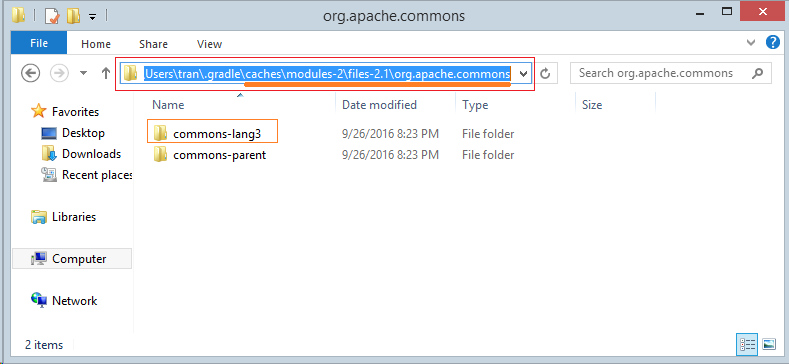
By default, Gradle is downloaded to C:/Users/{username}/.gradle by Eclipse. The library files used in your project are also downloaded from internet and placed in subfolder of this folder.
6. Gradle location configuration
By default, Gradle software will be downloaded to C:/Users/{username}/.gradle by Eclipse. You can configure to change its location
- Window/References:
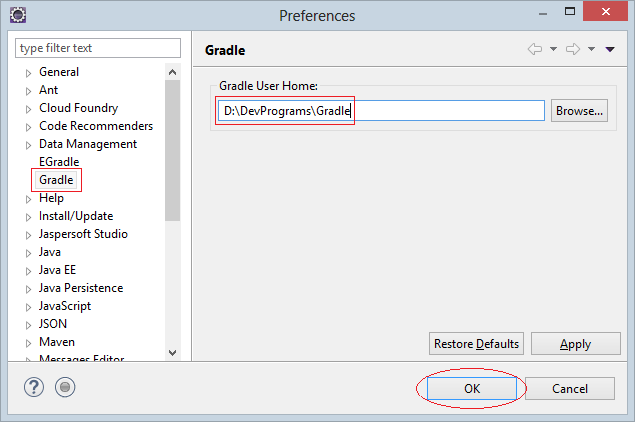
Right-click on the project then select Gradle/Refresh Gradle Project, Gradle will be re-downloaded to the new folder that you have just set up.

