Install SAP Trial System on OpenSUSE
1. Objective of document
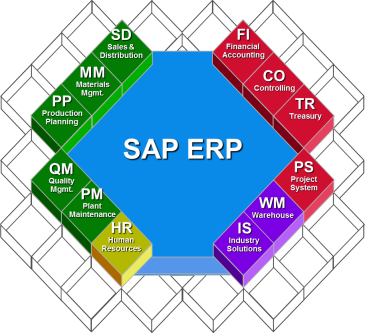
SAP is the world's leading business management softwaresupplied by theSAP company of Germany. It is commercial software. The companies want to use it have to use a big amount of money to buy the copyright. It is really software for large companies.
For the students or companies who want to learn about the SAP, they can download and install the SAP trial version, however, trial use time is only about 2 months.
SAP Server Trial versions are restricted and can only be installed on several operating systems. In this post, I will guide you to install the SAP Server on the OpenSUSE operating system. The best way is to install an OpenSUSE virtual machine on the VirtualBox.
Next, you need to download SAP Trial System in accordance with the following instructions:
2. Prepare before installation 1
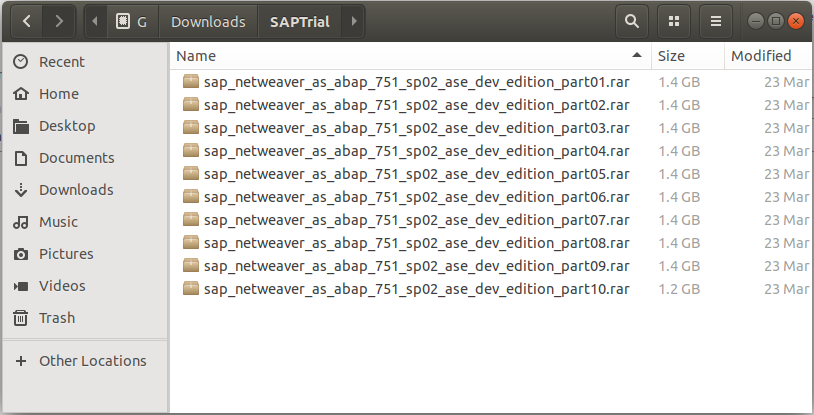
After downloading the SAP Trial System, you have 10 RAR files.
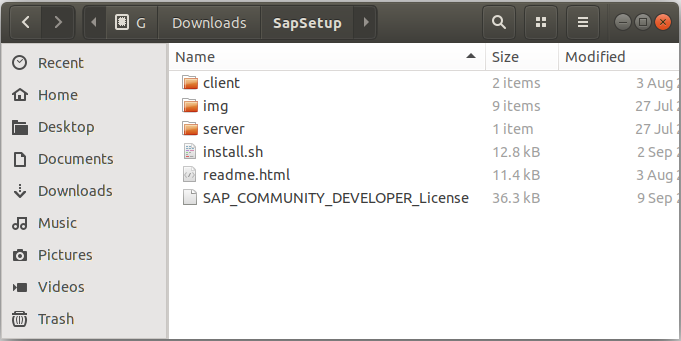
You only need to extract the first file in a directory, following files will automatically be extracted. OK, after finishing extracting, you have a directory as follows:
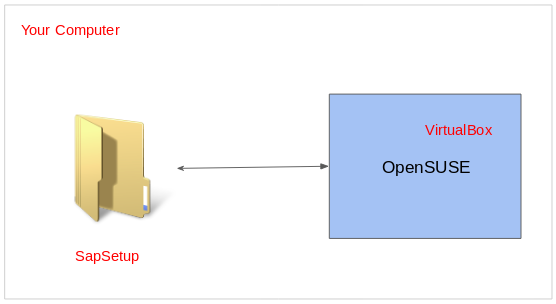
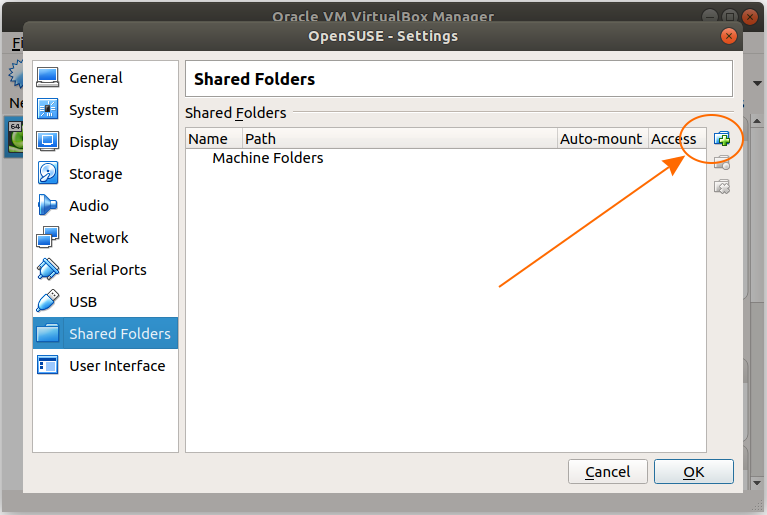
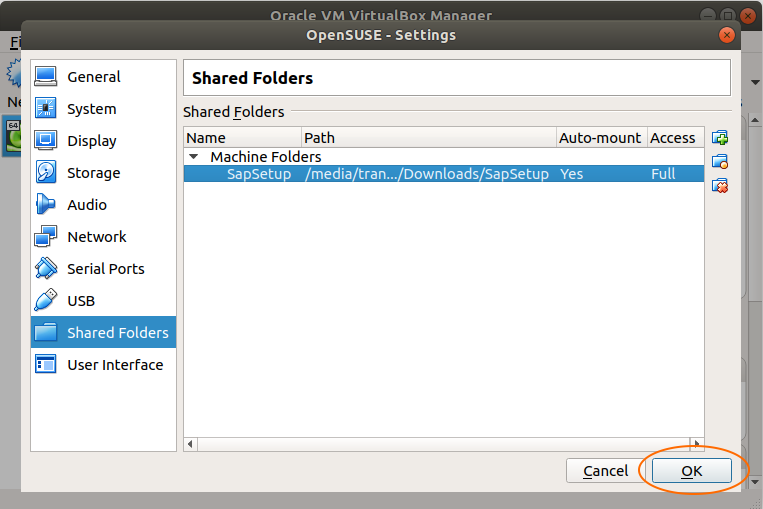
At this moment, the SAP-Server installer is being put in the directory in your real computer. But, you need to install it on the OpenSUSE virtual machine, therefore, you have to share this directory with OpenSUSE.
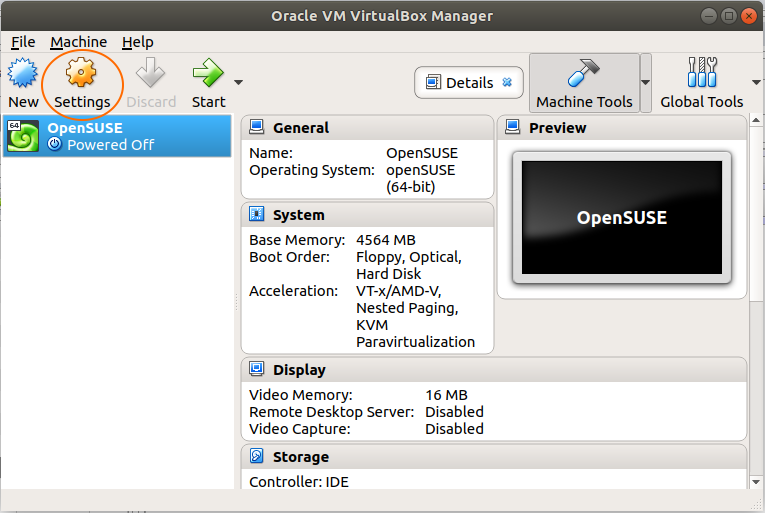
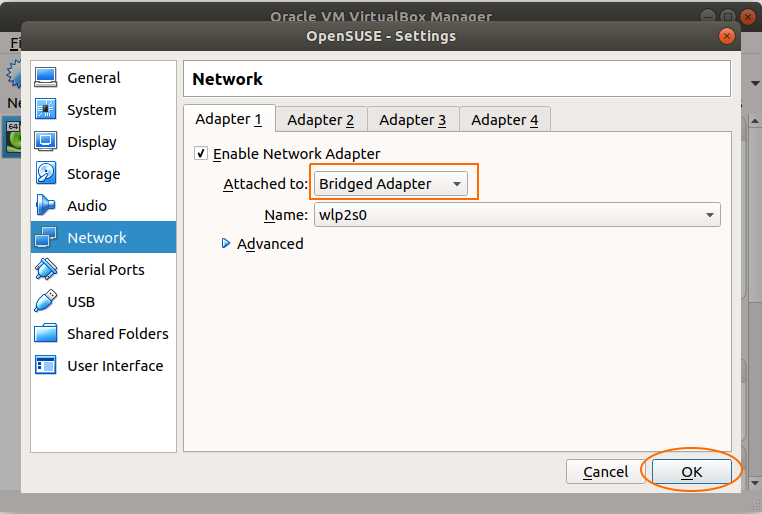
Open the VirtualBox.

Network configuration usesBridge Adaptor:
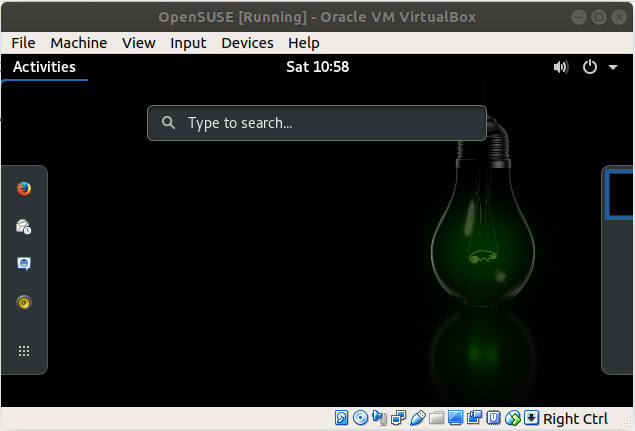
Start the OpenSUSE.
3. Prepare before installation 2
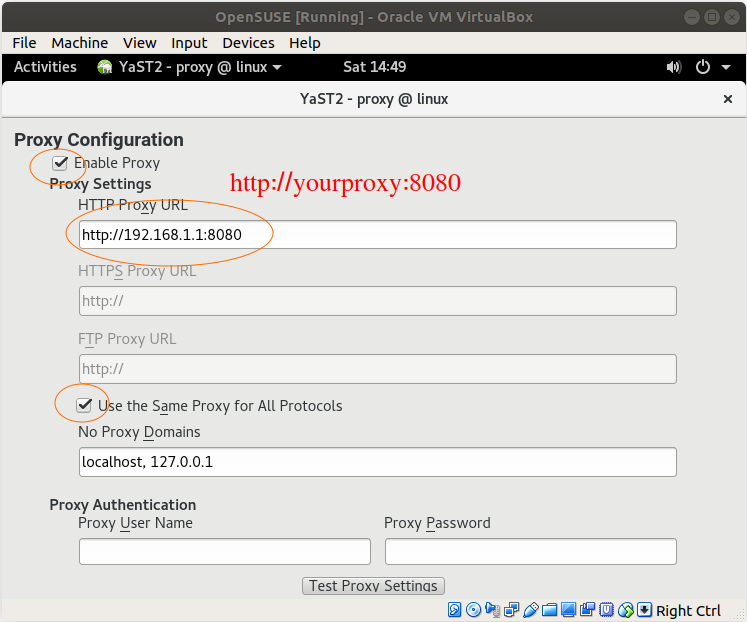
Proxy Settings:
If your company uses Proxy, you have configure the Proxy for the OpenSUSE, which helps the OpenSUSE be able to connect to the Internet. On the contrary, if your company doesn't use the Proxy you can skip this step.
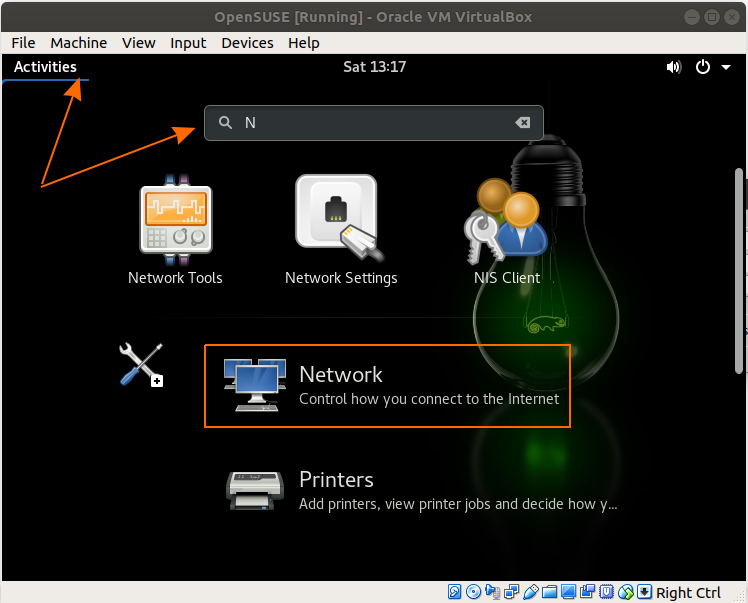
On the OpenSUSE, enter the Network section to set up Proxy.
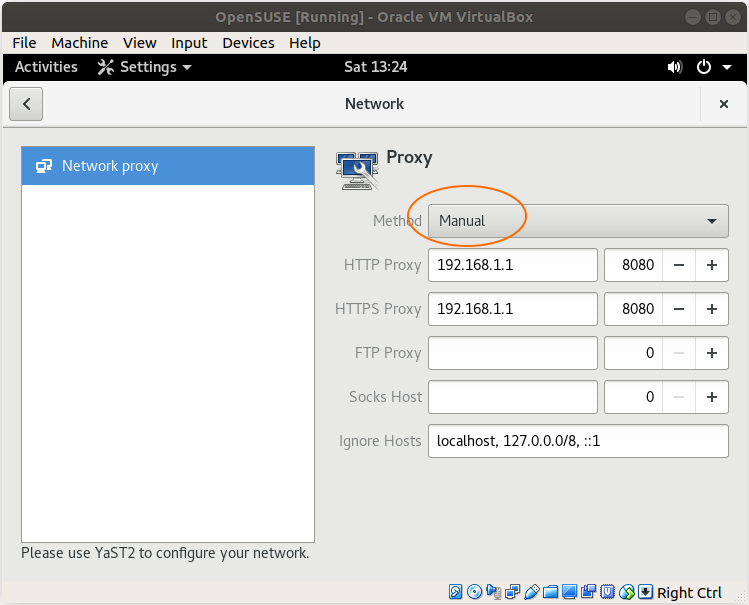
Set up "Manual" method for the Proxy:
- IP address for HTTP and HTTPS depends on your company.
- Port is 8080.
Check Disk Space
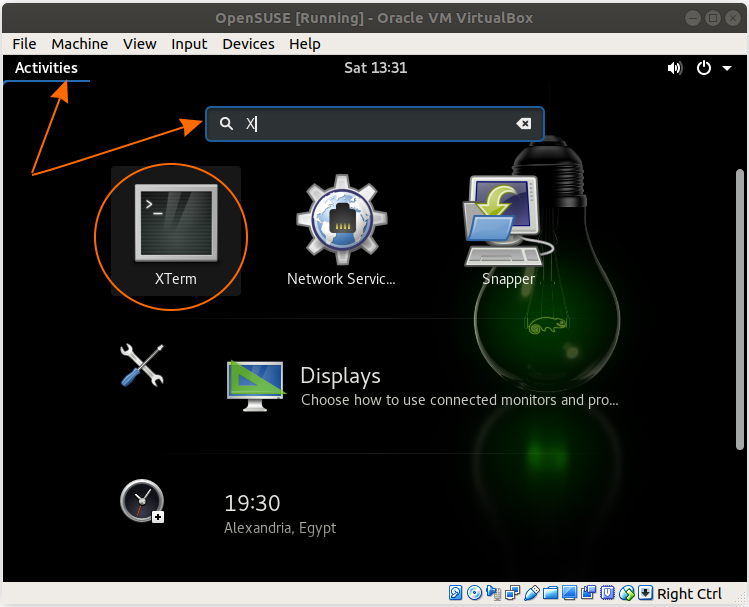
Next, check hard disk space with the XTerm tool:
df -h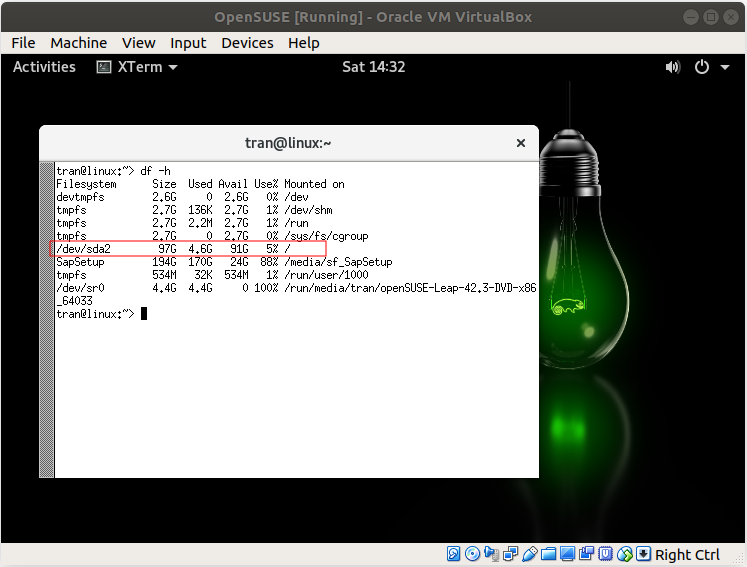
Original directory ( / ) needs at minimum necessary 33GB for installing SAP Server. The above check statement shows that this condition is satisfied.
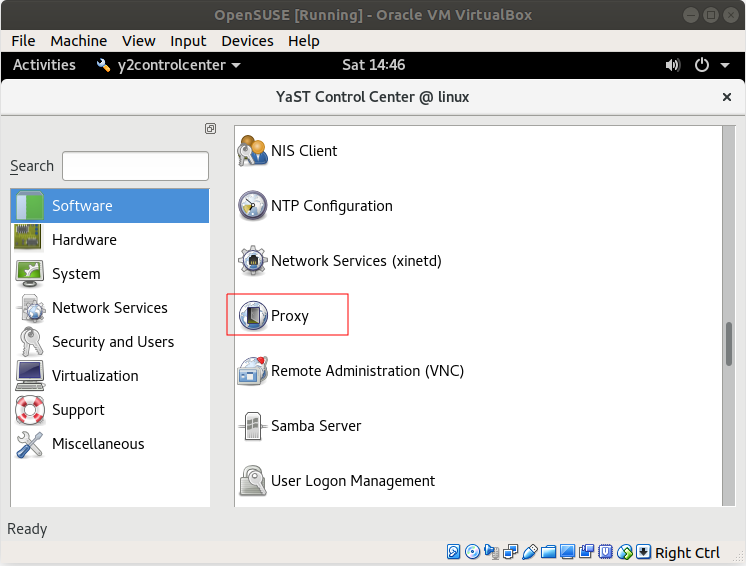
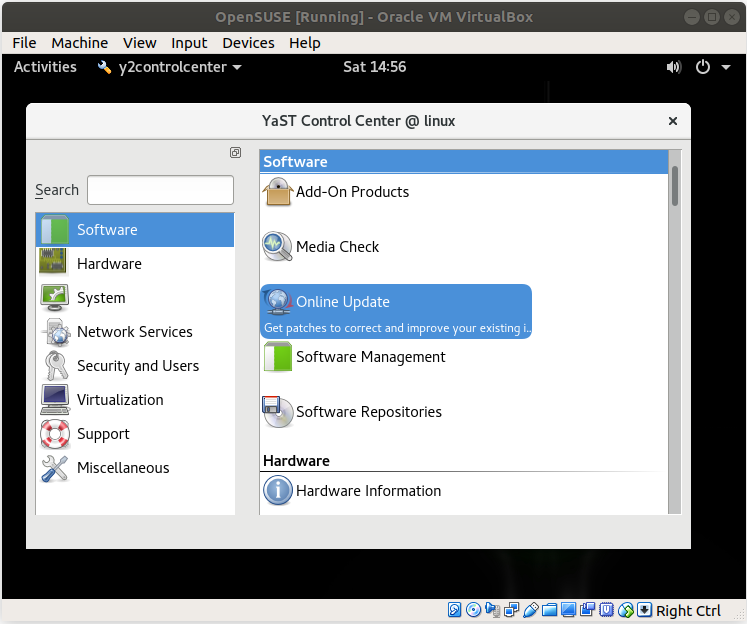
Setting Proxy for YaST
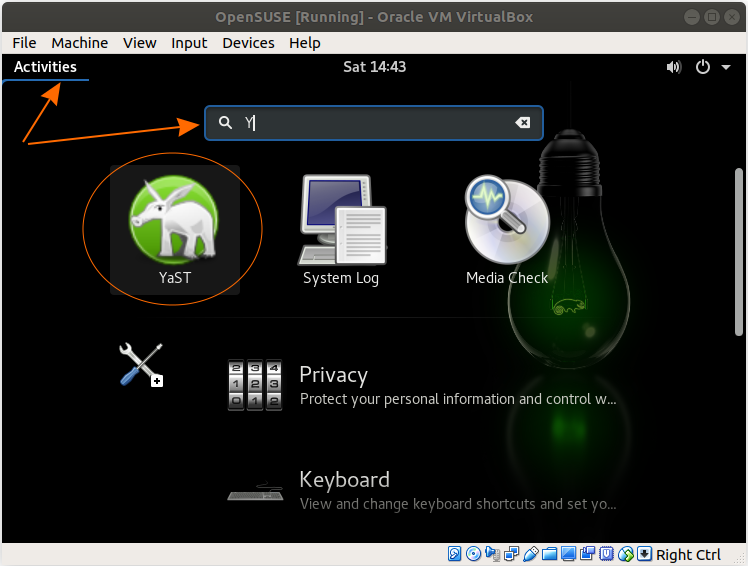
If your company is using the Proxy, you need to configure the Proxy so that YaST can connect to the Internet. On the contrary, skip this step.
InstallUUIDD Deamon:
UUIDD provides ways to create non-duplicate character strings, which is necessary for creating database keys to ensure that your OpenSUSE virtual machine can connect to the Internet to be able to install the UUIDD.
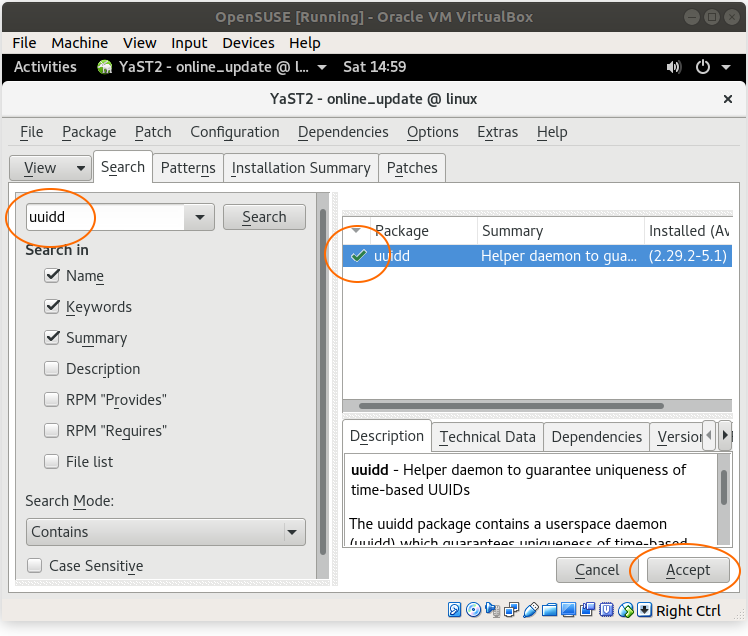
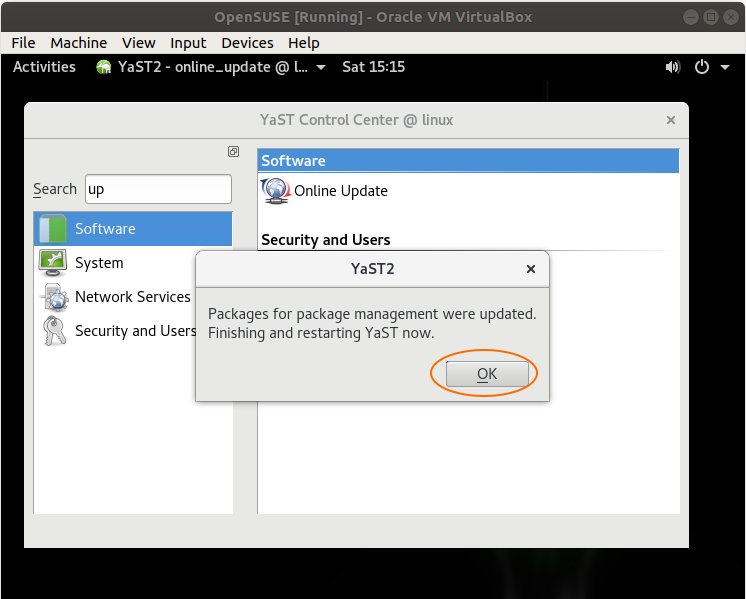
After finishing the installation of the UUIDD, restart your OpenSUSE virtual machine.
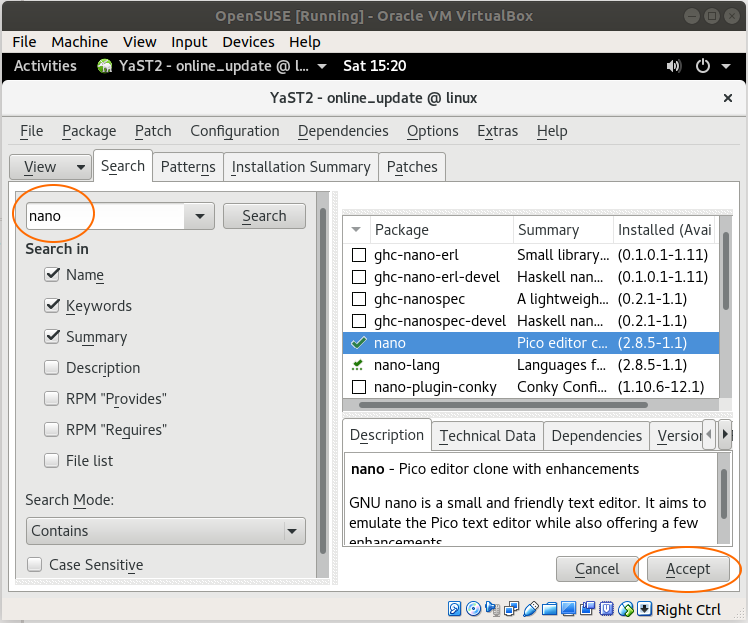
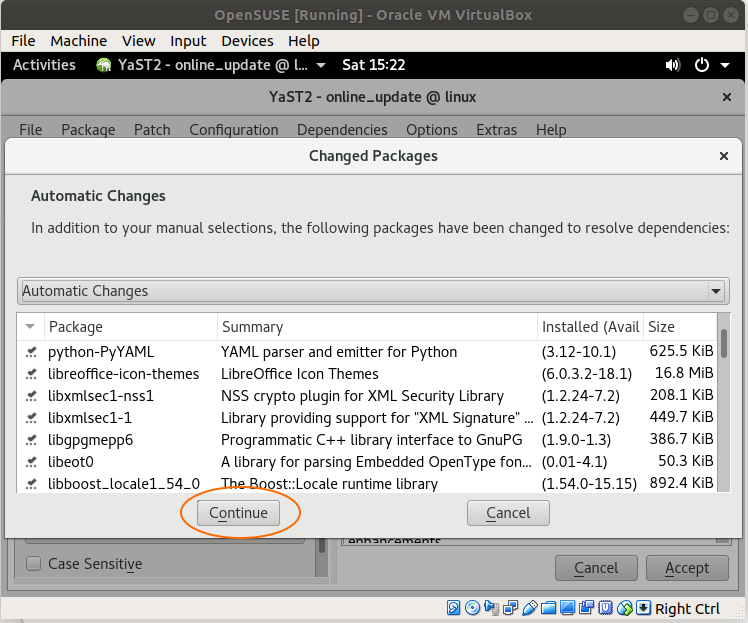
Install Nano editor
Nano is a text editor, which you need to install. OK, still on the YaST window, search with "nano" key word:
Start UUIDD Service:
Open the XTerm window and execute the command to run the UUIDD service:
sudo service uuidd start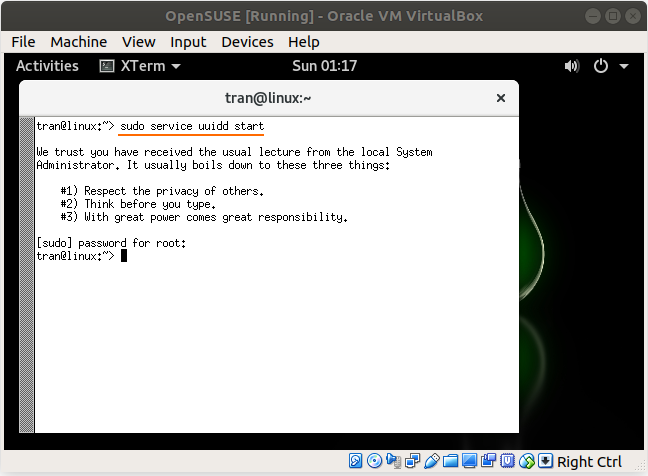
Check to ensure that the UUIDD service has been run successfully.
sudo service --status-all |grep uuidd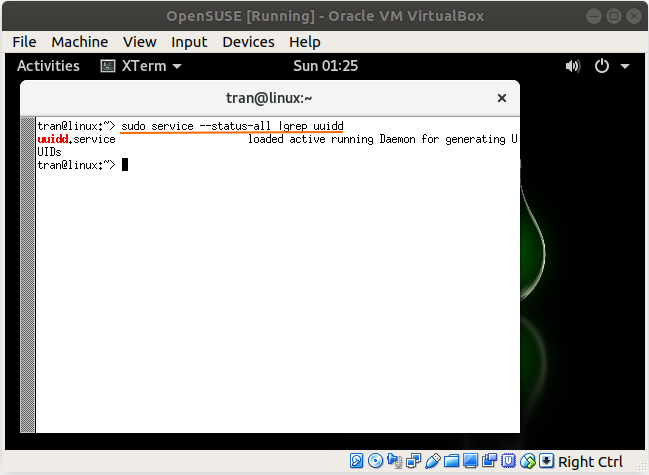
You can also check the version of the libaio or libaio1 installed in the Linux system:
rpm -qa | grep libaio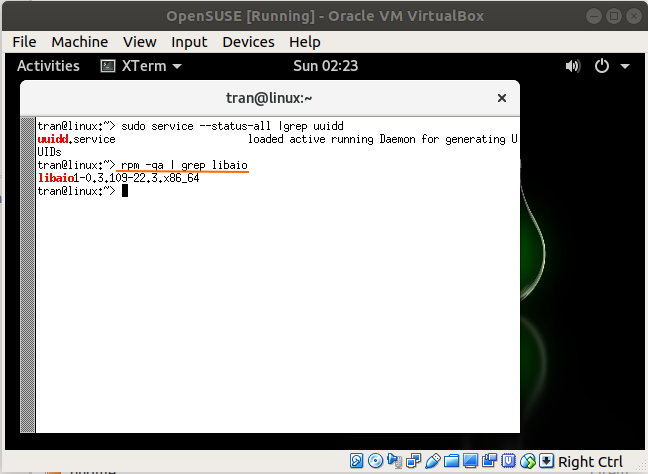
4. Hostname & IP
Next, you need to configure hostname. SAP Trial system forces you to name the hostname
vhcalnpli. Use commands to edit the contents of /etc/hostname file. Open the XTerm window and execute the command:
sudo nano /etc/hostnamevhcalnpli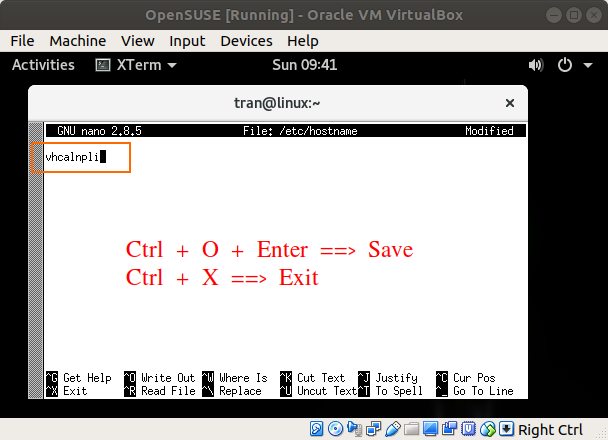
You can check again to ensure that the hostname has been changed.
sudo cat /etc/hostname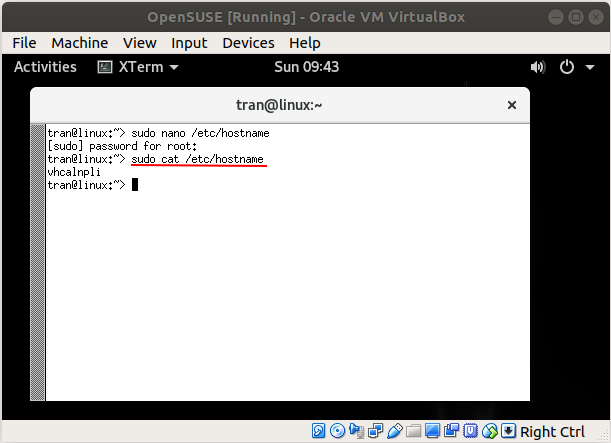
Restart the Network.
sudo rcnetwork start
Check IP:
Check the IP address with a command:
sudo ifconfig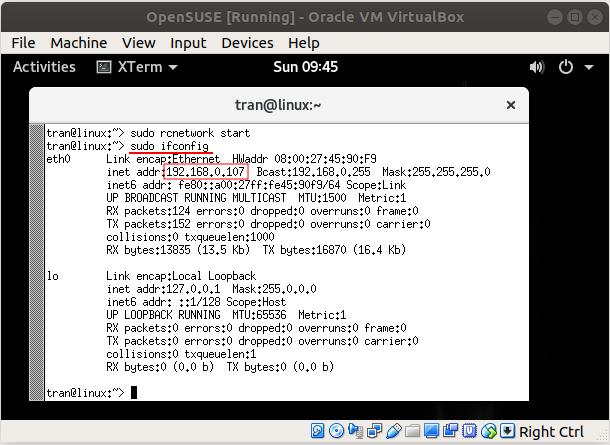
Configure /etc/hosts
sudo nano /etc/hosts192.168.0.107 vhcalnpli.dummy.nodomain.com vhcalnpli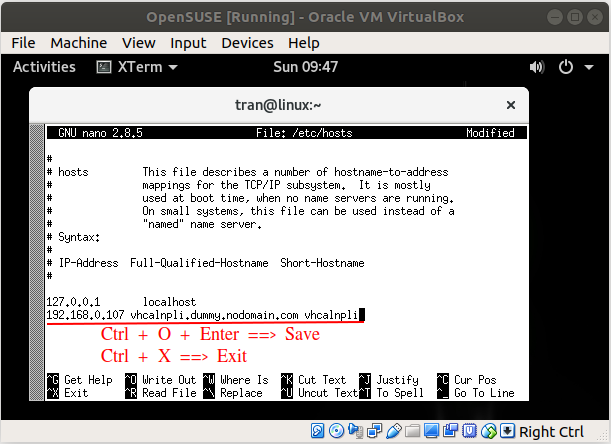
Restart OpenSUSE. And check the hostname:
hostname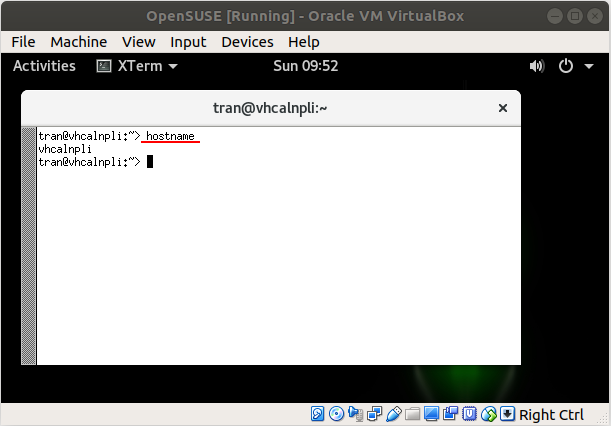
5. Install SAP
In the previous step, you have shared the SapSetup directory with theOpenSUSE. Now, you need to assign root privileges to this directory.
sudo -i

cd /media/sf_SapSetup

chmod +x install.sh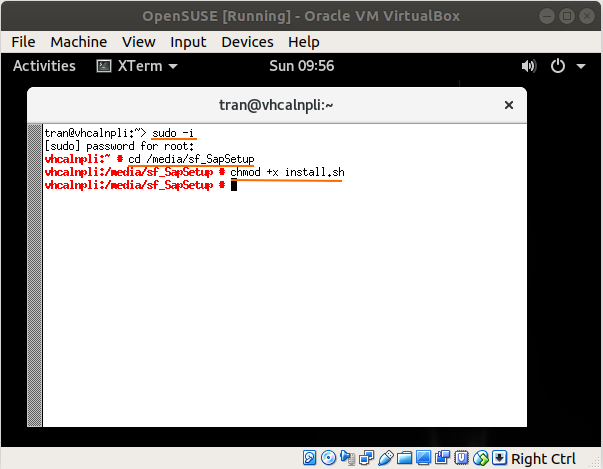
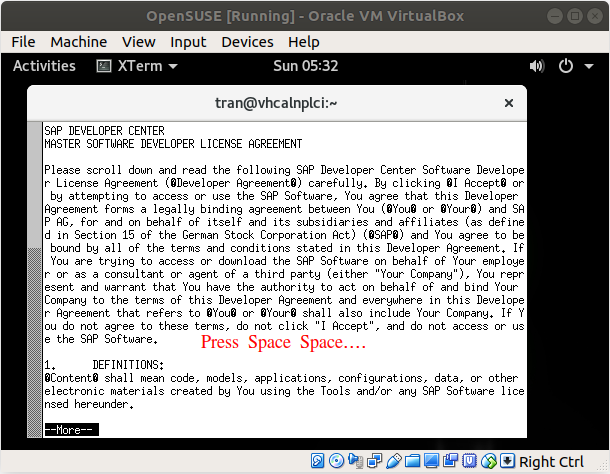
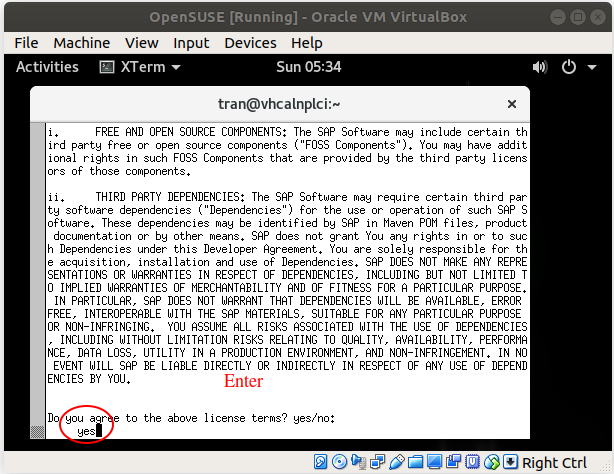
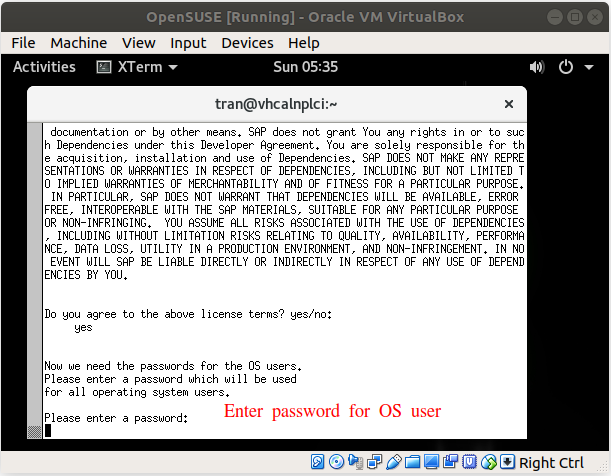
Execute one of the two following commands to install the SAP:
Note: If an error occurs during the installation, you are able to implement again from this step.
sudo ./install.sh -g

sudo ./install.sh -g -s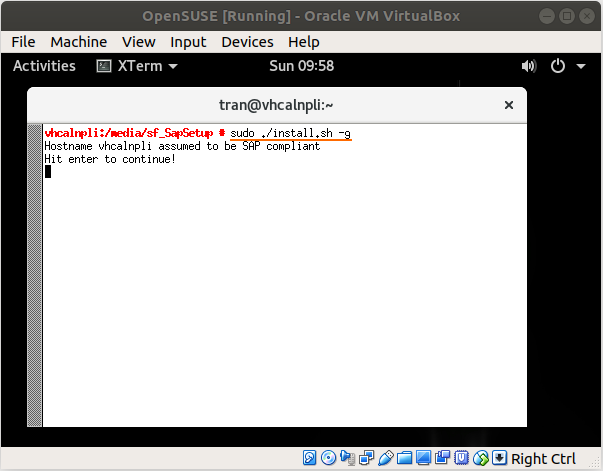
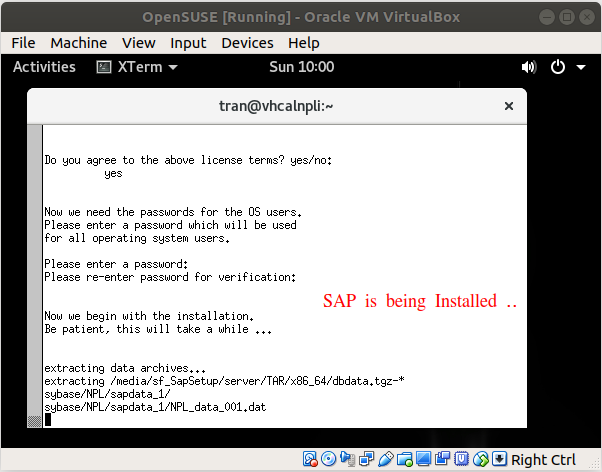
The SAP is being installed. It can take 5-10 minutes for this step.
In the OpenSUSE, open browser and visit the following path:
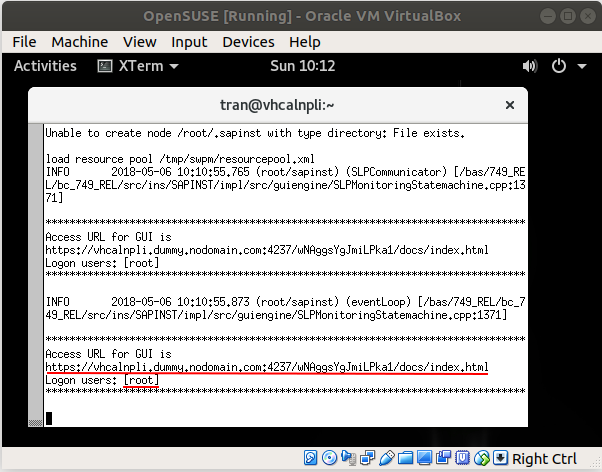
## Maybe your path is different!!

https://vhcalnpli.dummy.nodomain.com:4237/wNAggsYgJmiLPka1/docs/index.html
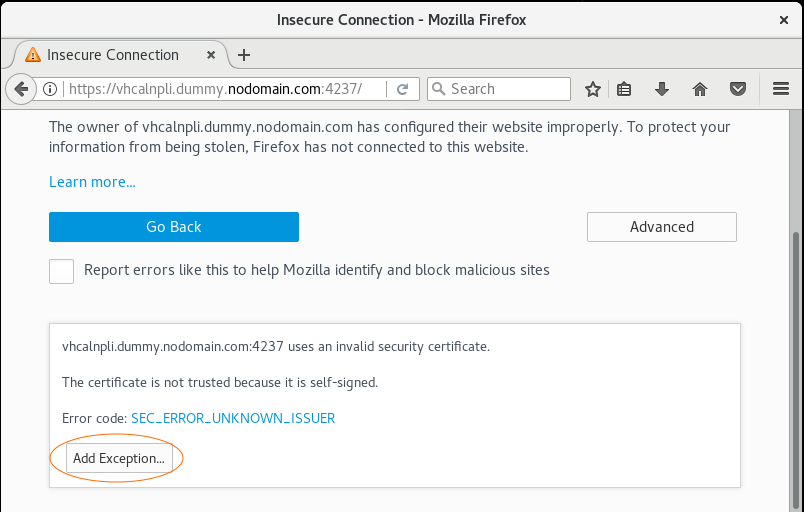
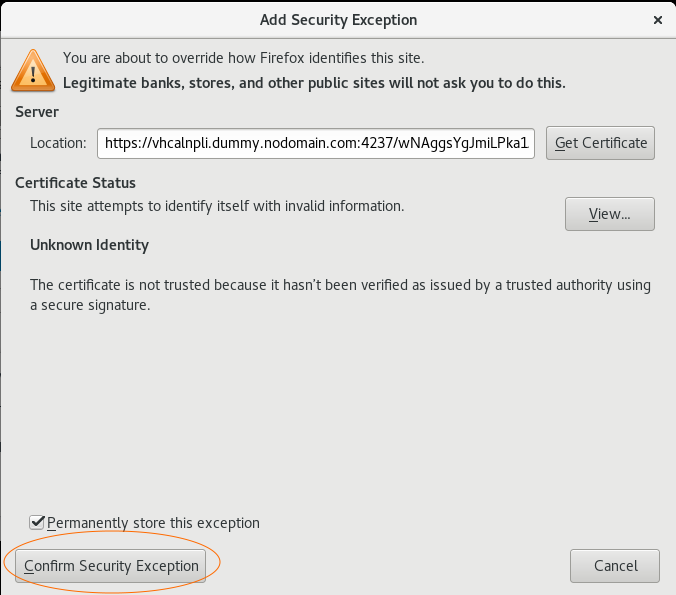
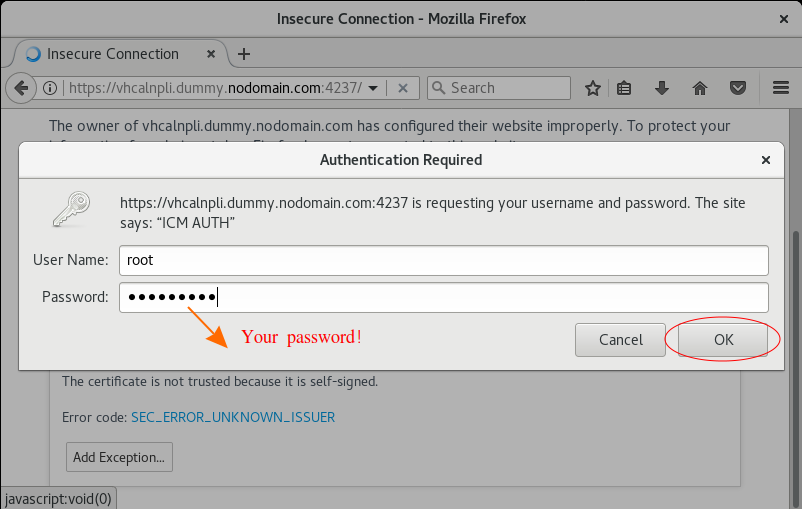
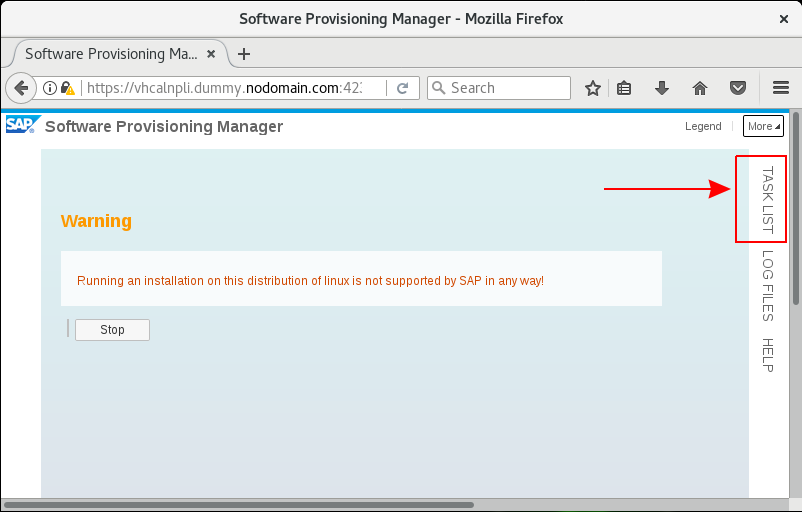
Press Stop and refresh this site.
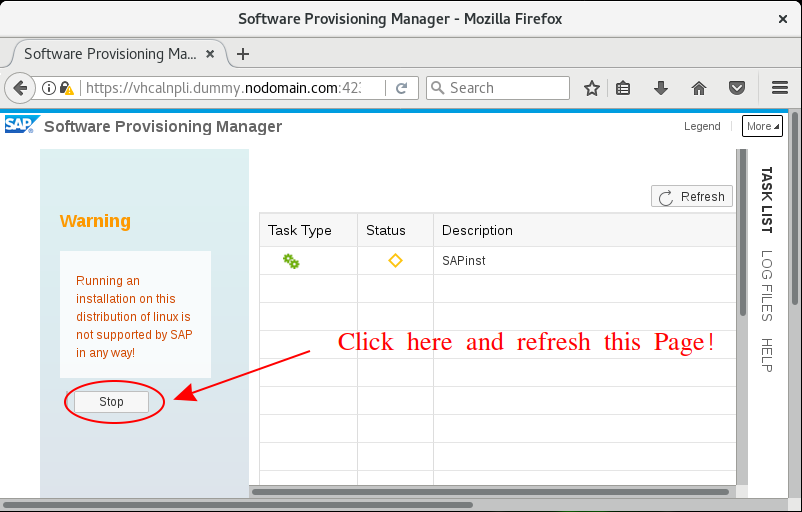
At this moment, the SAP installation process still continues, but through an interface.
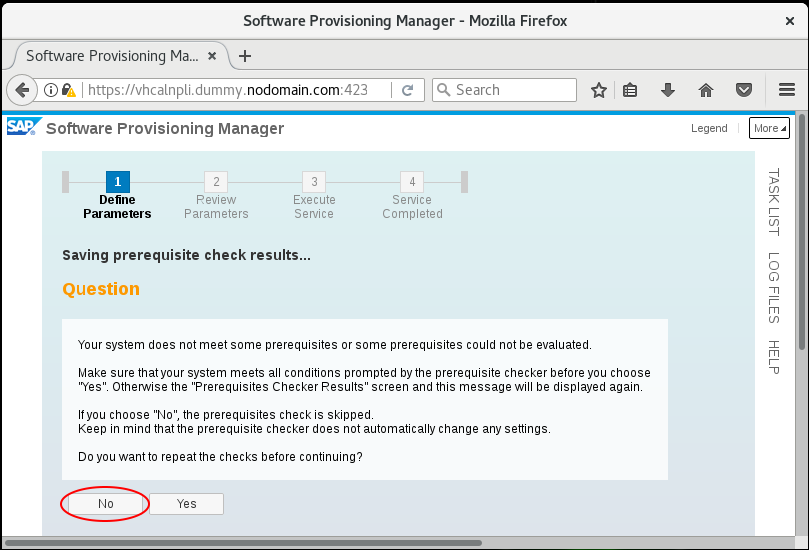
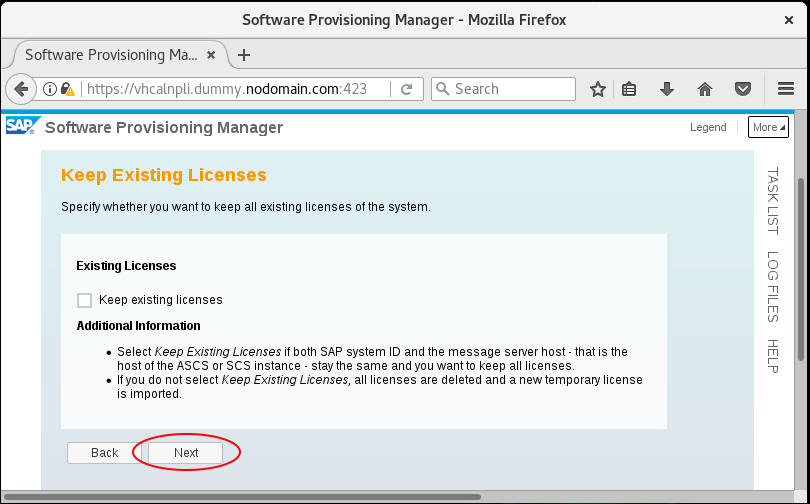
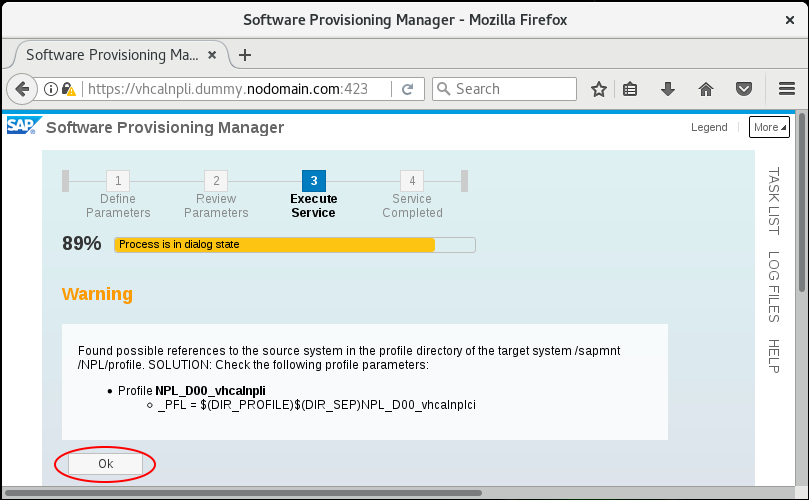
There are some warnings: let's ensure that your system meets the necessary requirements for installation of the SAP.
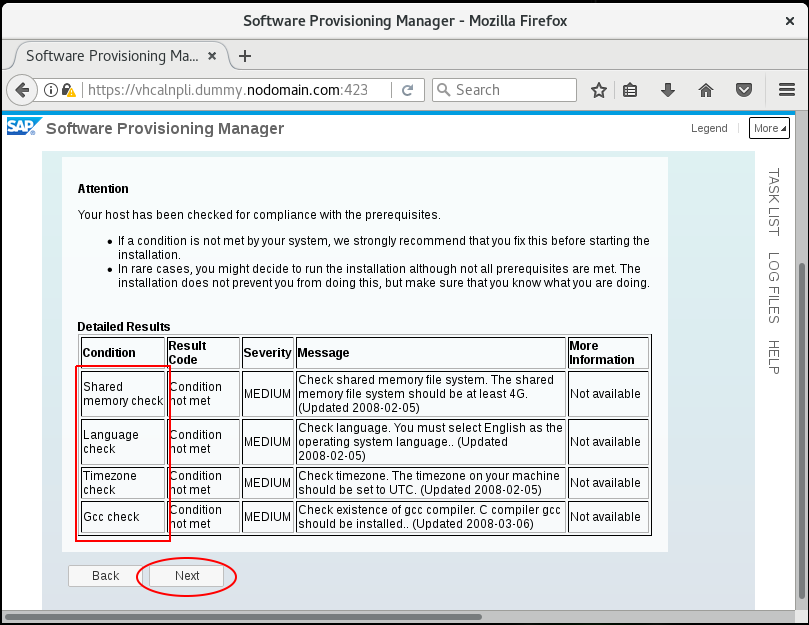
Note: If an warning may display and it says that your system doesn't meet some conditions, Press "YES" so that the system test again and press "NO" so that the system skips and continues the installation. Hãy nhấn "YES". If this warning continues displaying, press "NO".
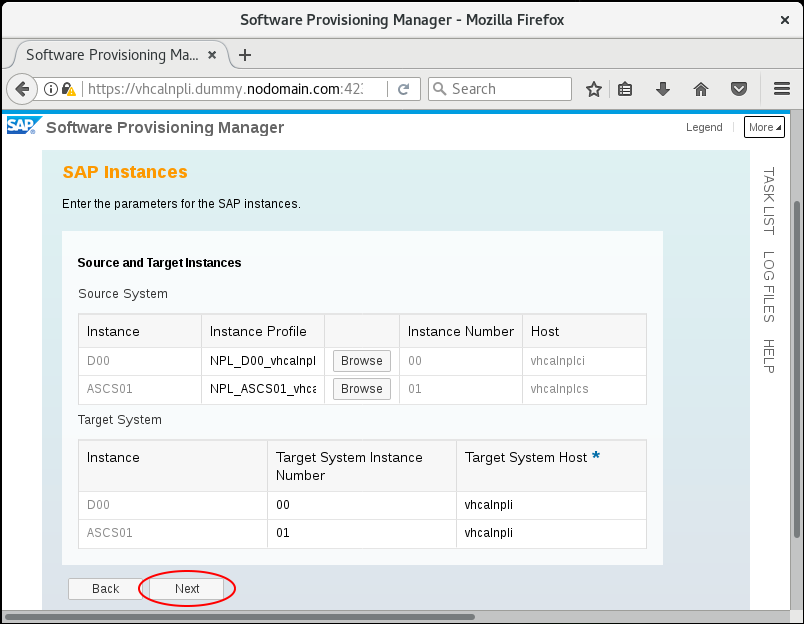
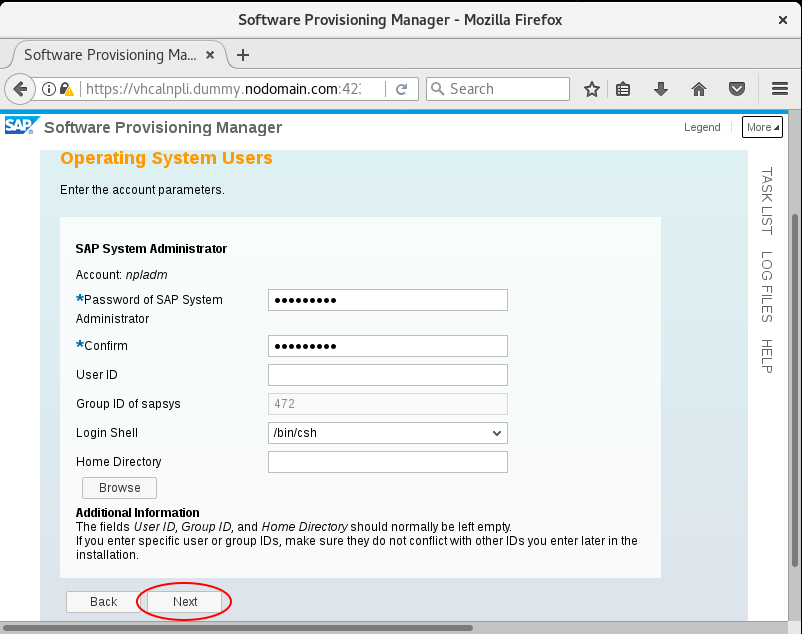
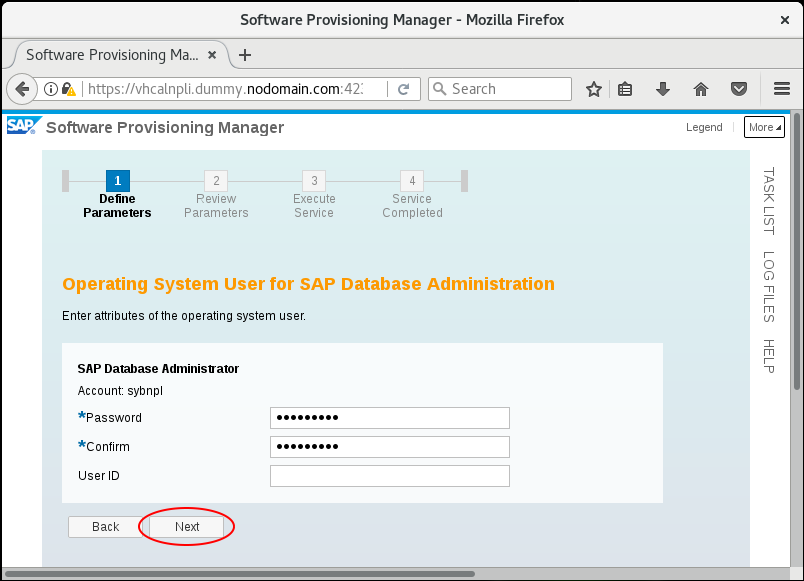

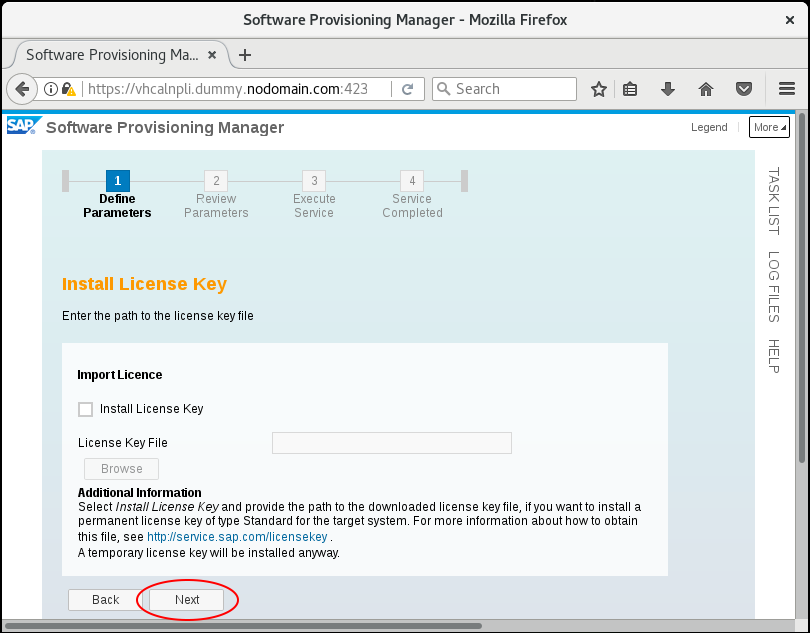
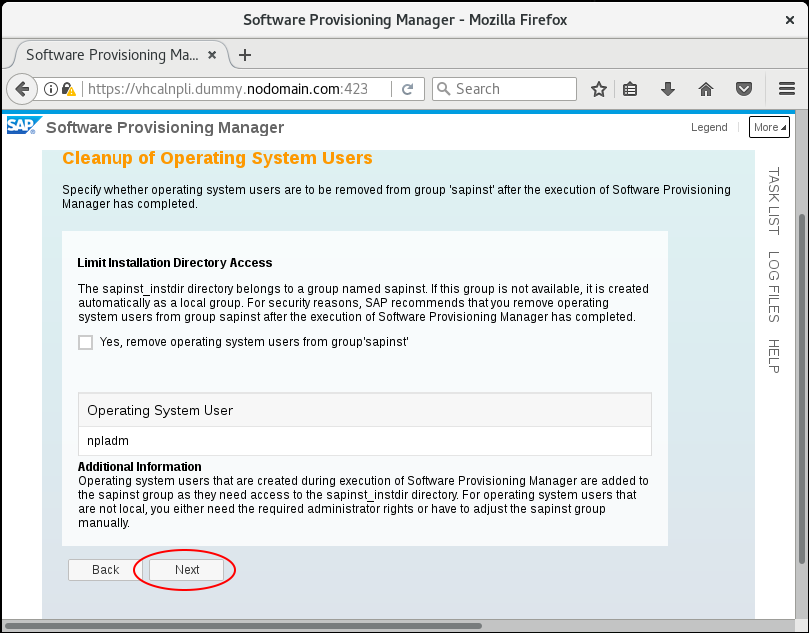

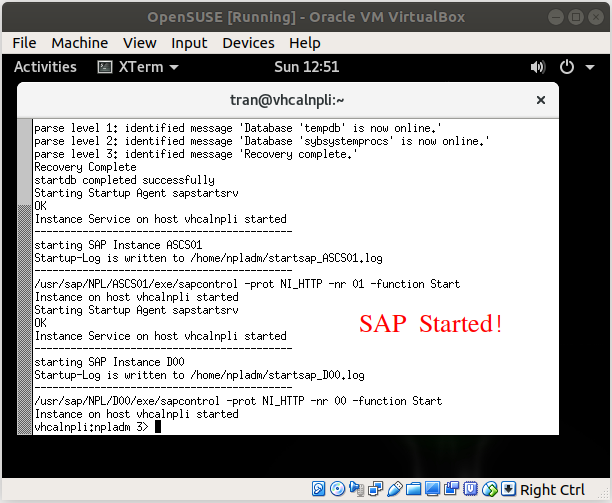
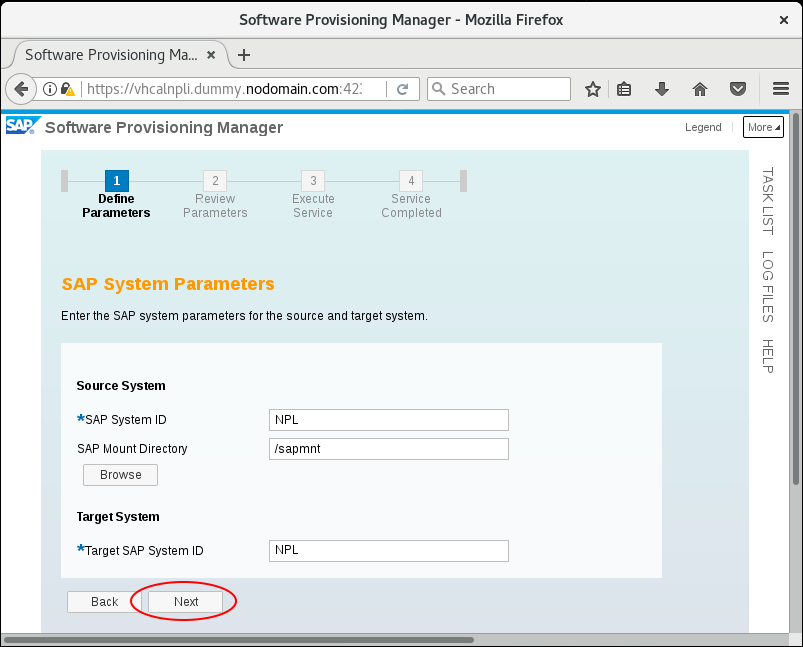
The SAP is being installed....
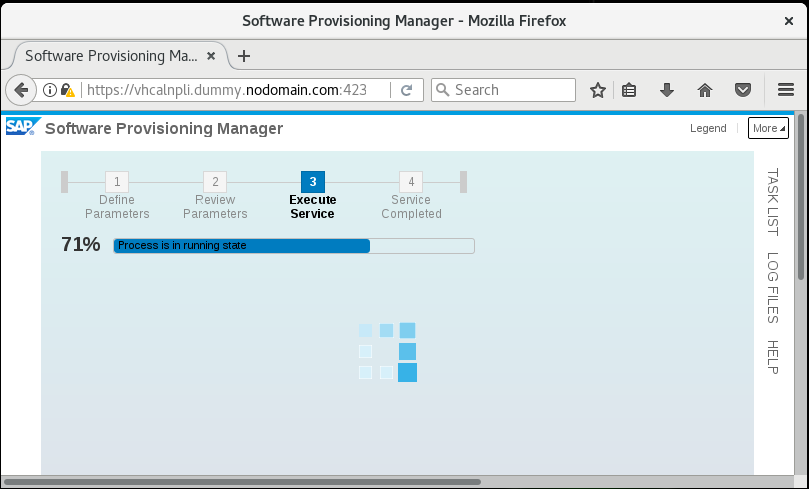
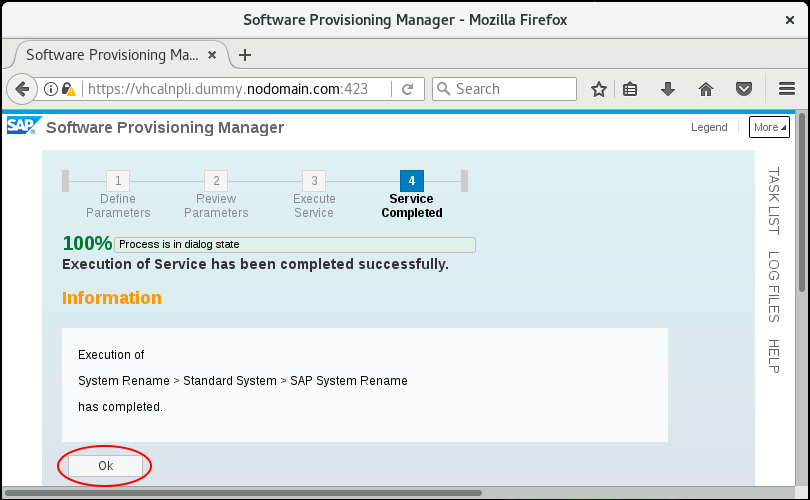
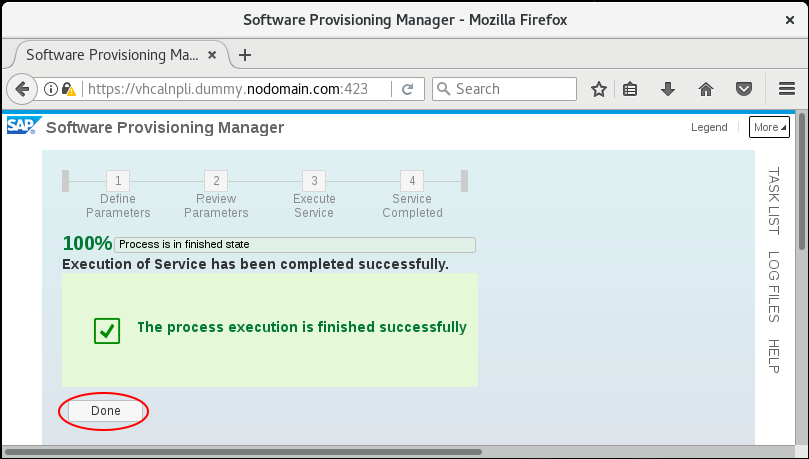
The SAP is installed successfully.

6. Configure SAP Server
After finishing the installation of the SAP, you need to implement some more configurations. Open the XTerm window and execute the command:
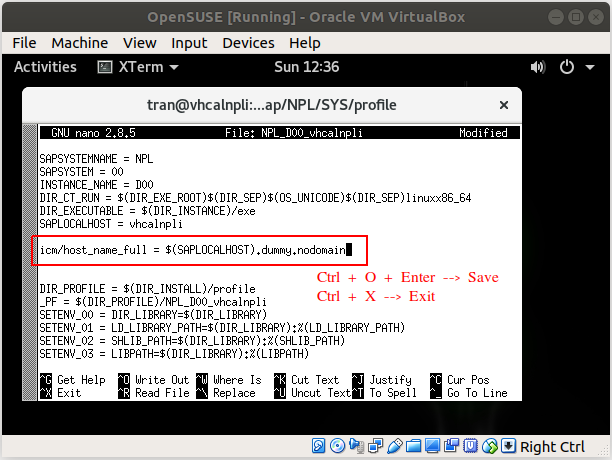
cd /usr/sap/NPL/SYS/profile

sudo nano NPL_D00_vhcalnpli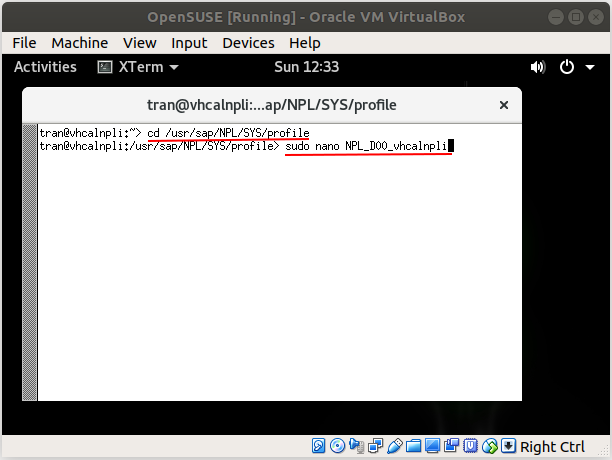
Add configuration snippet:
icm/host_name_full=$(SAPLOCALHOST).dummy.nodomain