Install pgAdmin 3, 4 on Ubuntu
1. Install pgAdmin4
On Ubuntu, open Terminal window and execute the following commands:
sudo sh -c 'echo "deb http://apt.postgresql.org/pub/repos/apt/ $(lsb_release -cs)-pgdg main" >> /etc/apt/sources.list.d/pgdg.list'
sudo apt install wget ca-certificates
wget --quiet -O - https://www.postgresql.org/media/keys/ACCC4CF8.asc | sudo apt-key add
sudo apt update
sudo apt install pgadmin4
After installing successfully, you can see pgAdmin4 on your Ubuntu.

Apart from the pgAdmin3, pgAdmin4 runs on the browser. Below is the first running image of this program.
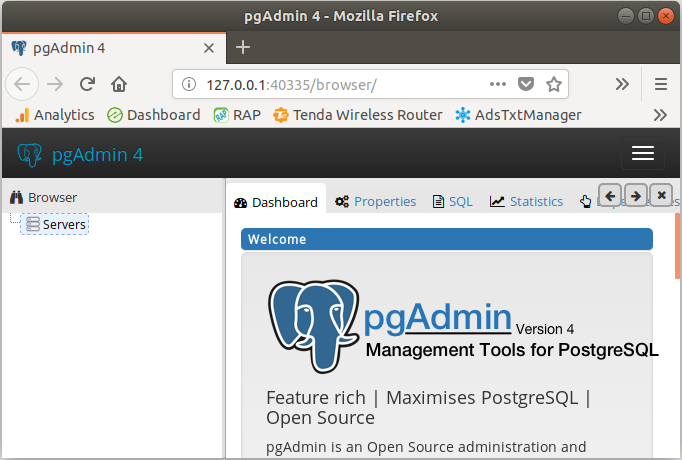
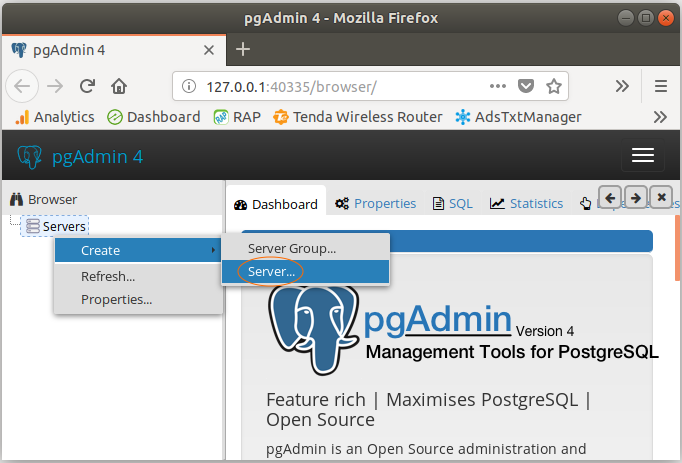
Your pgAdmin is not connected to any Postgres Server. Right click on "Servers" and select "Create >> Server" to create a connection to a Postgres Server .
Postgres has been installed on my computer and I will connect to this Database Server. OK, on the "General" tab, name your server, for example, "MyLocalServer".
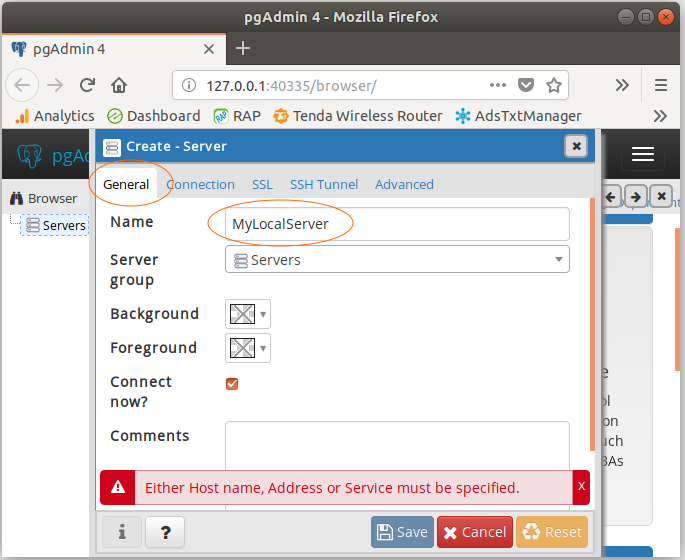
On the "Connection" tab, enter the information related to your Database Server, for example, host, post, username, password,... After that, click on Save.

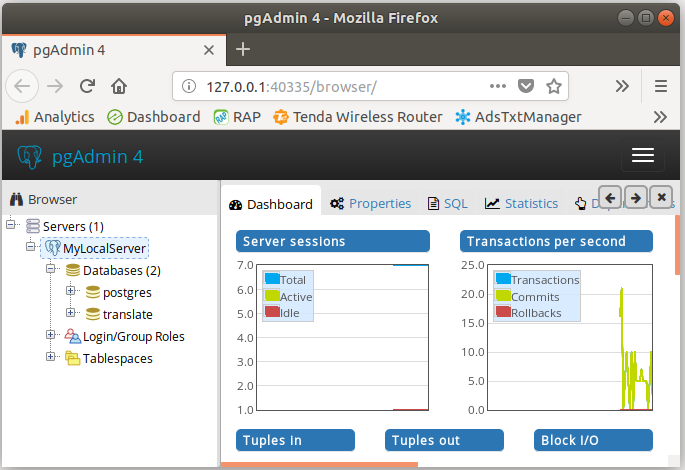
OK, a Server has just been created and you can manage this Postgres Server on the pgAdmin.
2. Install pgAdmin3
Below is the instruction for installation of pgAdmin3 on the Ubuntu. Most people will use pgAdmin4, but this guidance may still be useful to someone.
Note: The following screenshots are performed on Ubuntu Server. However, there is no difference if you use Ubuntu Desktop.
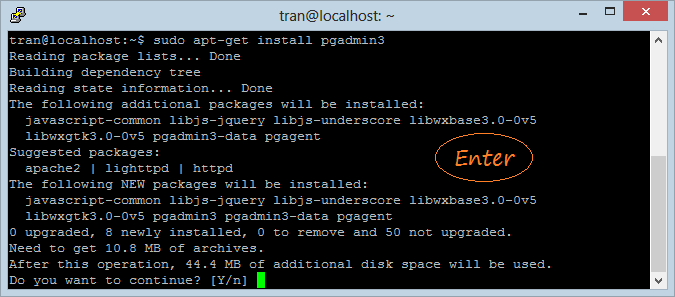
sudo apt-get install pgadmin3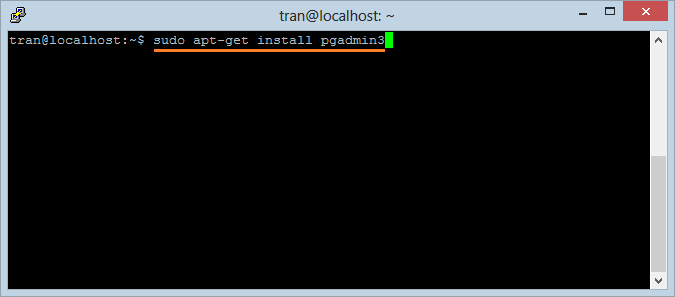
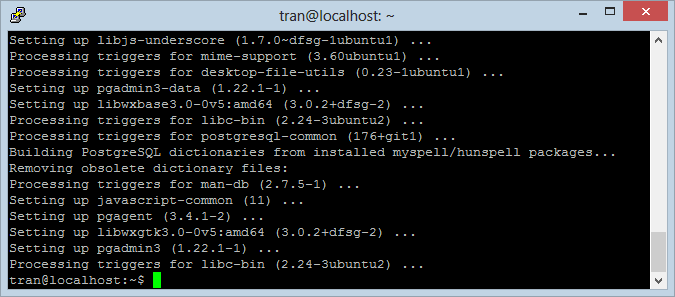
After installation, on the Ubuntu, you can you can access pgAdmin3


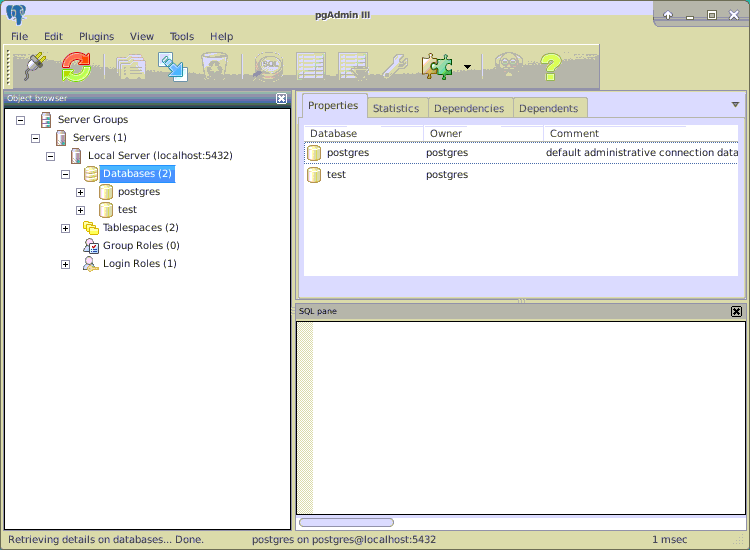
The illustration that the pgAdmin3 is running on Ubuntu Server:
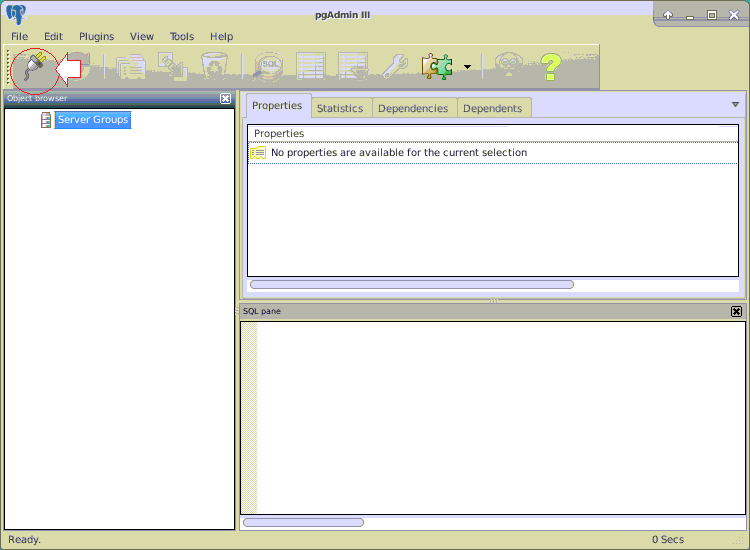
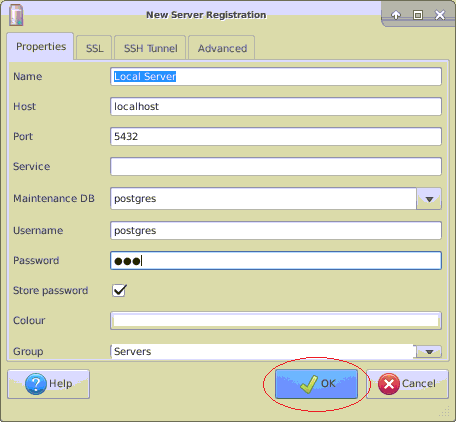
Enter the connection information to the server installed PostGres. Herein, I connect to the PostGres installed on the local computer.