Install SQL Server Express 2008 on Windows
1. Download
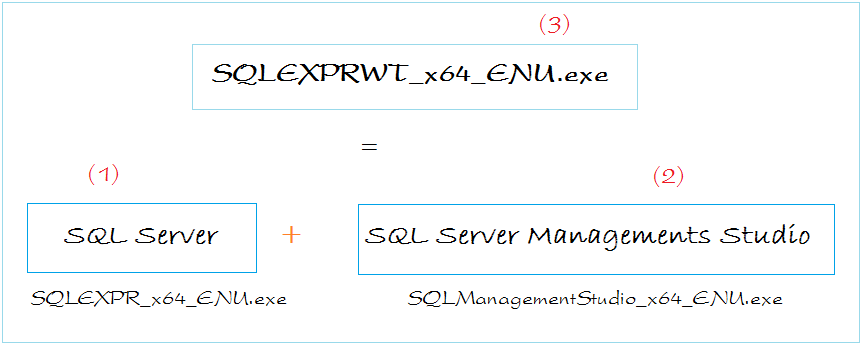
We download SQLServer Express 2008 Release 2 including the visualization tool at:
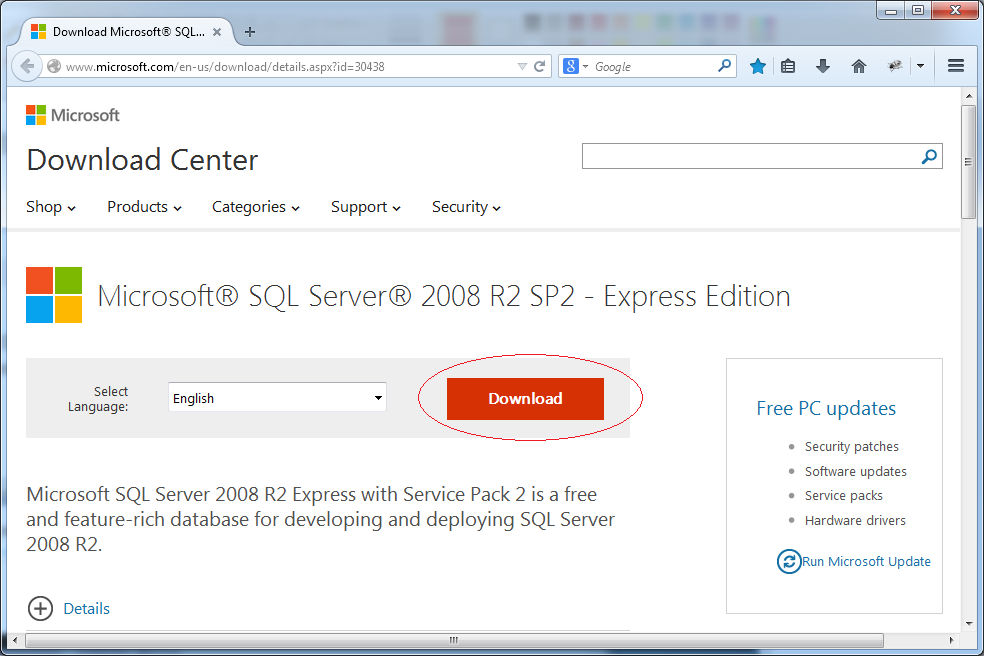
You can download it in one of two ways:
- Download two files at (1) and (2)
- (1) to install SQLServer
- (2) to install the visualization tool
- Download one file at (3), which is a combination of (1) and (2) in one file.
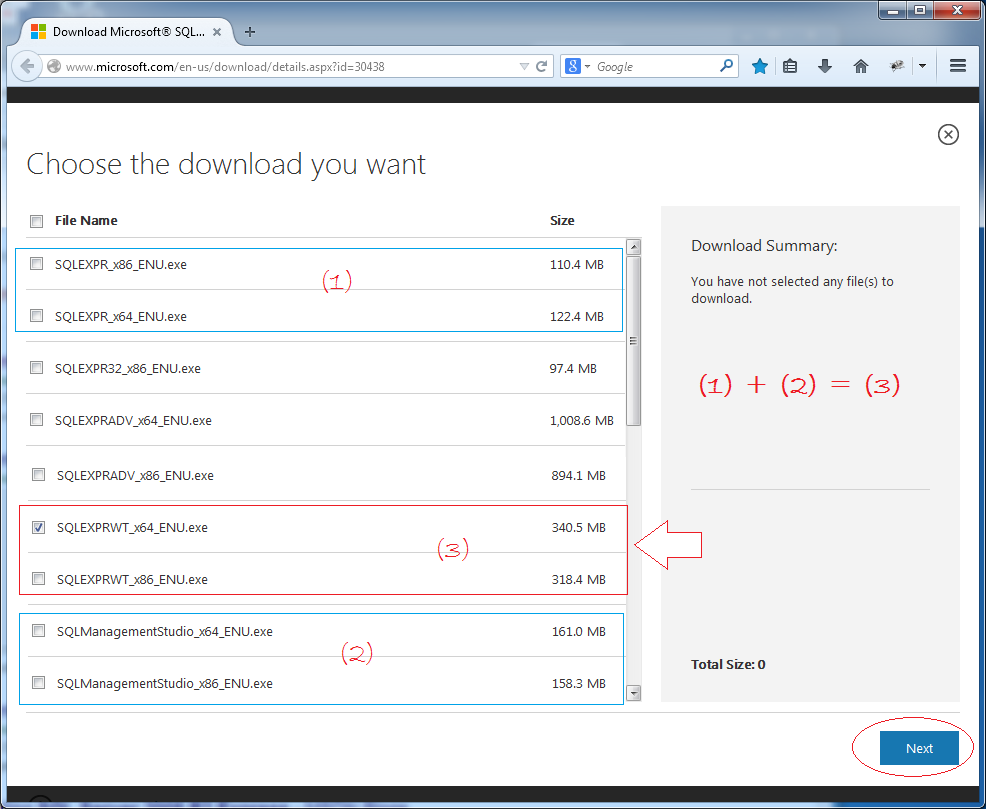
To save time, you should download one file at (3)
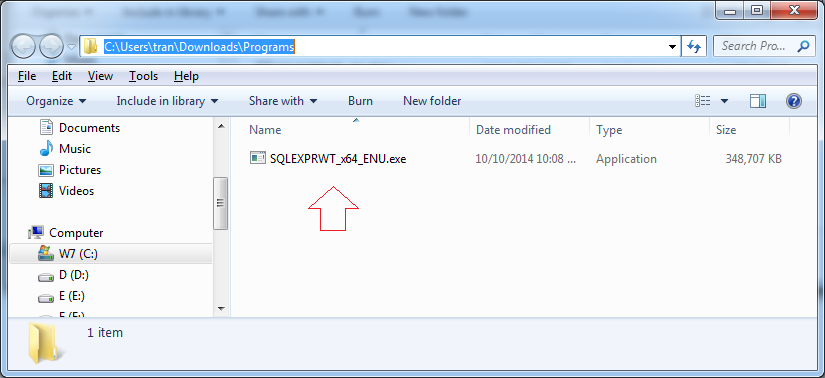
After the successful download you will have one file as follows:
2. Installing SQL Server
Installation:

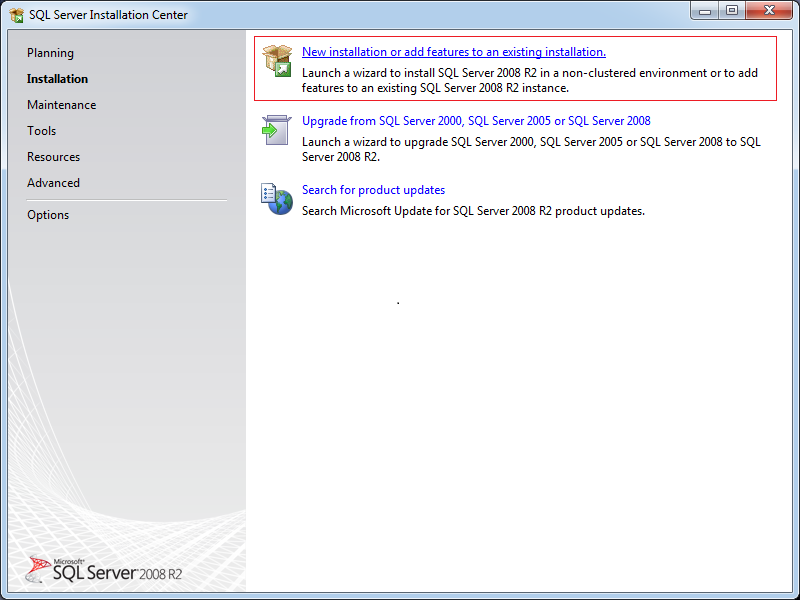
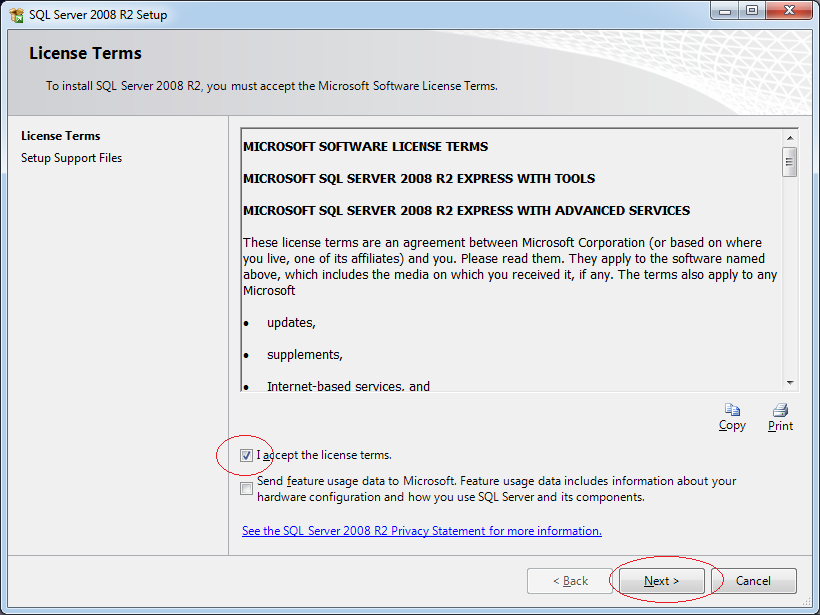
Select all the features:
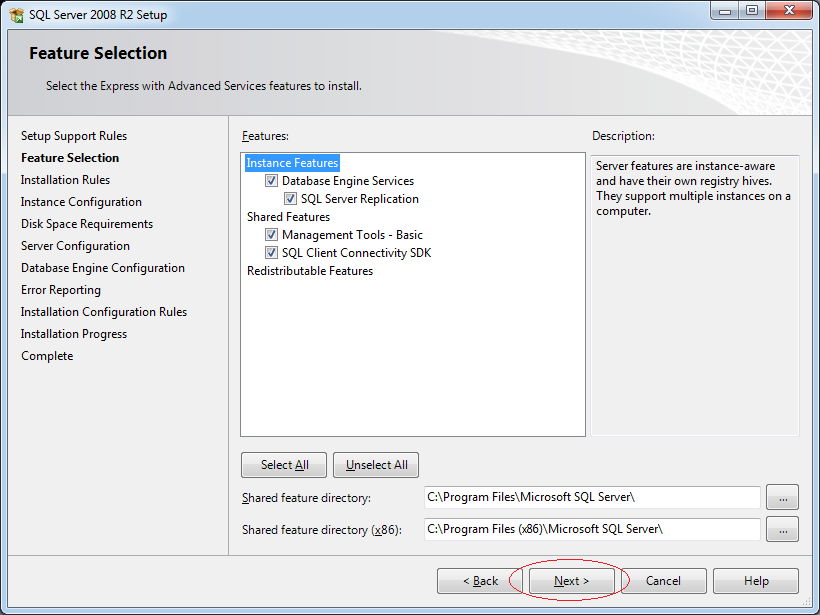
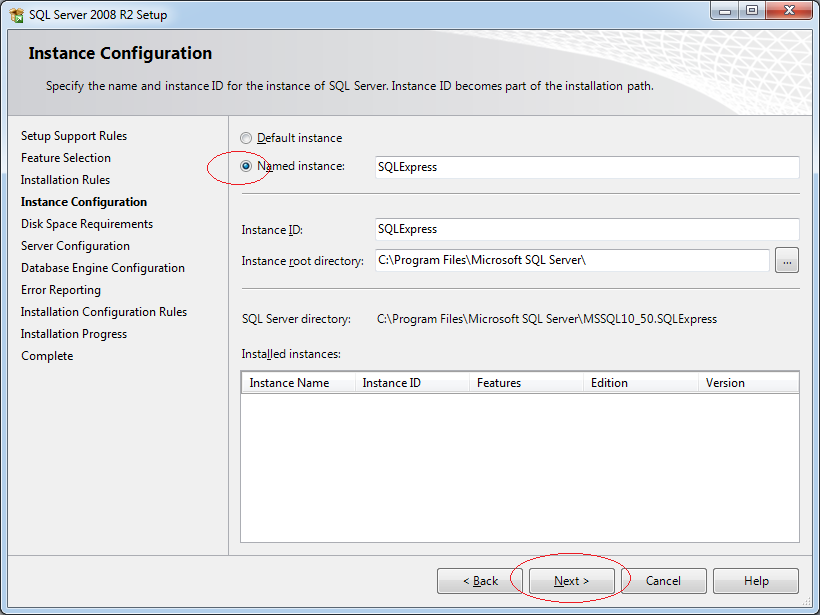
Select: Named Instance.
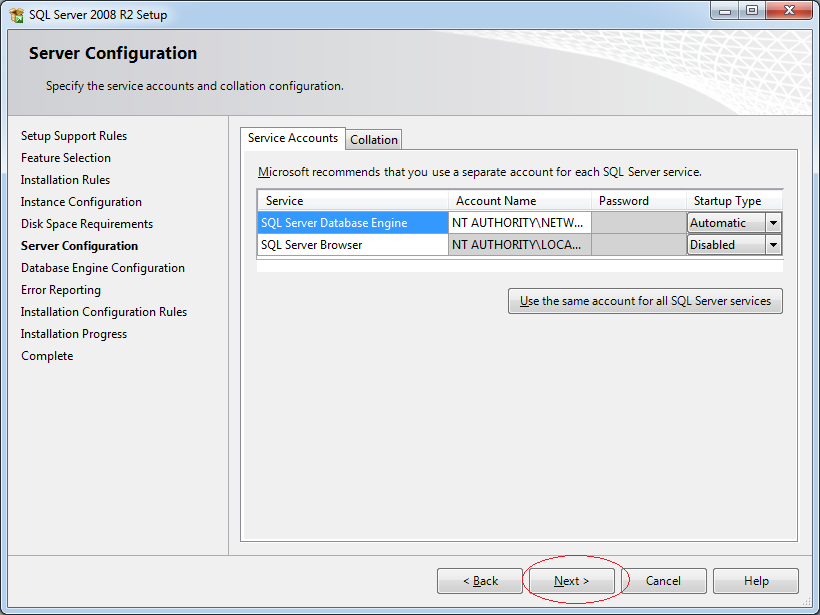
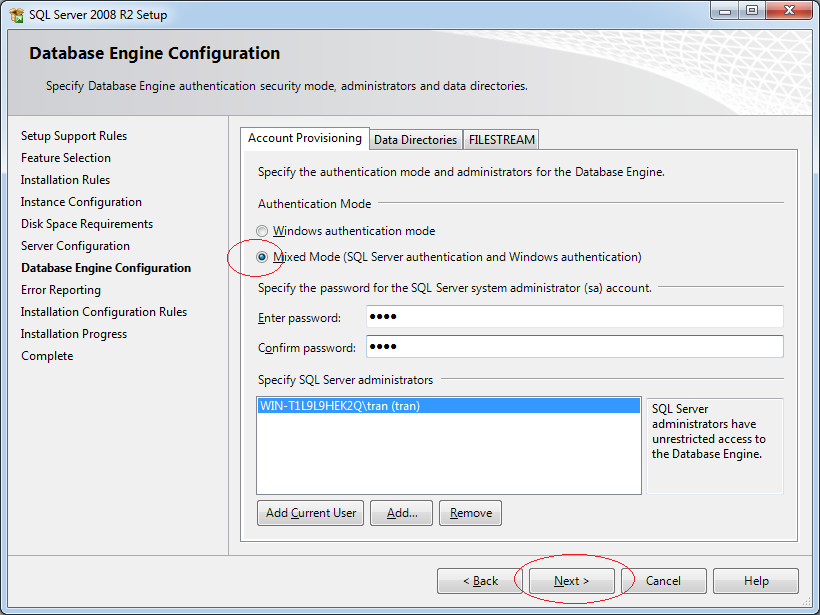
Next, you select "Mixed Mode" that allows you to log in to SQL Server in two ways:
- Use the Windows login Username/ password.
- Use SQL Server username/ password.
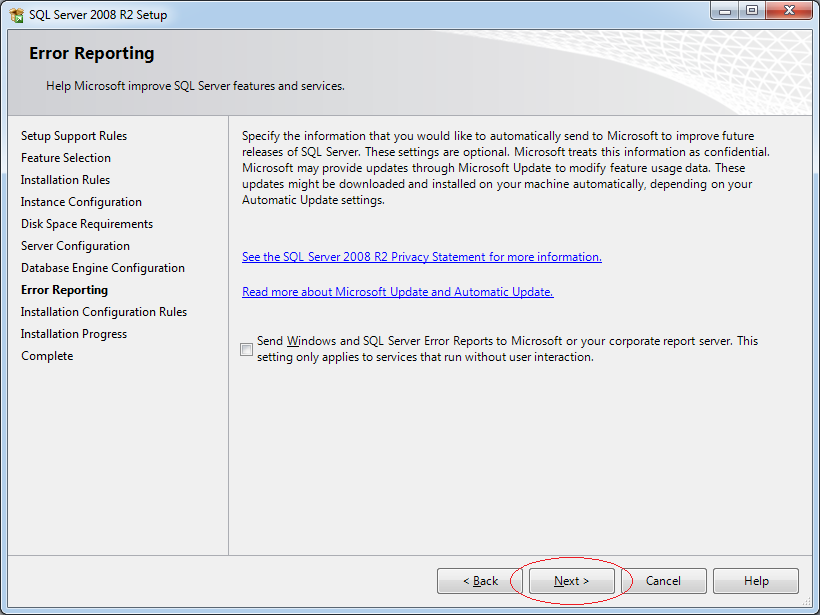
Finally, just wait until the installation is complete.
3. SQL Server configuration
It is important that these configurations allow you to connect to the database from another computer on the LAN.
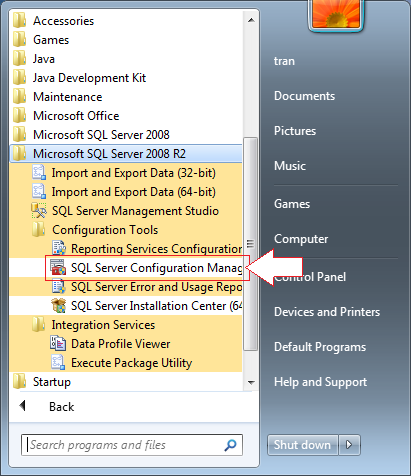
Access this function:
- SQL Server Configuration Management
The function allows you to configure in order to access SQL Server from another computer via IP or Server name.
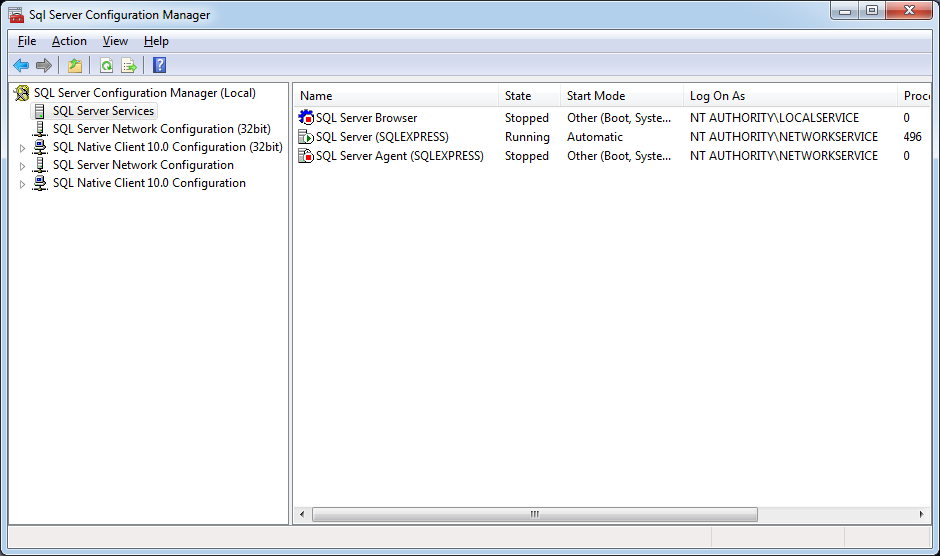
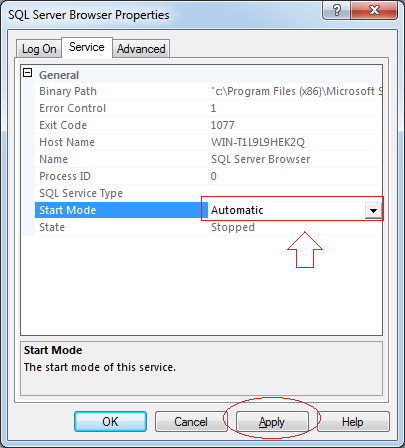
Next, you need Start service: SQL Server Browser. Right click on it and select Property.
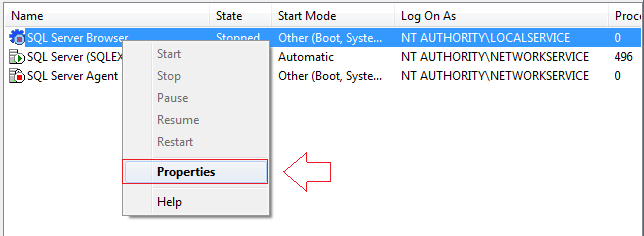
Switch Start service mode to Automatic.
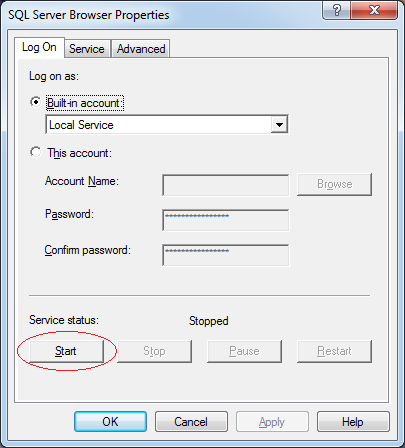
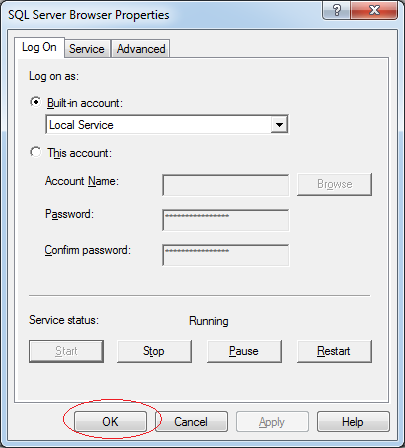
Then press the Start button to start the service.
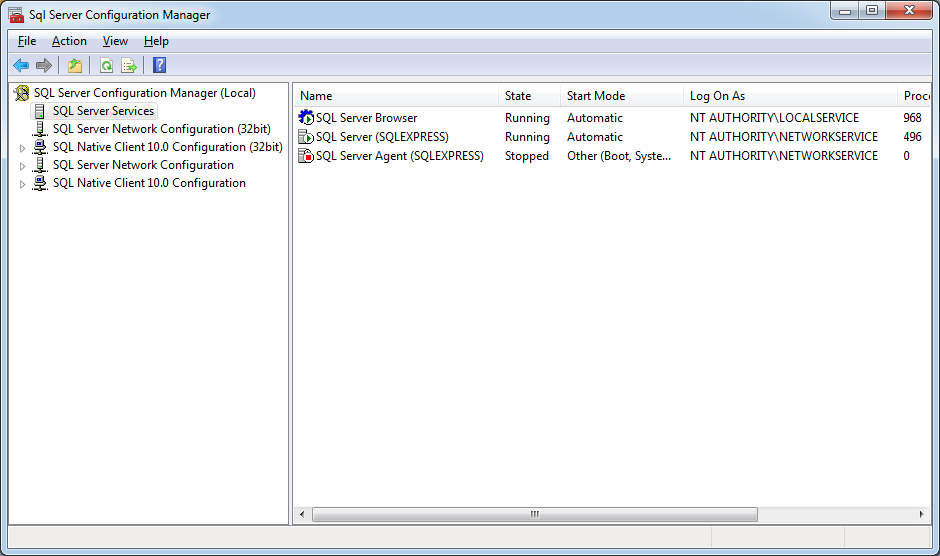
Next, turn on TPC/IP to allow another computer to get connected to SQL Server via IP.
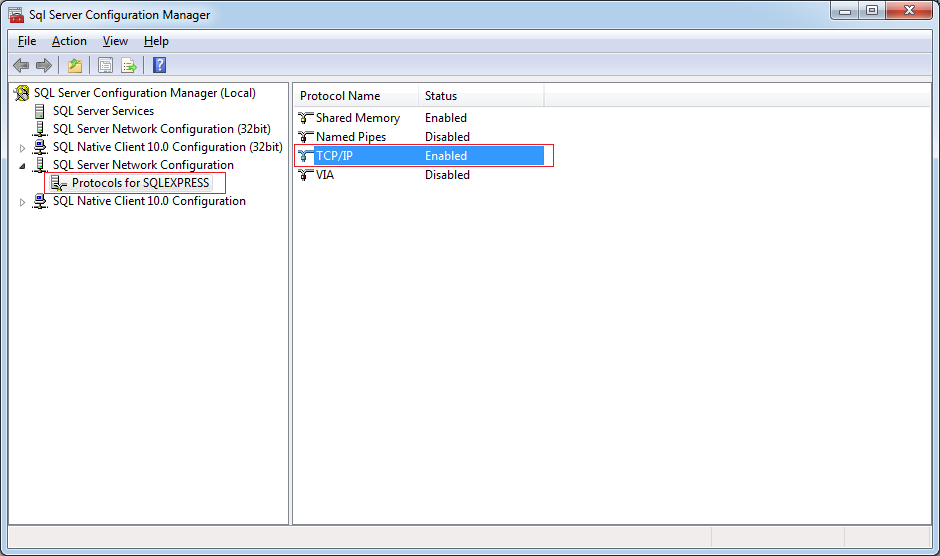
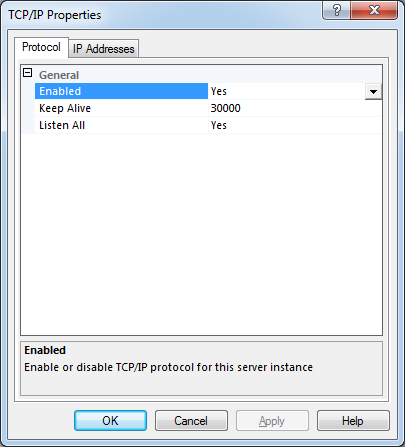
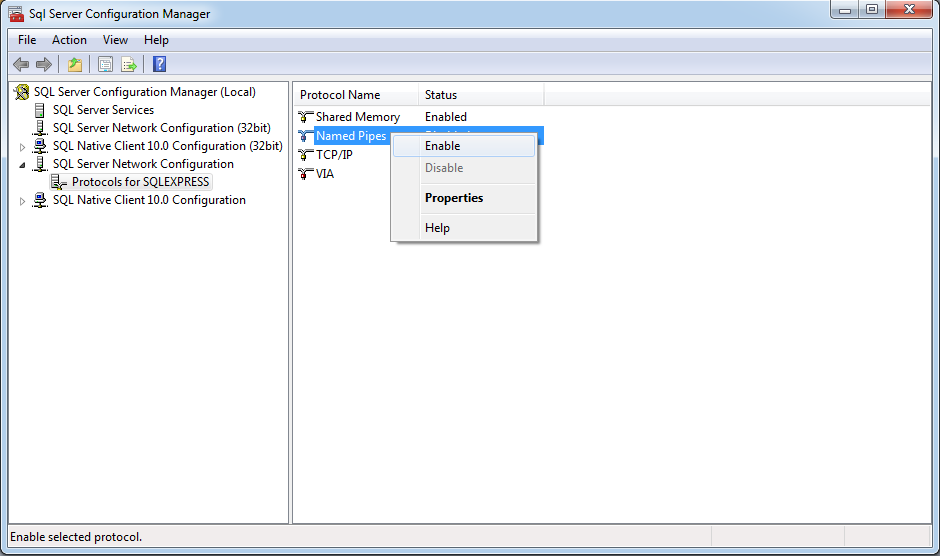
Similarly, turn on: Named Pipes, allow other computers to connect to SQL Server through the Server name.
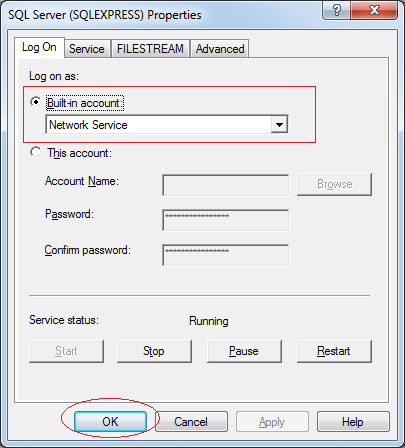
Next, make sure that your SQL Server is running in Network Service mode.
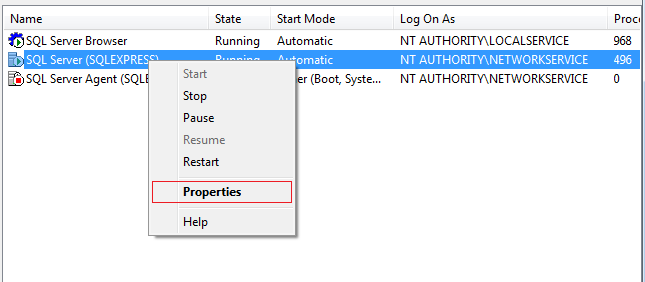
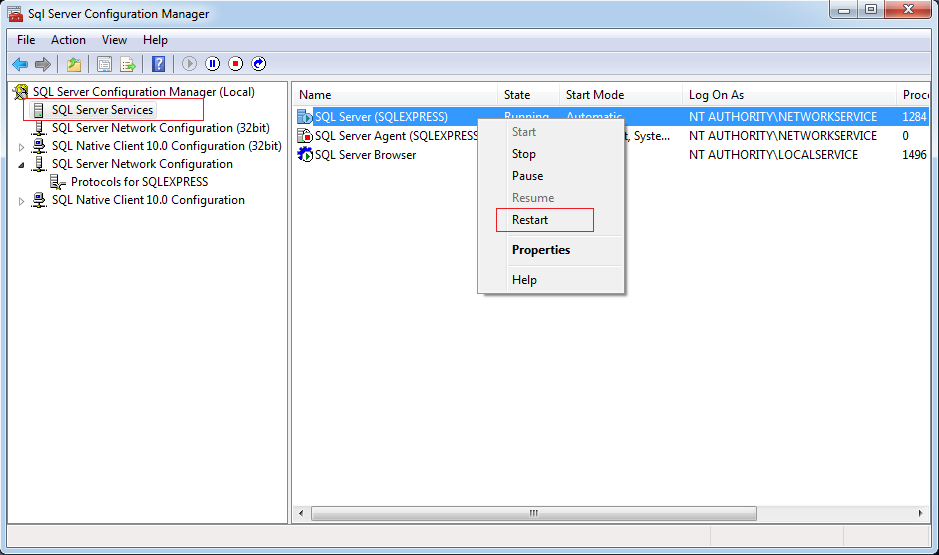
After the configuration is complete, let's restart the SQL Server service.
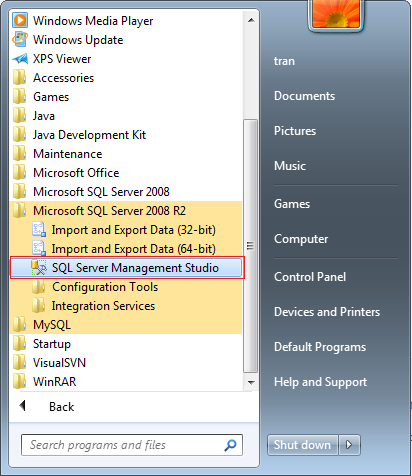
4. Using SQL Server Management Studio

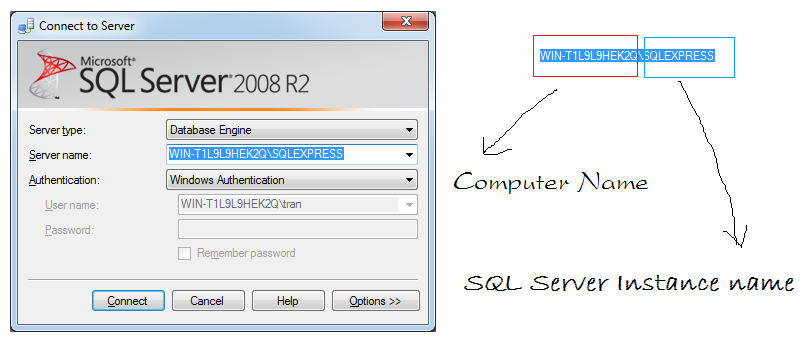
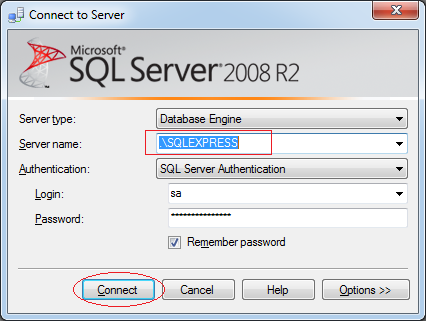
In case you connect to the SQL Server on the local Server, you can use a dot to represent the Server name.
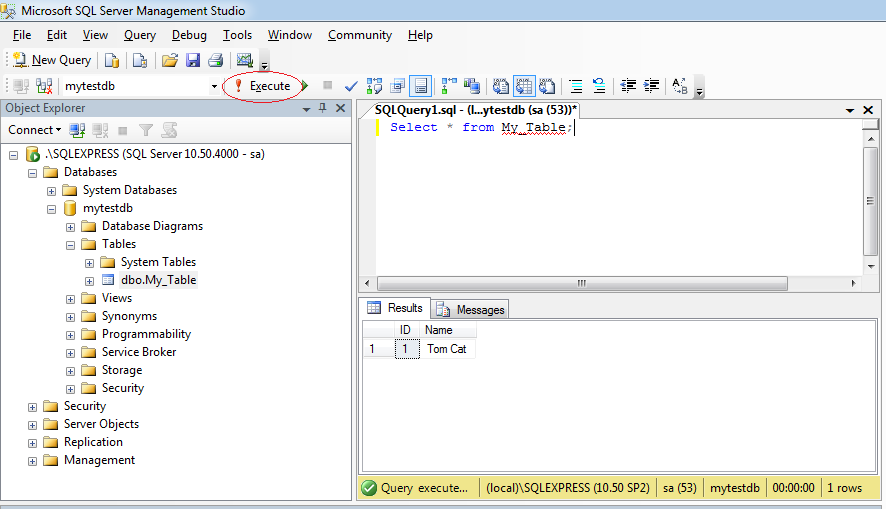
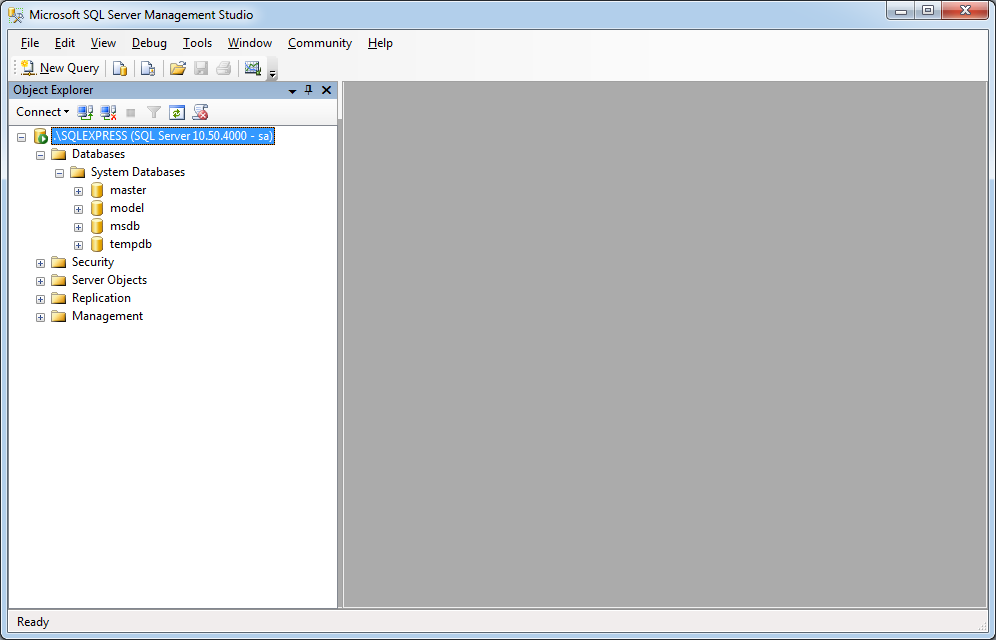
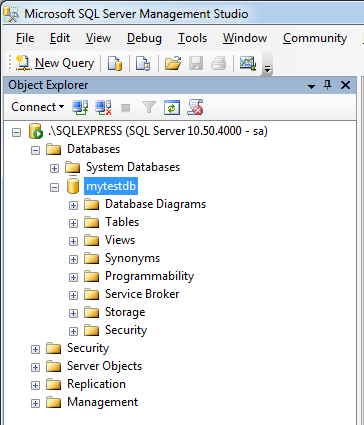
Here is the illustration after logging in to SQL Server Management Studio.
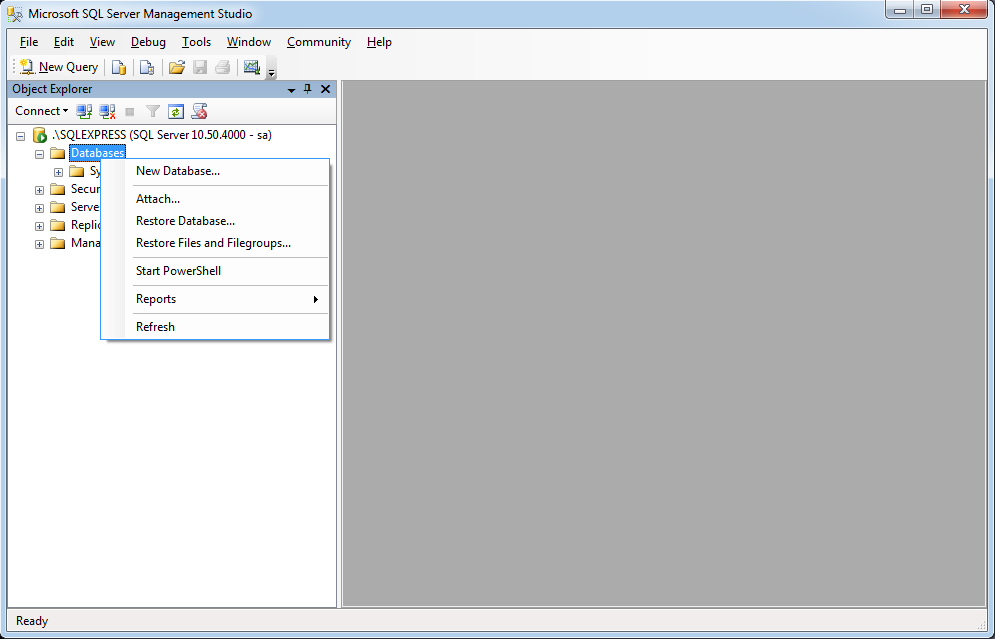
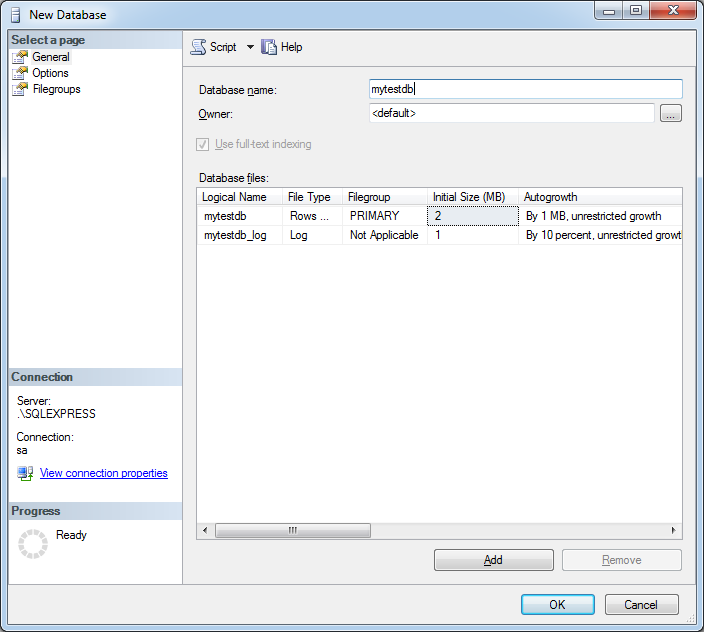
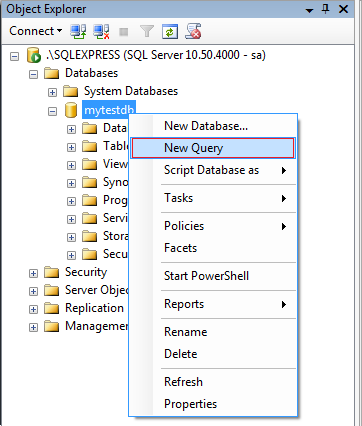
Let's create a database named simplehr.
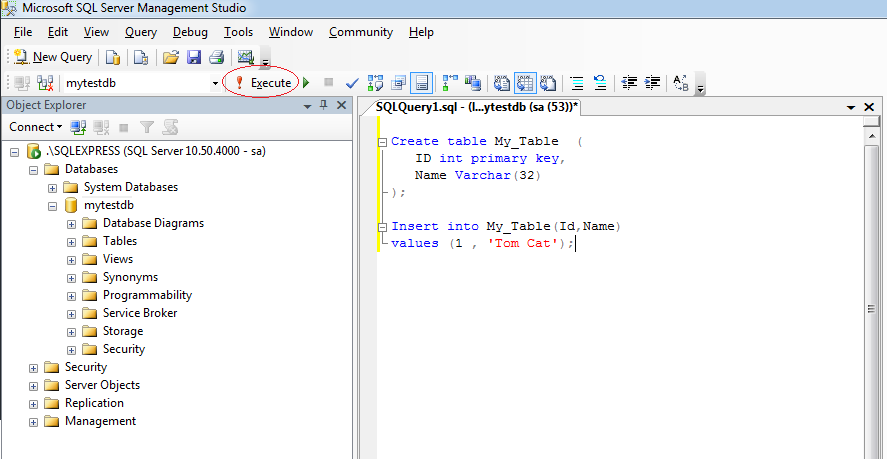
Create table My_Table  (
   ID int primary key,
   Name Varchar(32)
);

Insert into My_Table(Id,Name)
values (1 , 'Tom Cat');