iOS Tutorial for Beginners - Hello iOS
1. Preparation
XCode is an Integrated Development Environment (IDE), supplied by Apple Inc for free. It is helpful for developers to develop applications running on iOS, macOS, tvOS and WatchOS platforms. Hence, make sure that you have XCode installed.
In this article I'm going to guide you to get the hang of Xcode and create a simple iOS example application. This example was written in Swift modern language which was developed by Apple and IBM. It has been booming in recent years. Tutorials on this programming language are also available on o7planning website:
Additionally, you can read a more detailed article of mine on what it is necessary to start learning iOS programming. It will definitely offer you a thorough overview of it:
- What is needed to get started with iOS?
This article was written based on:
Xcode 11.4
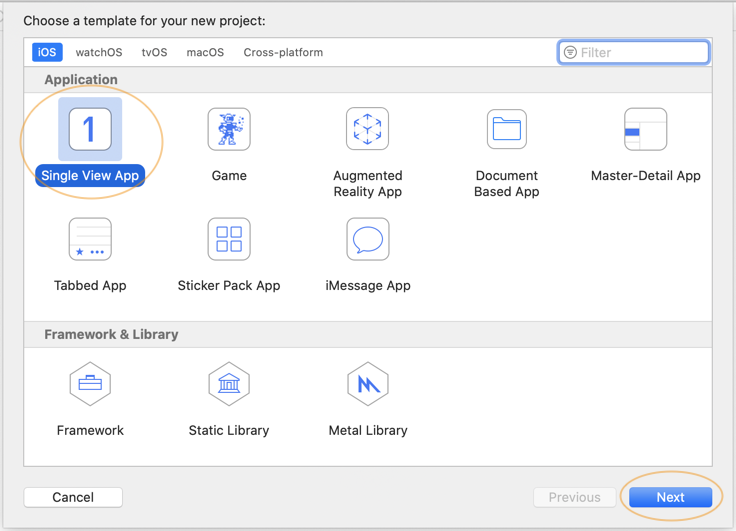
2. Create an iOS application
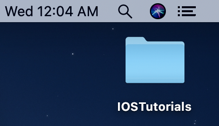
First of all, create a folder named IOSTutorials on the Desktop, This folder will contain your projects.
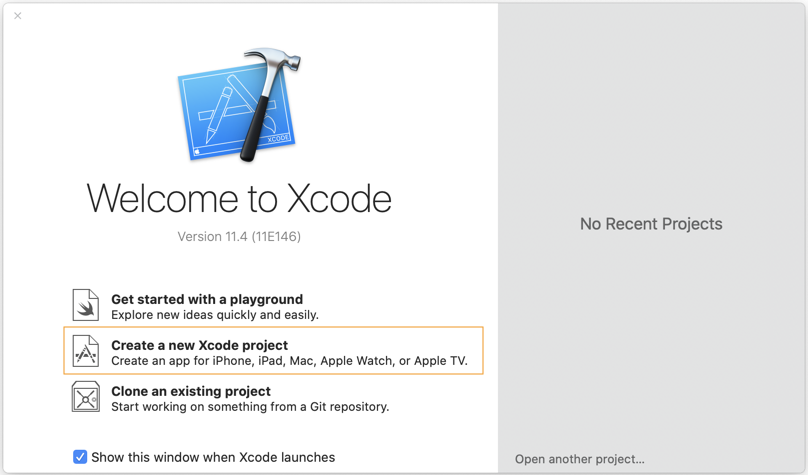
Next, open Xcode, and create a new project:
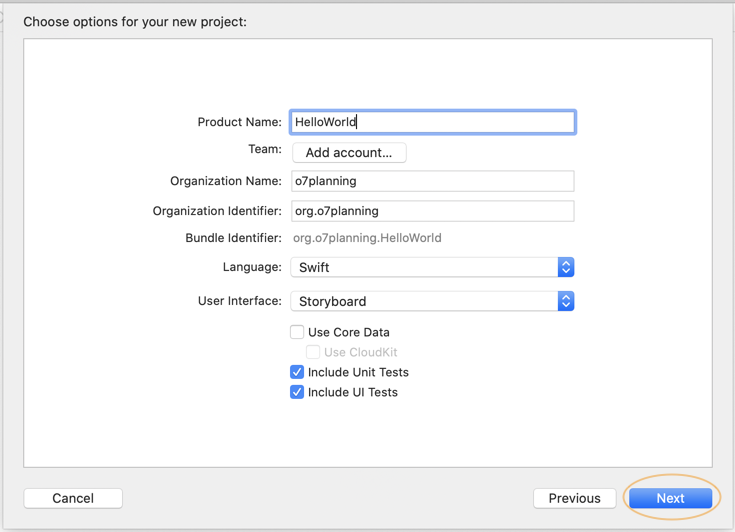
- Product Name: HelloWorld
- Organization Name: o7planning
- Organization Identifier: org.o7planning
- Language: Swift
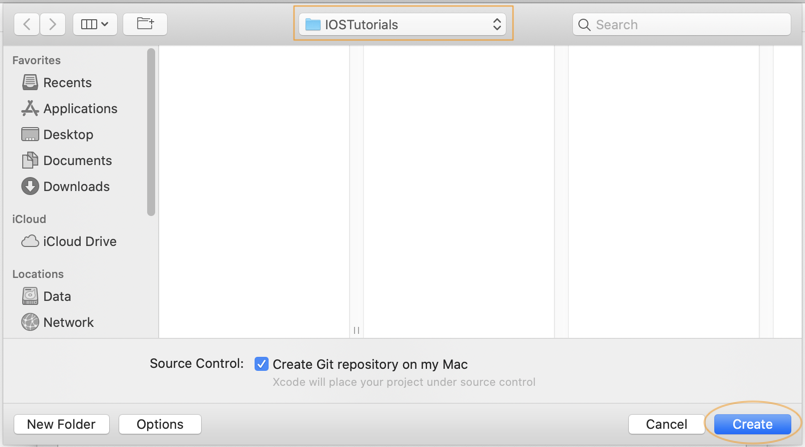
Then select the IOSTutorials folder to archive your project files.
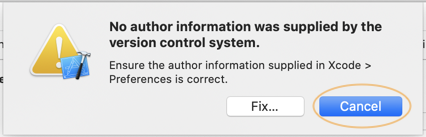
Xcode requests you to provide the author information of the project; however, you can skip this step.
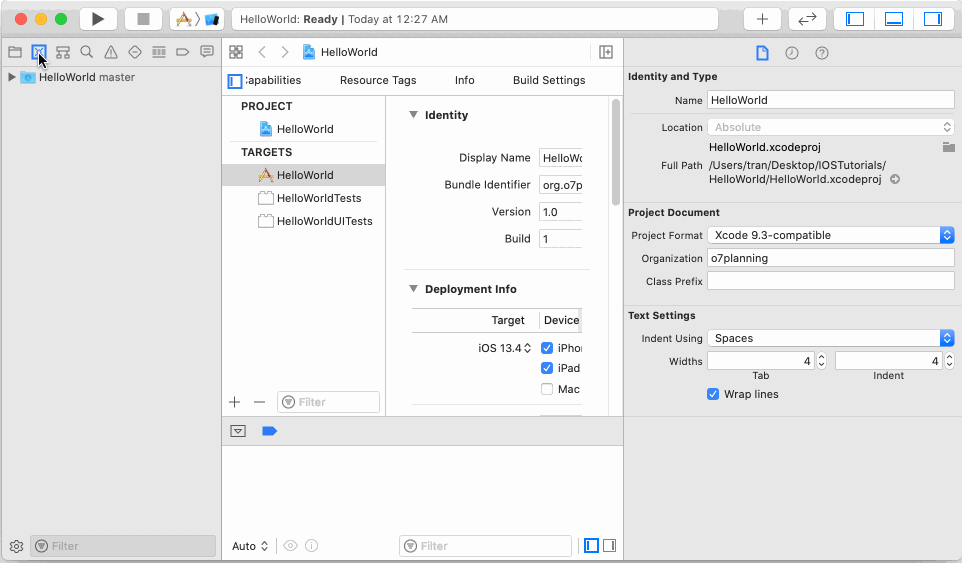
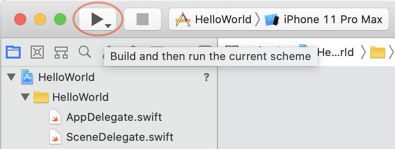
Alright, your project has been created. Now pay attention to a few important buttons on Xcode as shown in the illustration below, because you will use them quite often during the application development process.
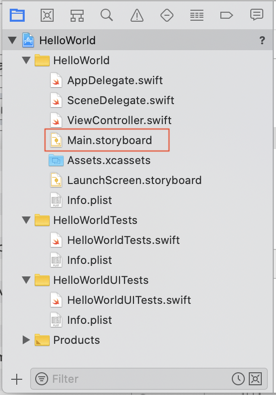
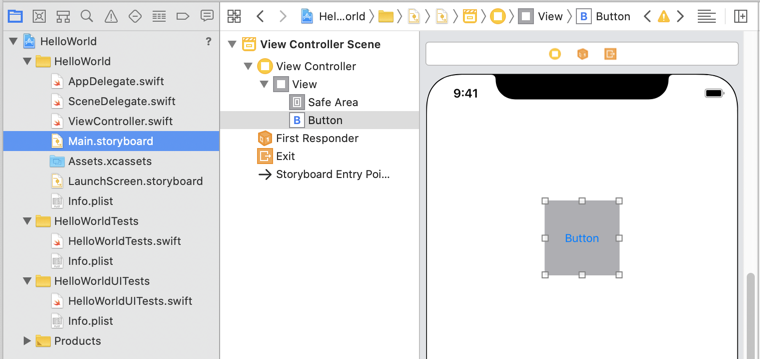
Here is the structure of the project:
3. The main interface of the application
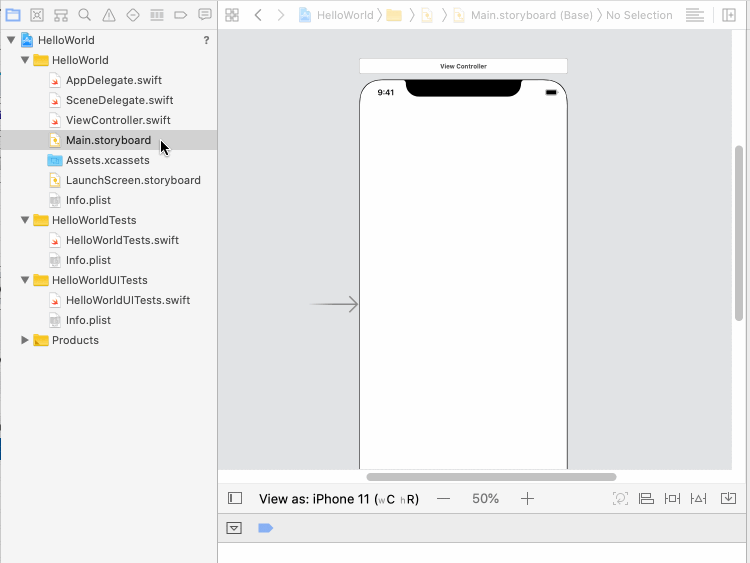
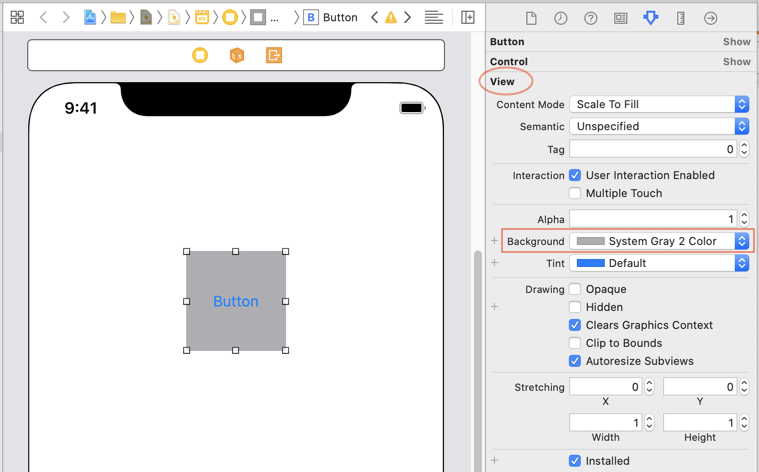
Please notice the Main.storyboard file, which is the design of your application interface. Double-click on the Main.storyboard to open it, then you will see a virtual iPhone, where you design your application interface visually.
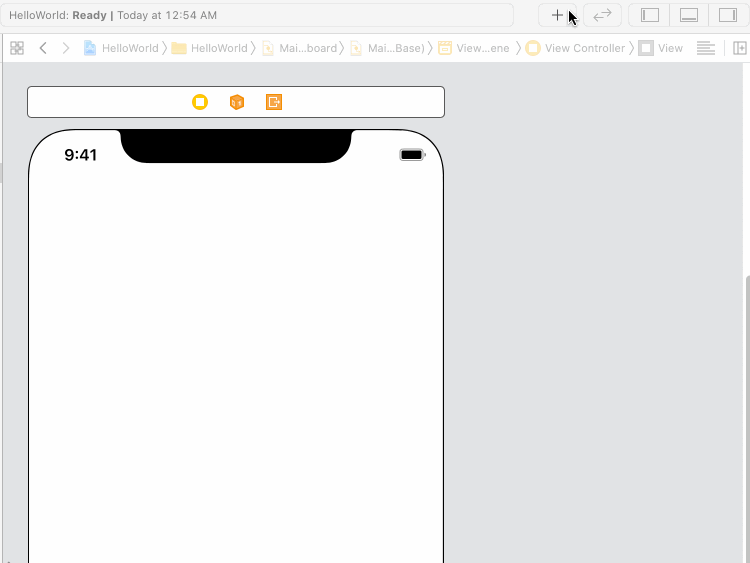
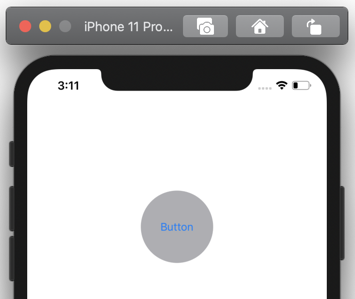
Drag and drop a Button to the simulated phone screen.
On the working window, you can also change the values of the Button attributes, such as text color, background color, etc.
Now get ready to test your application.
As the simulator appears, you will see your application running.

4. Outlet Connection
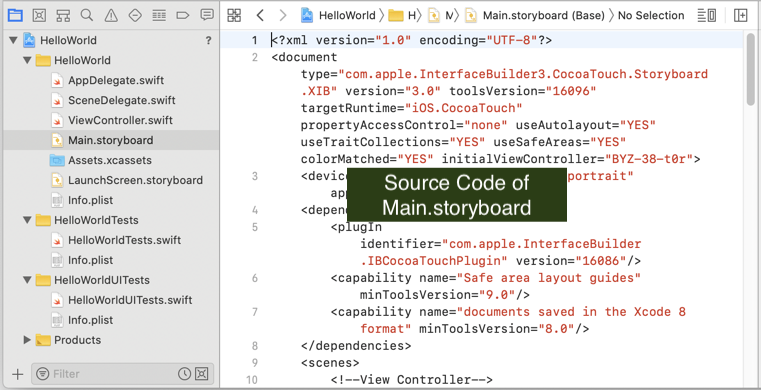
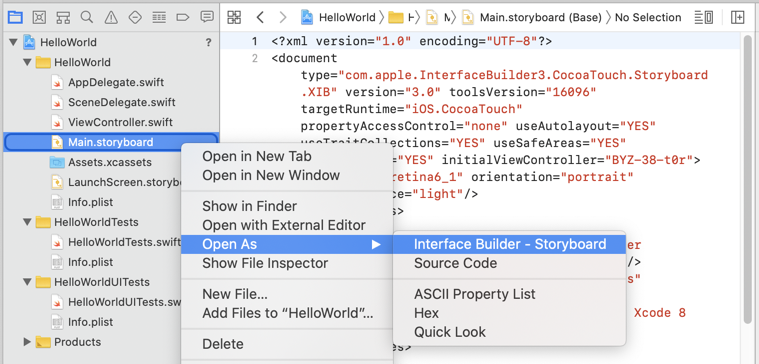
The Main.storyboard is an XML file. It is the design of your application interface. When you drag and drop the components into the interface, Xcode will automatically generate an XML code. You can view the content of Main.storyboard by right-clicking on it then select:
- Open As > Source Code
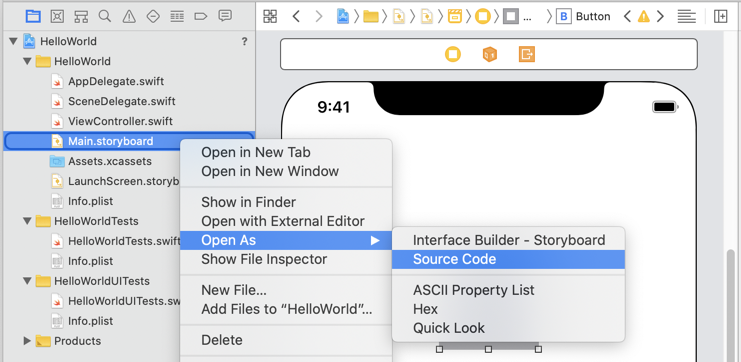
Alright, now return to Main.storyboard design mode by right-clicking on it, then select:
- Open As > Interface Builder - Storyboard
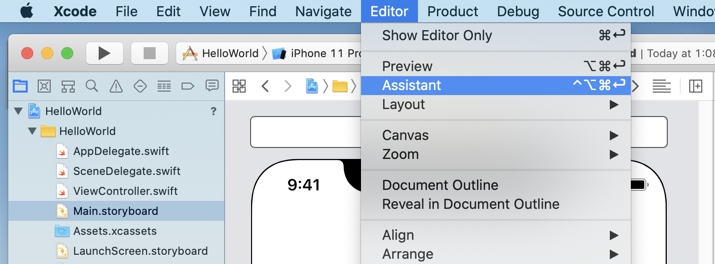
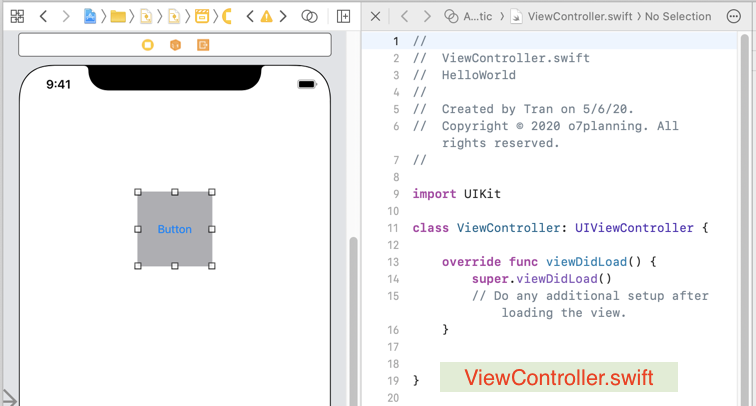
A class will read the content of Main.storyboard and draw the interface of the application. Moreover, it is accessible to the components on the interface and changes them. You can find the name of this class by selecting on Xcode Menubar:
- Editor > Assistant
This is the ViewController.swift class.
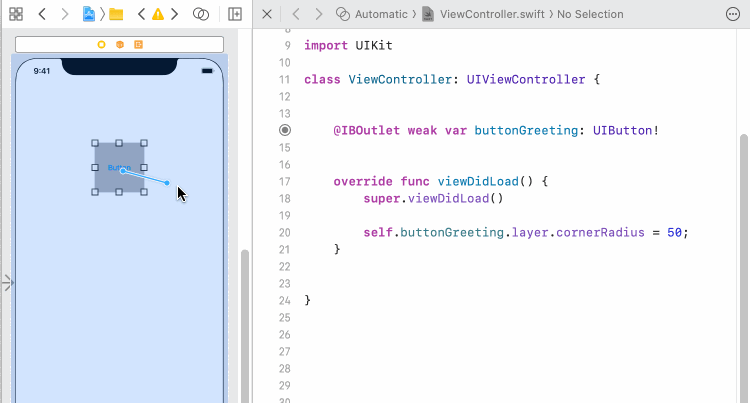
Outlet is a connection between a component in the interface and a Swift object. It offers you to get access to any components in the interface with Swift codes.
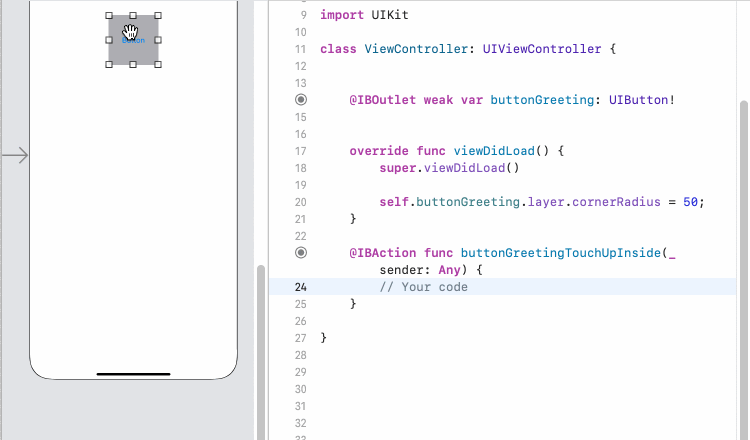
Hold CTRL and drag any element in the interface to the ViewController.swift window (see the figure below):
- Connection: Outlet
- Name: buttonGreeting
After creating the Outlet connection, the XML code will be added to the Main.storyboard and the Swift code to the MainController.swift. If you want to delete this Connection, you have to remove the code in both places, otherwise your application will fail to run (See the Appendix at the end of the article).
You can use Swift codes to change the attributes of the Button such as setting its 4 rounded corners.
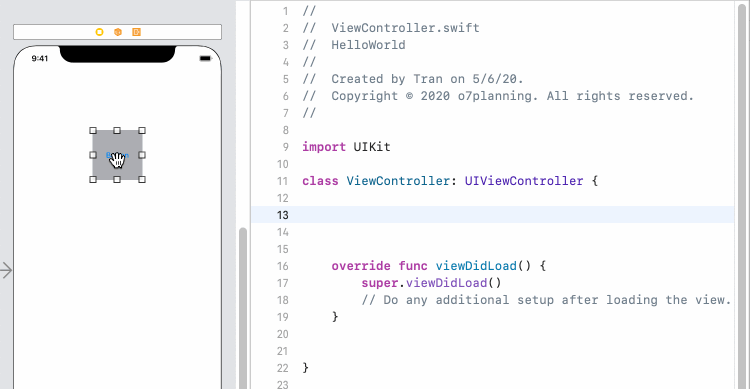
ViewController.swift (*)
//
// ViewController.swift
// HelloWorld
//
// Created by Tran on 5/6/20.
// Copyright © 2020 o7planning. All rights reserved.
//
import UIKit
class ViewController: UIViewController {
@IBOutlet weak var buttonGreeting: UIButton!
override func viewDidLoad() {
super.viewDidLoad()
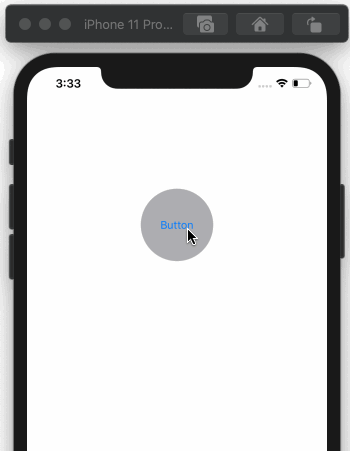
self.buttonGreeting.layer.cornerRadius = 50;
}
}Rerun your application:
5. Action Connection
Now, let's create an Action Connection to handle the situation when the user touches and releases his/her hand from the Button.
First, hold CTRL and drag the Button to the ViewController.swift window:
- Connection: Action
- Name: buttonGreetingTouchUpInside
- Event: Touch Up Inside
- Arguments: Sender
Then modify the code of the ViewController.swift:
ViewController.swift (**)
import UIKit

class ViewController: UIViewController {


    @IBOutlet weak var buttonGreeting: UIButton!


    override func viewDidLoad() {
        super.viewDidLoad()

        self.buttonGreeting.layer.cornerRadius = 50;
    }

    @IBAction func buttonGreetingTouchUpInside(_ sender: Any) {
        let alertController = UIAlertController(title: "Greeting",
                                                message: "Hello World!",
                                                preferredStyle: UIAlertController.Style.alert)

        let ok = UIAlertAction(title: "OK", style: .default,
                               handler: { (action) -> Void in
                 print("OK")
             })

        alertController.addAction(ok)

        self.present(alertController, animated: true, completion: nil)

    }

}
Finally, rerun your application: